It seems that I end up installing the Timbren rubber helper springs on just about every truck I own. They work wonderfully as an economical (cheap!) alternative to airbags.
Typically these just replace the stock bump stops and give some stability as well as aid the handling dynamics when driving with a load in the back. If you're interested, you can buy them here: Etrailer.com Timbren Part No. TFPR001. If you want to read more about how they work, then click here: Timbren Manufaturer's Website
On my Promaster 3500 Winnebago Travato, I wasn't having any issues, per se, but I did notice that this van sits a tad lower than my last one - about 1/4" to 1/2". With the generator hanging down so low below, I wanted some assurance in knowing I wouldn't bottom out on a rough road.
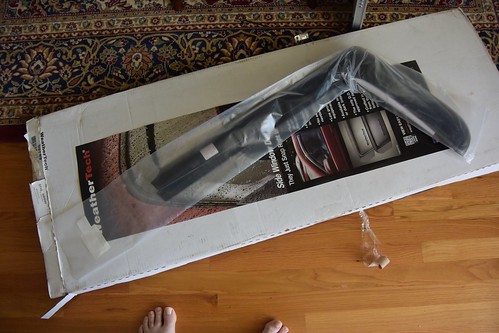
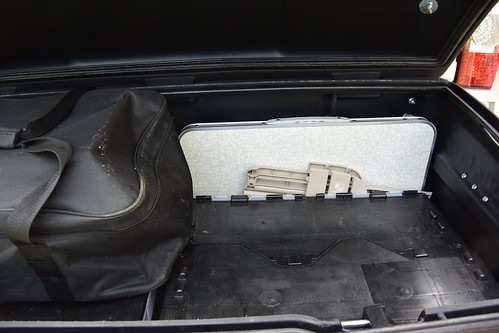
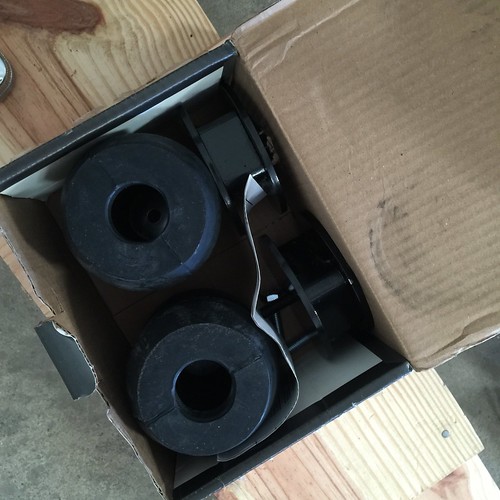
As has been the case in the past, they come in a very small box. Mounting hardware varies by vehicle type - some just pop into the bumpstop cups, some need to be bolted. On the Promaster, they need to be bolted, and you need to remove the stock bump-stops and their mounting cups. But fear not, it's really easy with a few tips I'll give you below.
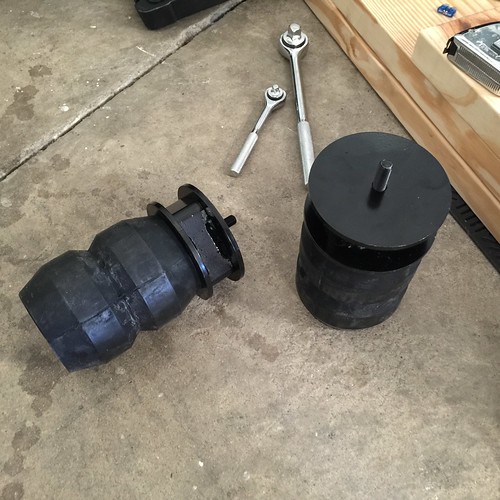
First thing you do is take them out of the box (duh). Then you bolt the top hats onto the rubber cylinders. You'll need a socket set with a 5-6" extension so you can reach the bolt head on the inside of the rubber spring.
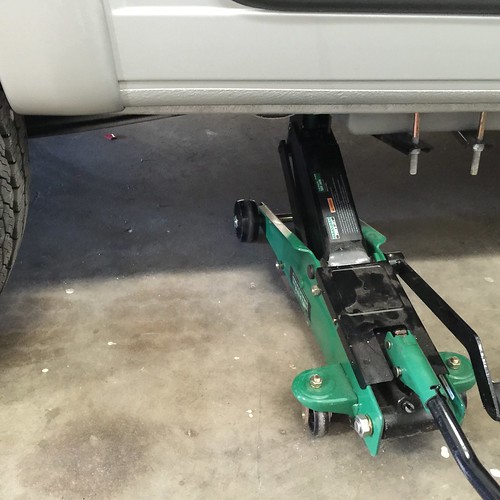
Next you need to jack up your van. Be sure the parking brake is securely set and chock your front wheels. Be sure that you jack in the appropriate spot - there is a specific place on the front side of the spring mount for you to do this - there is a picture in your Owner's manual to show you exactly where. Since the van is unibody, you can really screw up your vehicle if you jack it in the wrong spot! I used a 6,000 lb jack to do this, which is about the minimum I'd recommend. Also, it a wise move to place a jack stand under the spring mount in case your jack fails while you are under the van.
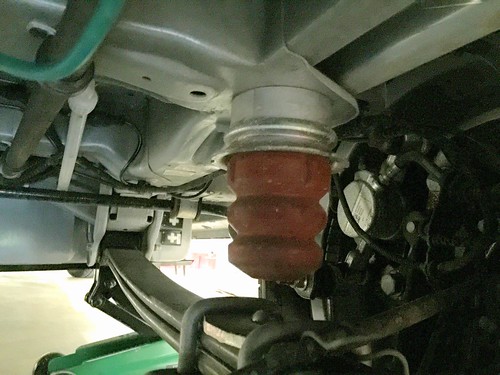
Here is the stock bump stop. It's the orange thingy. Simply grab it and pull it out. It should come out easy. The cup at the top is another story. It's screwed into a 10mm bolt that is welded to the vehicle frame. You have to turn the cup counter-clockwise to get it out. It was too tough to do by hand (plus it has sharp edges).
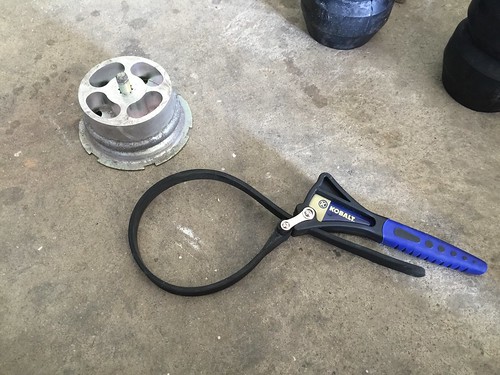
So I used a rubber oil filter strap wrench I had in the toolbox! Easy peasy. Here is the cup next to the wrench. Note the threaded bolt on the top.
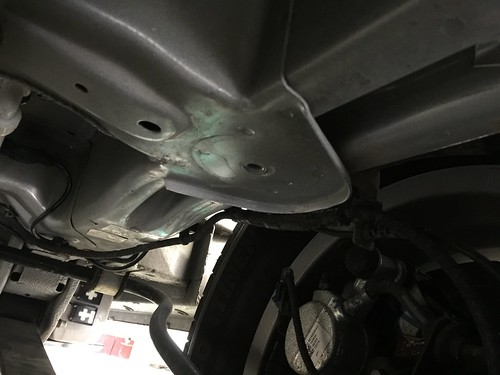
Here is the mounting plate that is left after you remove the cup. In the hole are the threads you'll need to install the Timbren.
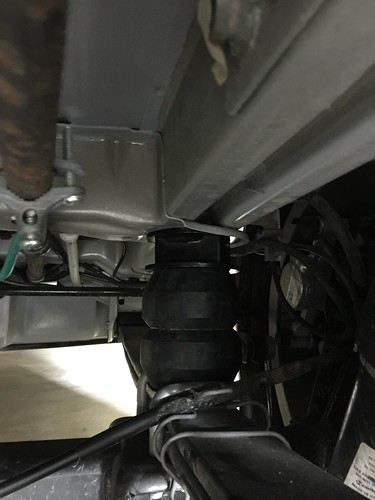
Simply line up the Timbren assembly with the hole and thread it in. The threads are fine, so it will take many turns to get it fully seated. Once it's down flush to the plate, then use the strap wrench to give it a final half-turn and you are done.
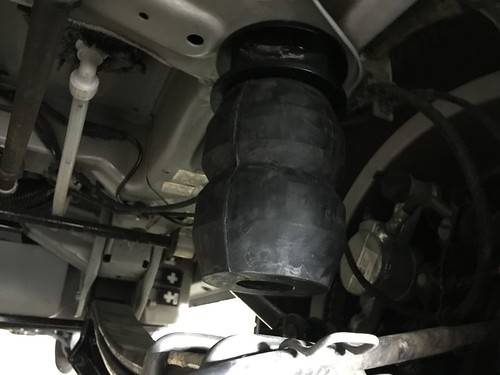
Gently lower the van back down and do the same process on the other side. Note that with the jack removed, the Timbren completely rests on the axle. This was to be expected, because there is some compression on the van's suspension since the conversion interior is a lot of weight - there is around 1800 lbs of payload in the van - a lot less than an empty cargo van!
The whole project should only take you an hour if you have your tools and parts organized.
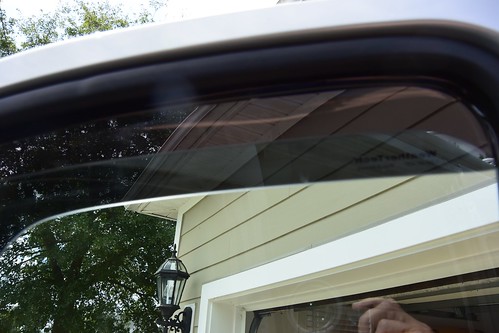
Before the install, I measured the distance from the ground to top of the wheel well - 31.5" When I was done, it measured 32.5". So I gained 1" of clearance. I also measured at the lowest point on the van - under the generator frame. There I gained 1/2". I'm a bit perplexed that it also wasn't 1", but I'm sure someone will suggest what the deal is on that.
Well I hope you enjoyed this vile, disgusting and perverted project. I get a lot of grief on forums for my liking of these things. So far, I've had good luck with them, and I'm sure I will on the Promaster as well.