While I am waiting on my new batteries to arrive, I've been able to fool around with a few minor projects. Tweaks is more what they are. I've tried a few different setups for a cab curtain. On the newer Travatos, the bulkhead has soft padding and there are 3 snap-screws holding this material in place. On the old vans, there is only a screw on the outer edges of the hard plastic.
I like the idea of a curtain at the back of the cab for quick privacy and not have to set up the fiddly window covers. But what I also wanted was an install that didn't require drilling any new holes. I like things to be reversible if I change my mind later.
I bought this curtain rod a few months ago. I wanted something that could be mounted, but also hold the curtain securely (that wind or the occasional quick pull wouldn't easily take down). Also needed something that would extend the full width of the van, edge to edge, but wouldn't interfere with the screen side door. I think this may be the one.
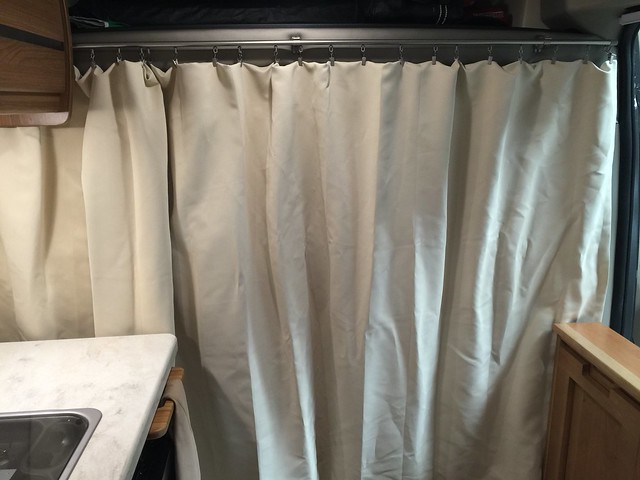
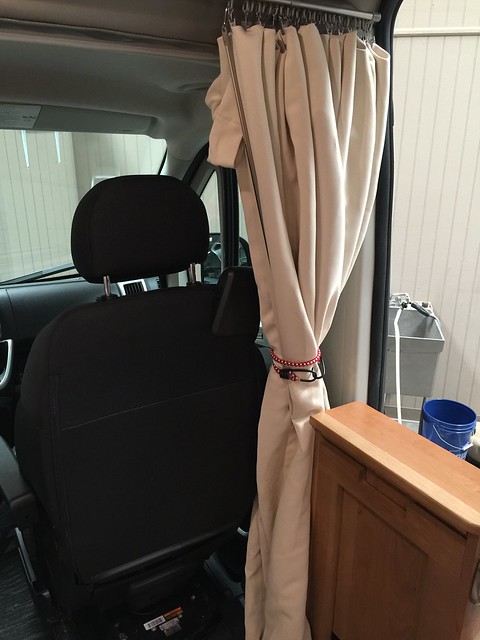
I just folded over my old curtain to hang it. It will need to be hemmed too. I also have a black curtain that may work better. In my Travato G, that seemed too dark to use. The K may be a different story as there is so much more light inside with all the windows. Here it is hung in place.
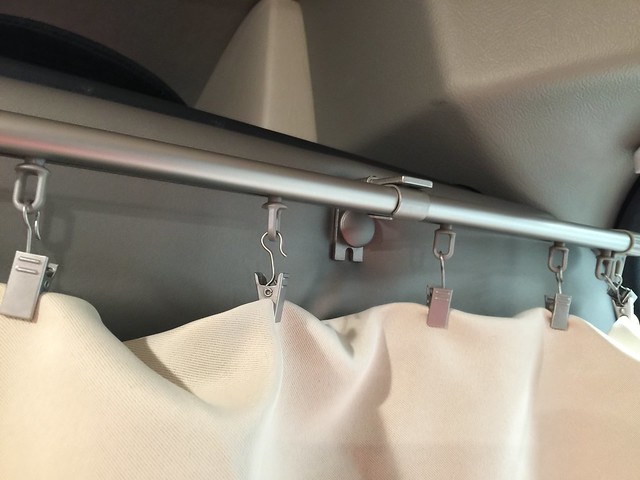
What I did was remove the snap-screws that are mounted to this upper bulkhead at the back of the cab section. They are used to hold this padding in place and are quite long - about 2". Simply back them out, and then re-install with rod support brackets. The can screw down quite tightly, so I have no doubts these three screws will hold the rod adequately. The curtain is held with clips that came with the rod.
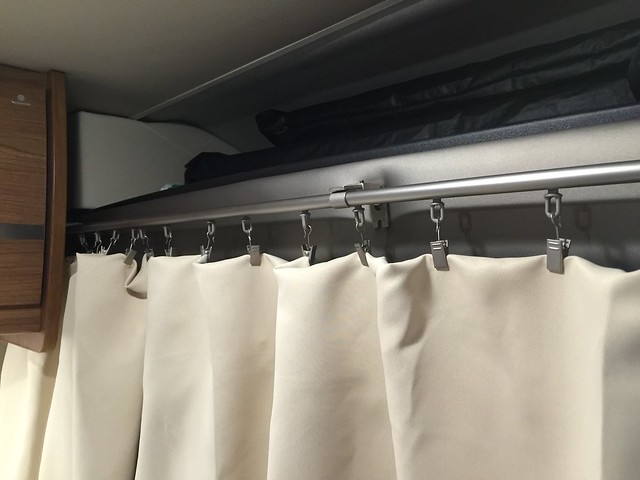
The silver of this rod is a pretty good match to the color of the vinyl padding.
What I like is that the curtain glides down the rod and is easy to bunch up on one side or the other.
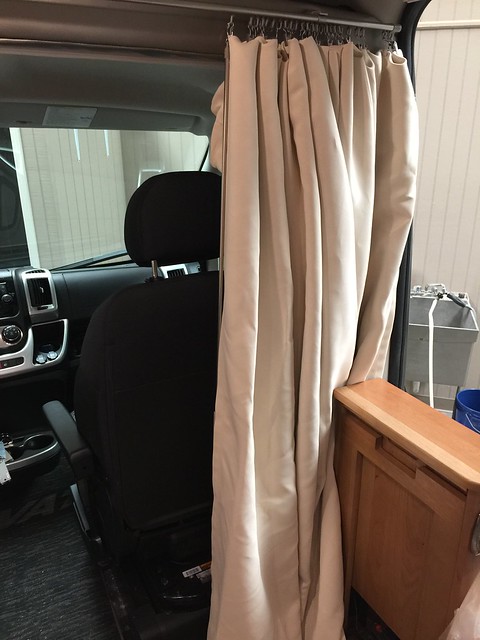
You can just bungee it together as a tie-back.
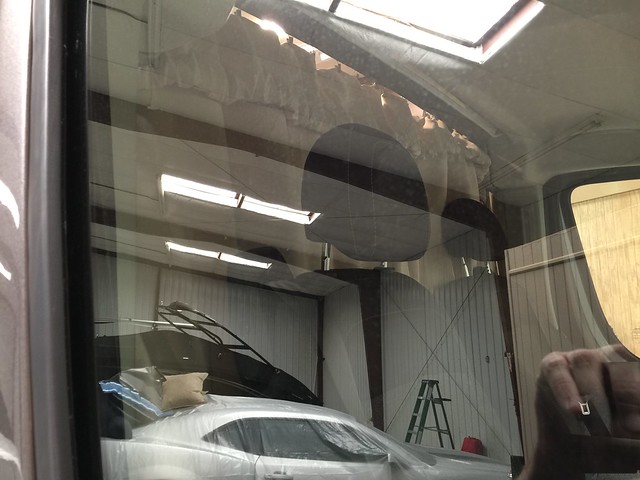
Since this is an adjustable rod, you can bring it all the way out to the vans walls. I didn't do that on the passenger side, as you need to have clearance for the screen door. As you see here, plenty of room, yet the opening is still covered by the curtain.

Seen from the outside, there is still a little light shining thru at the top. Not exactly stealth, but OK for privacy. I think this can be solved with different hooks or clips to close that gap with the bottom of the rod.
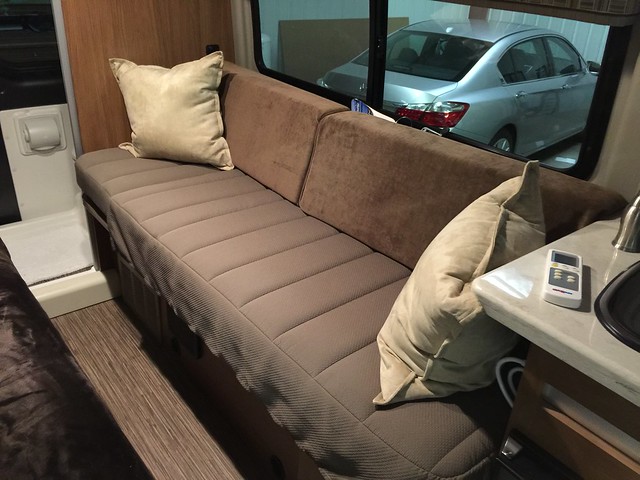
Another thing I wanted to do was change out my "sofa" bolsters. The brown color doesn't quite match the bottom cushion, so it looked odd to me.
So I went back to the company that I ordered the old ones from and got a different color. Along with these different Sunbrella patio pillows, it's a lot brighter look.
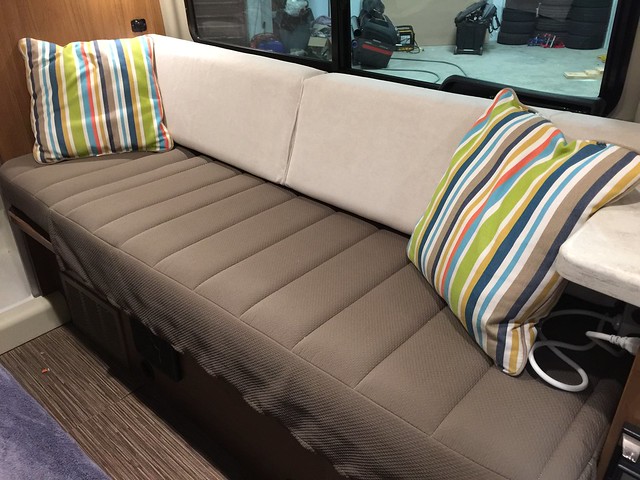
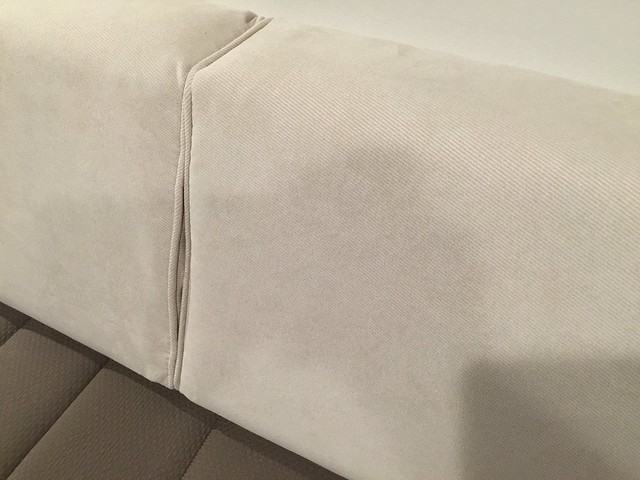
They call this a twill fabric. It's soft and appears a durable micro-fiber. Believe this can be removed and thrown in the washer to clean it.
You have convinced me! The 59K is the one to get!
ReplyDeleteBut - if an when you may have some extra time - document a couple O' things?
(1) One day when you have your drone and the 59K out, could you please possibly fly it over your 59K and show your final solar panel install, from this flyby? That would be grand!
(2) Could you do a more detailed video (and commentary) about the shower curtain, how you do it, and perhaps surmise (further) about what you might to to improve upon it? The Fit RV kind of puts up the shower curtain in their video, but it doesn't seem too conclusive. Obviously, you don't want to wet the cabinetry. But there appear to be 3 things you don't want water splashing on: (1) the aforementioned cabinetry, (2) the metal back doors of the van, and (3) the decorative door between the bathroom and the bedroom; those slide-doors don't seem waterproof. So, when you shower, you wet the toilet and mirror, but you shield the door to the living compartment, the cabinets, and the rear doors? Or do you not? What gets wet, what doesn't? I'd really like to know how this works. Please, show us.
Your solar project is completely awesome! No need to upgrade the batteries (like adding a 2nd on the earlier 59g), or is there?
Thanks so much for all of your great info. The lighter cushions and the new wheels look completely awesome! Take care!
James Wood
Those are some great ideas. I'll look into it when I have some time.
Delete