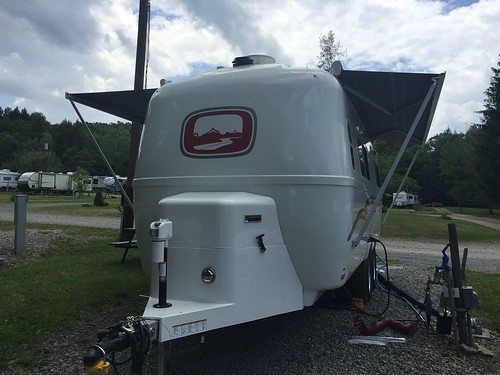
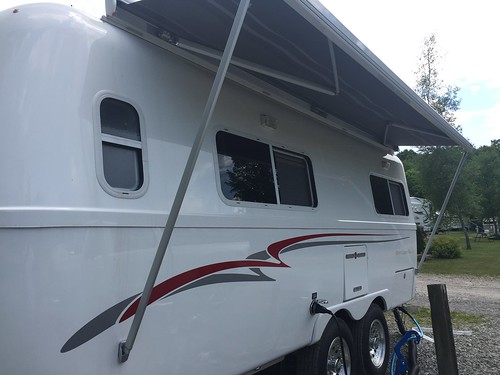
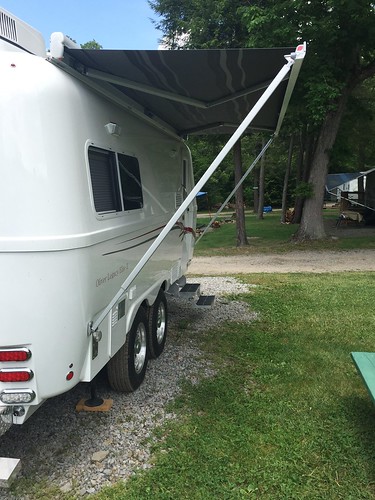
I've gotten a fair amount of ribbing over "wasting" the money gettting a second awning. Not really needing a "his" and "hers" arrangement, I was wondering if my friends were right all along.
Not so today. Extended both awnings to shade the windows. Very nice to have on a hot, sunny day, yet with on and off again sprinkles. I've got all the windows open and running the ventilator fan.
Neither are extended all the way in these pics. Only enough to shade the windows and accomodate the minimum length of the support legs. The curbside one is out a bit more that the other so there is room for a couple chairs.
Saturday, May 30, 2015
Monday, May 25, 2015
Travato Curtain Project Part Deux
I wasn't quite happy with the black curtain and the small tension curtain rod. Thought with the curtain closed, it was too dark in the van.
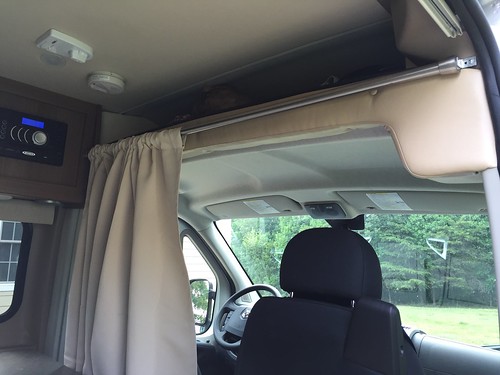
So I regrouped and ordered a beige black-out curtain, and a shower curtain tension rod (1" diameter) in a brushed metal finish.
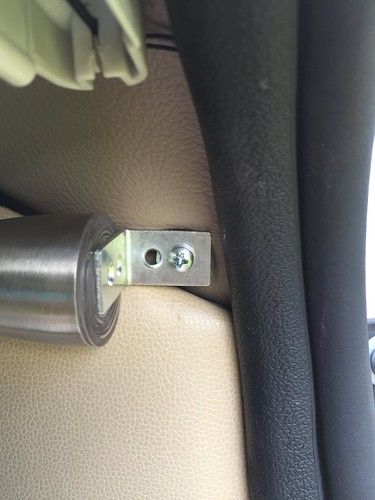
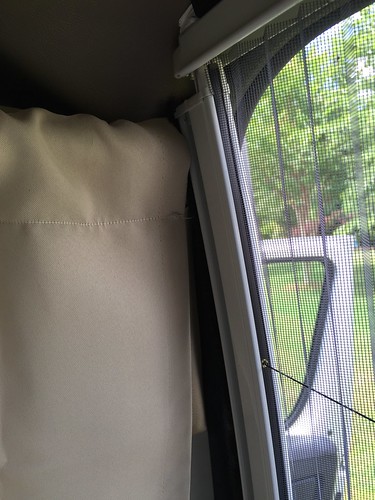
The only problem I encountered was that the rod would not stay in position on the street side. There was an existing screw available near the door, so I popped off the plastic cap and unscrewed the self-tapping type screw. From that point, I mounted an L bracket to hold the rod. I used an old nut as a spacer and re-used the existing screw. Saved the plastic cap so I could put it back to original if I change my mind again.
By using this bracket, there is room for the screen door to close unobstructed.
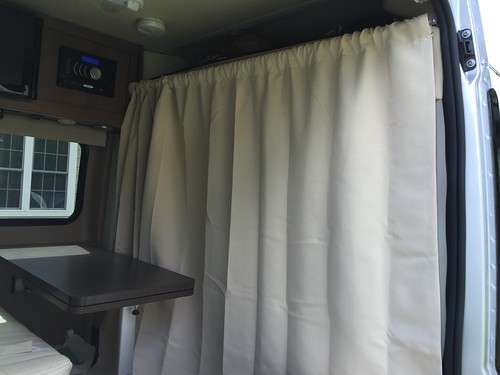
We also had to make the pocket alittle bigger (about 2 1/2"), so it's easier to open and close.
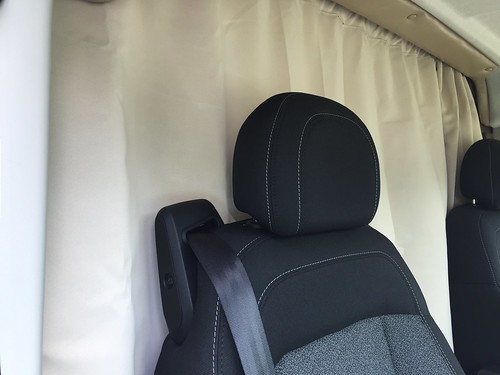
Plenty wide enough to cover the opening. I'll probably use the loops and hooks to get around the chairs if I want to use them like I did with the old curtain. I do have a tie-back to use to make the curtain more compact when traveling. I like how it looks and the van is alot brighter inside.
It does have a neat appearance from the front of the van. But I did like the black better on this side.
So I regrouped and ordered a beige black-out curtain, and a shower curtain tension rod (1" diameter) in a brushed metal finish.
The only problem I encountered was that the rod would not stay in position on the street side. There was an existing screw available near the door, so I popped off the plastic cap and unscrewed the self-tapping type screw. From that point, I mounted an L bracket to hold the rod. I used an old nut as a spacer and re-used the existing screw. Saved the plastic cap so I could put it back to original if I change my mind again.
By using this bracket, there is room for the screen door to close unobstructed.
We also had to make the pocket alittle bigger (about 2 1/2"), so it's easier to open and close.
It does have a neat appearance from the front of the van. But I did like the black better on this side.
Sunday, May 24, 2015
Rolling your own
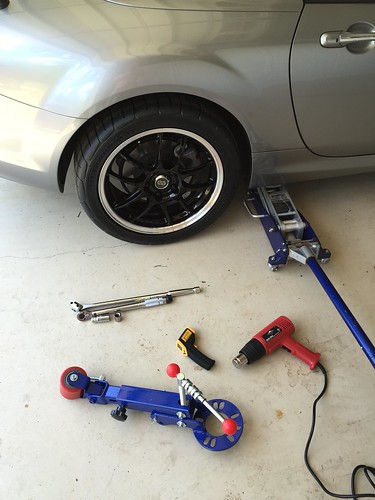
Sometimes, when you can't get a hook-up, you just have to roll your own.
Fenders, that is. ;)
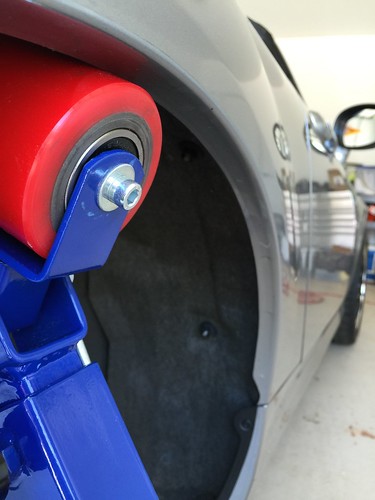
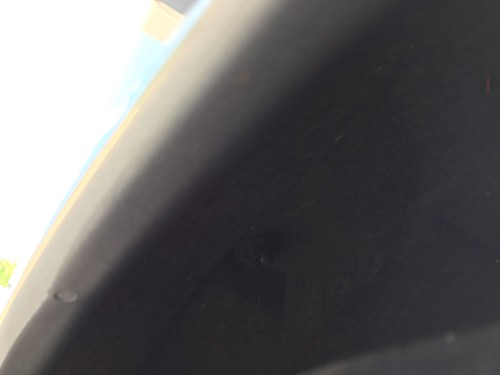
I bought this fender rolling tool to gently roll back the lip of my rear fenders so they don't rub my new, wider tires. I rolled them just a bit, not all the way back. Think it will be OK now.
It's not so tough to do. Just takes nerves of steel....and a heat gun.
If anyone wants to borrow this tool, just let me know.
Saturday, May 23, 2015
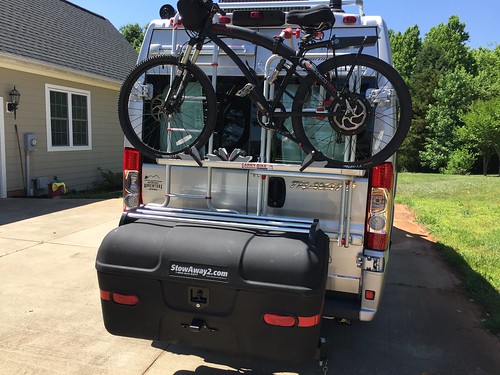
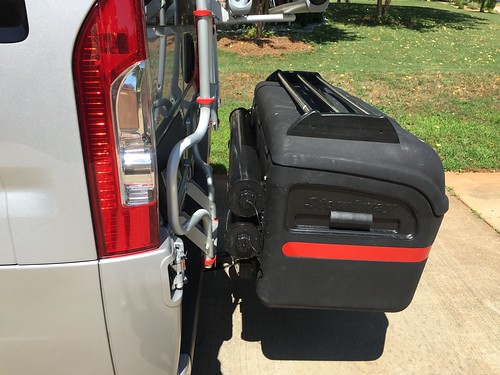
The Stowaway2 is back!
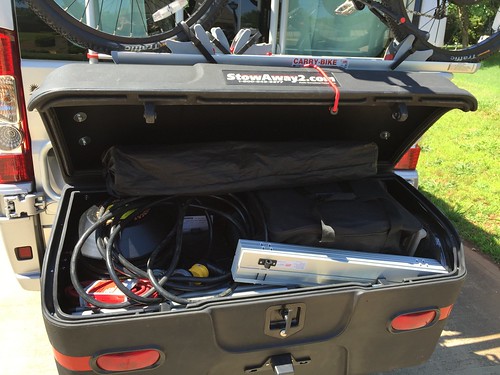
I decided to put the Stowaway 2 back on. It holds alot more than the Stanley, and is easier to load and unload.
As I expected, it clears the ladder and the bike rack just fine.
I like this box alot. If you have the bike rack deployed, you need to use a bungee to hold the lid open. With the rack folded up, it opens fully and stays up just fine.
You can load the bike either with the Stowaway in travel position or swung out. I think the extended position is alittle easier since my bike is so heavy. If it was lighter, or I was alittle taller, hoisting it up in place with the box in travel position would be no problem.
Saturday, May 9, 2015
Miata MX-5 Enkei PF01 Wheels and BFGoodrich Rival S Tires
After the last rally, I really was impressed with the performance of the other cars. Some were running the Rival tires and really going fast!
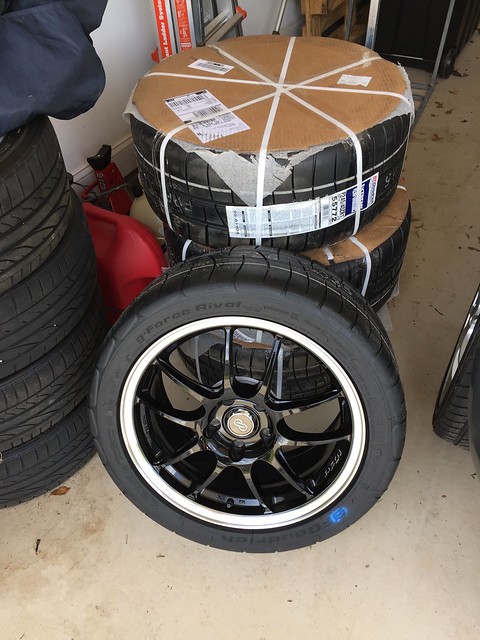
So I went on TireRack and ordered a new set of wheels with these tires mounted and balanced. I had to go up in size a little - to 245/40 R17. I was running 235/40 R17 Yokohama S Drives. The 235's were 0.6% bigger than stock (205/45 R17) diameter, the 245's are 1.9% bigger. Total track is widened by about 1 inch.
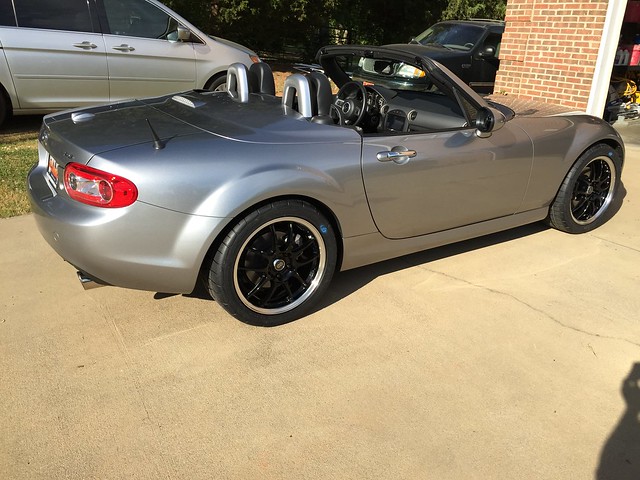
Enkei PF01 Wheels 17x8 Black with Silver Machined Lip
BFGoodrich Rival S Tires
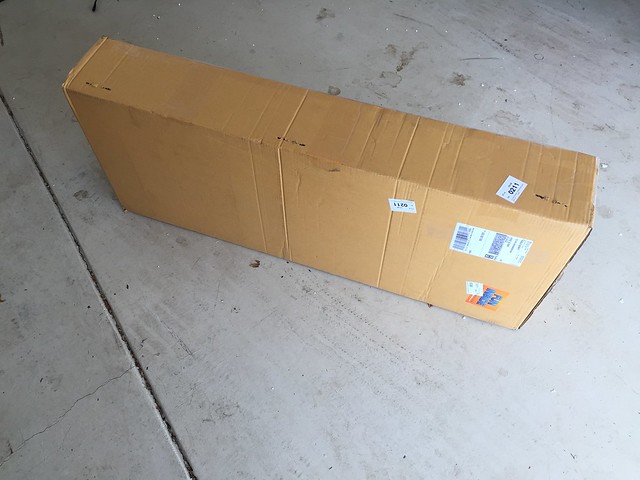
In two days, UPS brought me a nice package:
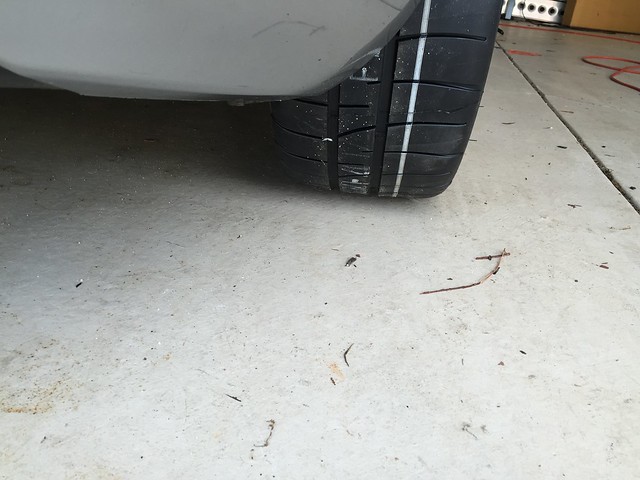
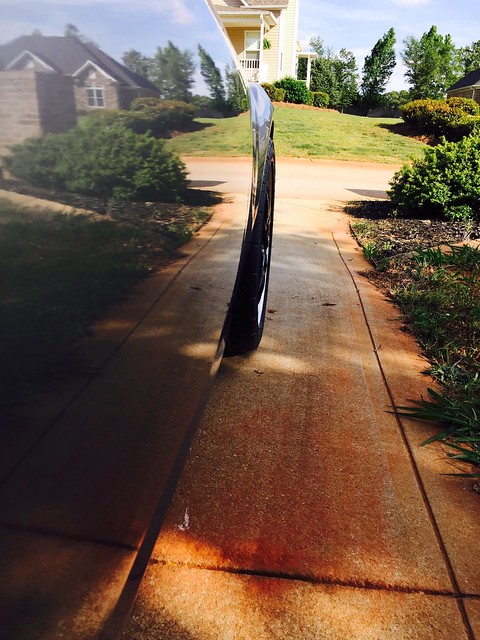
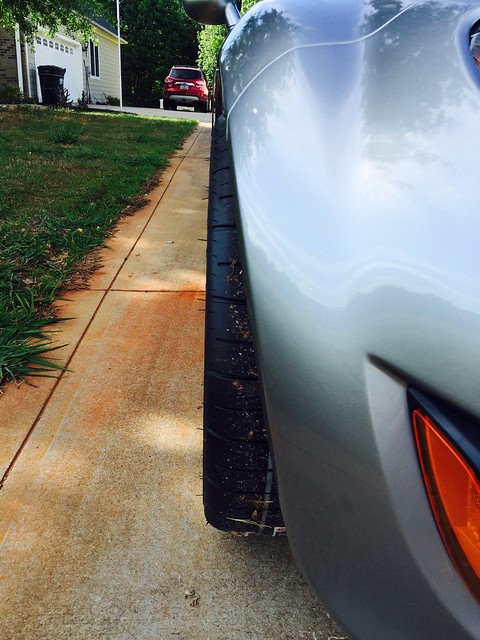
A bit wider contact patch:
with the 50mm offset, the tires still don't stick out past the fenders:
I do like the look. I also like the handling. It's like it's on rails.
Miata MX-5 Cobalt Shock Tower
I was fretting last weekend with not being able to get to and adjust my shock's dampening knob. Note below is the stock shock tower bar - it essentially has a complete cover over the top of the mount. Plus the stock part is not very pretty.
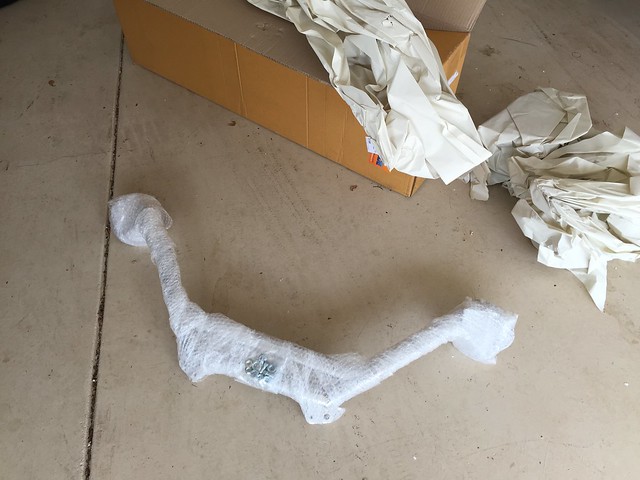
So Good-Win Racing to the rescue. I ordered their Cobalt brace. It's all stainless and one-piece instead of the 3 pieces of the stock bar. It should offer a bit more rigidity as well as give open access to my shock adjusters. Came in a big, but light box:
Completely wrapped in bubble wrap, and packed in paper.
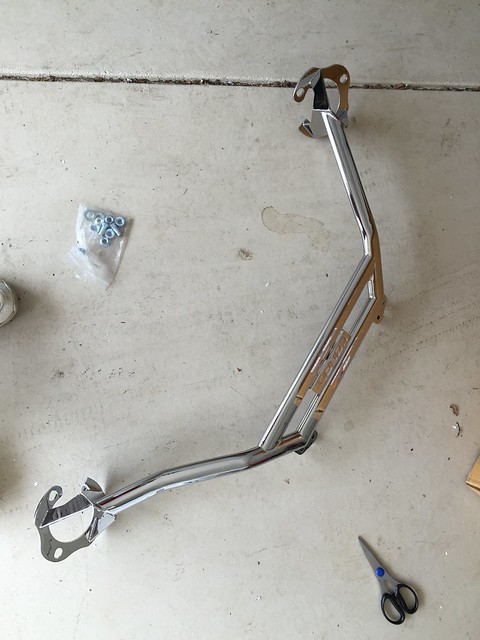
Came with a small pack of hardware (nuts and washers) and the brace was cosmetically perfect.
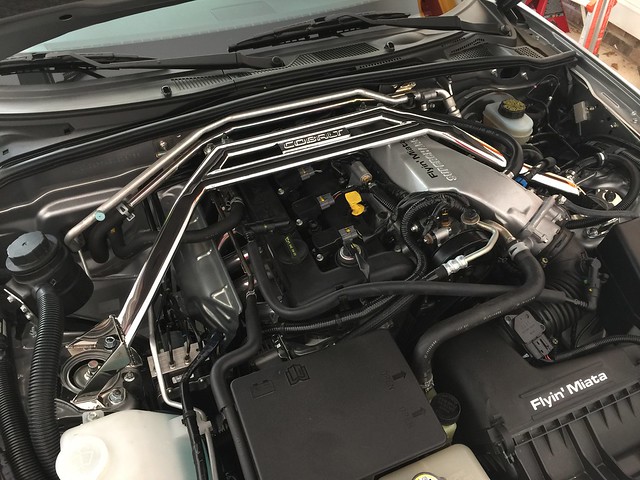
Here it is installed. It fit, but it was tight. I had to strong arm it a bit to get it to fit down over the existing bolts. With the supercharger, it adds some complication to the install.
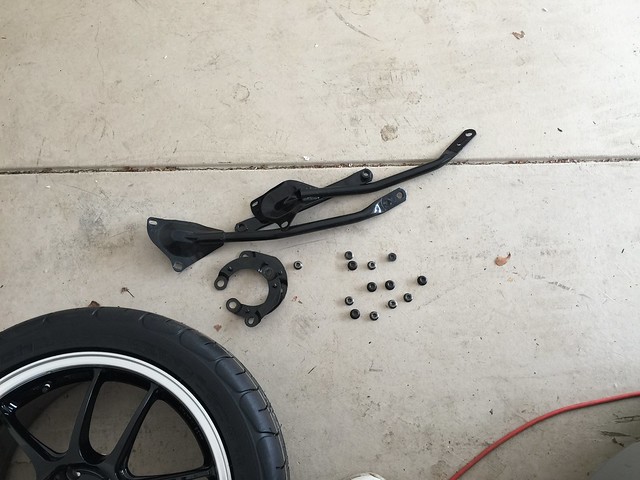
The old parts/left over bits. Not much too it.
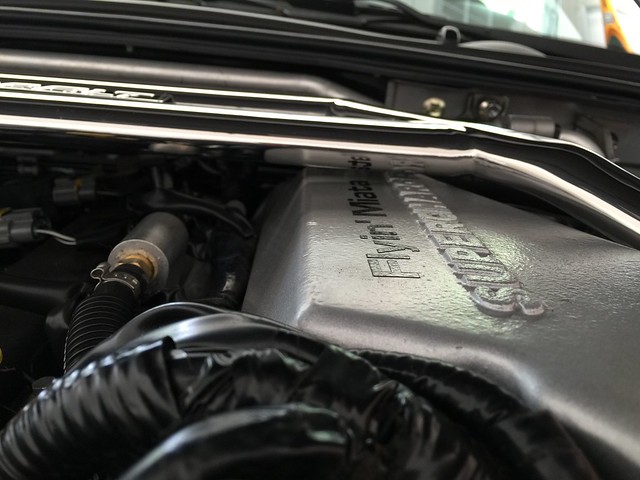
It just barely clears the supercharger inlet, but it does clear.
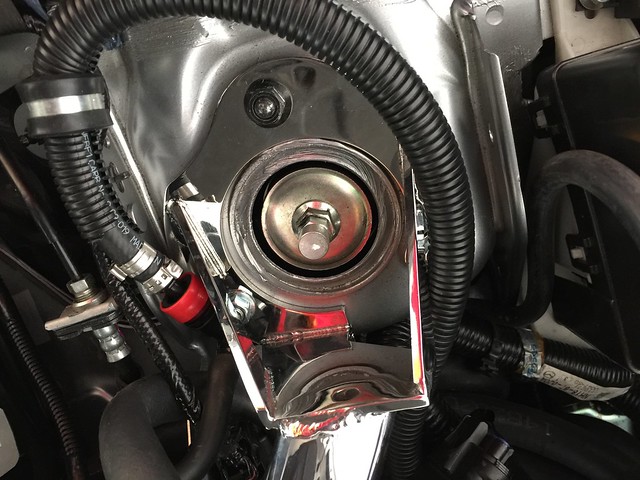
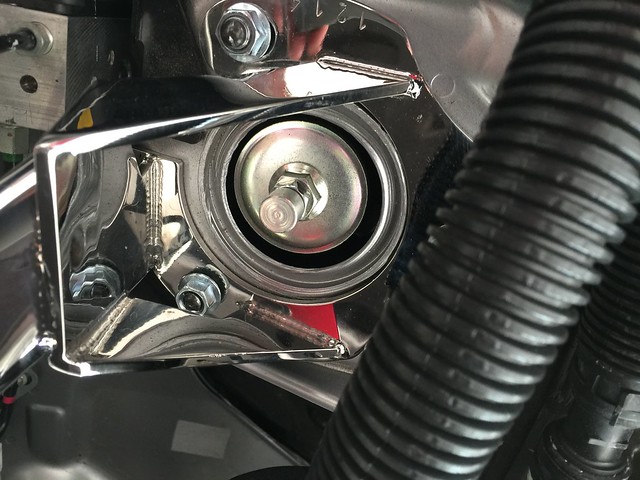
Now I can get to my shock adjustment knobs.
It does seem to be a bit stiffer and you notice it in the steering response. With a bit softer setting on the shocks, I'm very happy with how it now rides.
So Good-Win Racing to the rescue. I ordered their Cobalt brace. It's all stainless and one-piece instead of the 3 pieces of the stock bar. It should offer a bit more rigidity as well as give open access to my shock adjusters. Came in a big, but light box:
Completely wrapped in bubble wrap, and packed in paper.
Came with a small pack of hardware (nuts and washers) and the brace was cosmetically perfect.
Here it is installed. It fit, but it was tight. I had to strong arm it a bit to get it to fit down over the existing bolts. With the supercharger, it adds some complication to the install.
The old parts/left over bits. Not much too it.
It just barely clears the supercharger inlet, but it does clear.
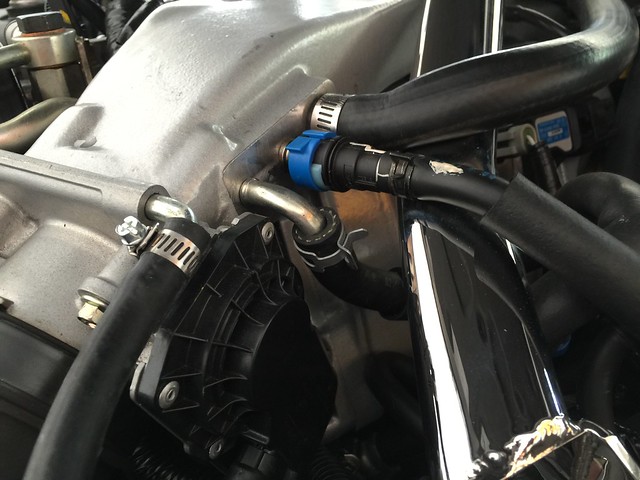
I'll be keeping an eye on these hoses. The large one rests on the smooth surface of the brace.
Now I can get to my shock adjustment knobs.
It does seem to be a bit stiffer and you notice it in the steering response. With a bit softer setting on the shocks, I'm very happy with how it now rides.
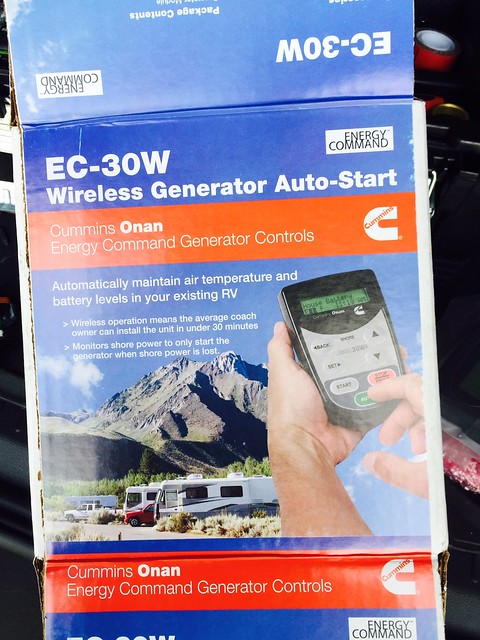
Onan Generator Remote Control: EC-30W
A few weeks ago, I ordered a EC-30W remote controller for my Travato's onboard Onan 2800 watt generator. Here is a video I found showing how to install it on a motorhome:
What I was looking for, was a way to start the generator from the driver's seat while tooling down the road. The reasons for wanting to do this are several - running the overhead AC in the oppressive southern summer heat, but also for powering the 110v only water heater. I figure I could start the generator about 20 minutes before arriving at camp and have piping hot water for hours.
Some side benefits to this device are:
Auto start on low battery warning (and shut off when batteries are charged).
Auto start on disconnected shore power.
Auto start on high/low coach temperature (I assume to protect pets).
Prevent generator autostart during assigned quiet hours.
So now to the install. It was easier than I could have imagined.
I ordered this from PPLMotorhomes in Houston. They have a tremendous RV parts catalogue and had this item on sale. In addition to the device, you need to order a Y-harness for your type generator. For the QG2800 you need part number 044-00086.
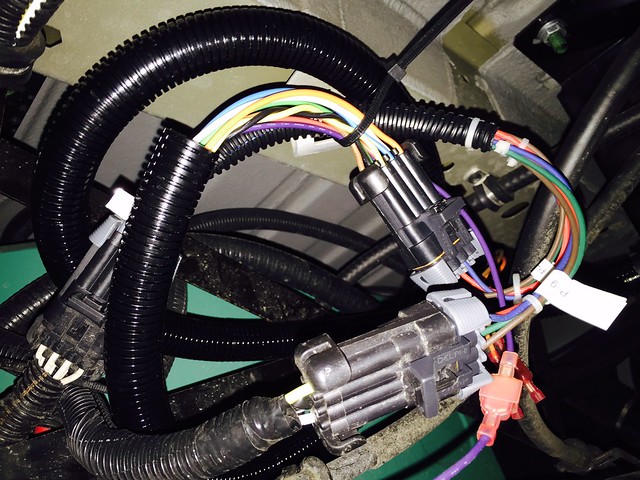
This is the Y-harness you will need to buy separately. They are several types depending on what kind of generator you have.
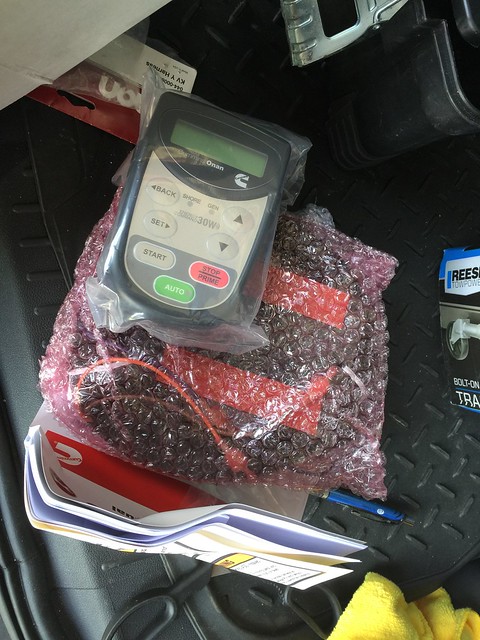
Everything was packaged fairly well. Nothing was scuffed or damaged. The lens and front panel had clear plastic stuck on them to protect them.
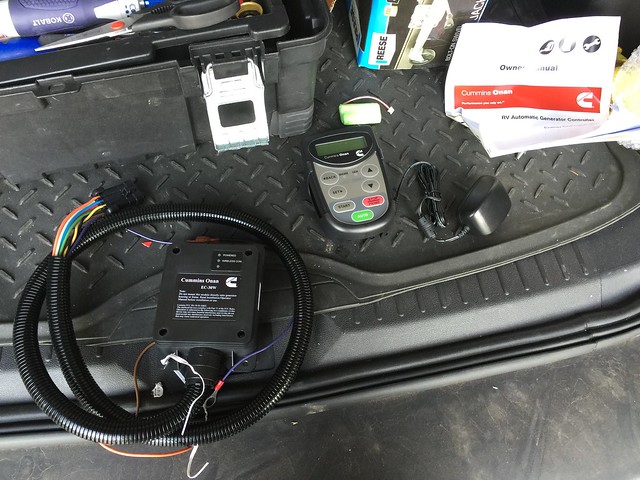
Here is the kit all unboxed - the remote, remote power supply, battery, control module with attached wiring harness. Oh, and a pretty cryptic instruction manual.
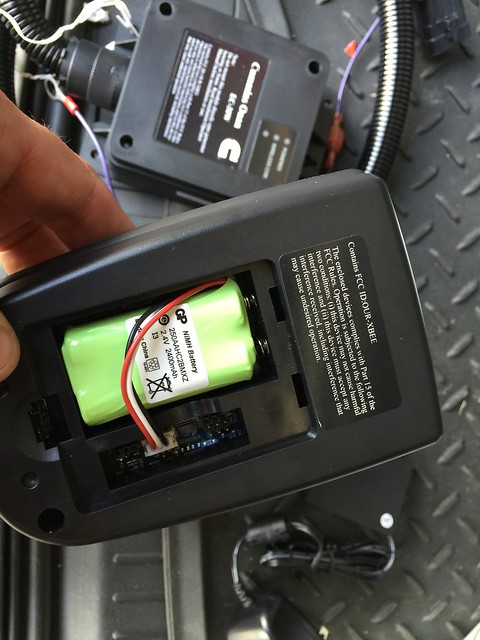
The remote unit came with a lipo battery pack. It was pretty dead on arrival as I had to charge it a bit before the remote would light up.
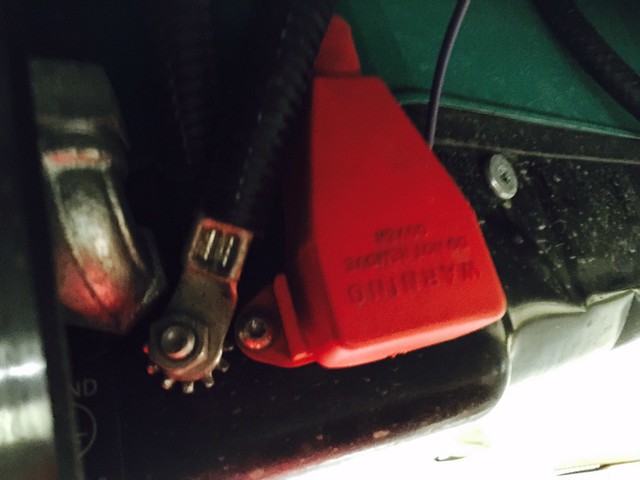
This is the battery terminals on the corner of the generator. You connect the purple wire's ring loop to the positive terminal. This powers the device, but also how it senses the current battery voltage.
I coiled up the wiring and zip-tied it to an open loop under the van. The cabling is jacketed, so I think it will be OK. I may tape up the connectors and other exposed wires.
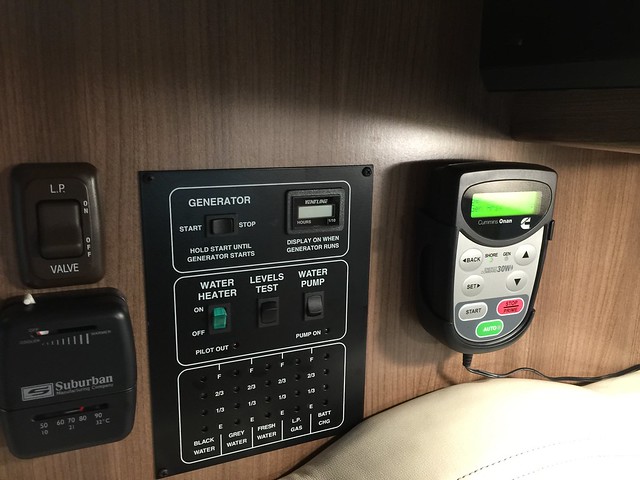
I mounted the charge cradle/holder for the remote on the wall next to the other controls. It's held in with two small screws. The power cable runs to the outlet under the overhead cabinet. That cable is also how it senses shore power is disconnected.
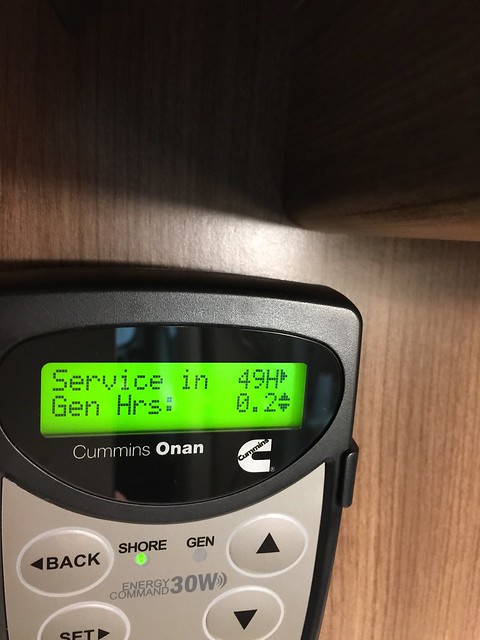
This device will monitor the generator hours and give you service reminders. The original hours meter on the van's panel also shows the service hours, so that feature, and the on/off switch, still work.
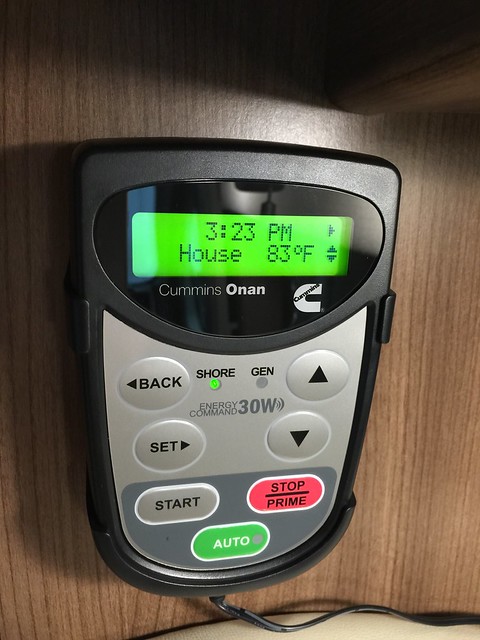
This is the normal display mode.
Setup was fairly straight forward. You have to establish communication and sync the unit to the generator. You also have to select your generator model (from the list of Onans) and set the current hours on the generator. To my amazement, getting a signal was not an issue. Even with the doors shut, the metal van body did not interfere with communication. I was worried about that, but it was for nothing. It works perfectly!
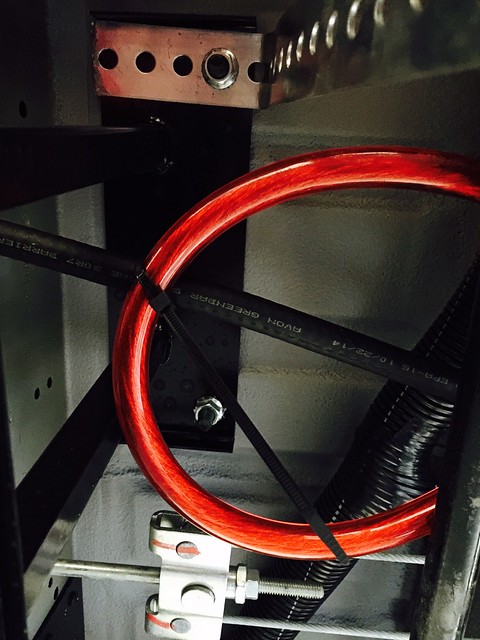
For those of you who were worried, while I was under the van, I moved the zip-tie for the battery cable from the metal bracket (at the top of the photo) to something softer and more rounded. I think it will be OK here for the long haul.
That's it for the major van projects. Think it's time to enjoy it this summer and stop tinkering with it. Next weekend I'm going to a rally and hope to use all this stuff I've been working on.
What I was looking for, was a way to start the generator from the driver's seat while tooling down the road. The reasons for wanting to do this are several - running the overhead AC in the oppressive southern summer heat, but also for powering the 110v only water heater. I figure I could start the generator about 20 minutes before arriving at camp and have piping hot water for hours.
Some side benefits to this device are:
Auto start on low battery warning (and shut off when batteries are charged).
Auto start on disconnected shore power.
Auto start on high/low coach temperature (I assume to protect pets).
Prevent generator autostart during assigned quiet hours.
So now to the install. It was easier than I could have imagined.
I ordered this from PPLMotorhomes in Houston. They have a tremendous RV parts catalogue and had this item on sale. In addition to the device, you need to order a Y-harness for your type generator. For the QG2800 you need part number 044-00086.
This is the Y-harness you will need to buy separately. They are several types depending on what kind of generator you have.
Everything was packaged fairly well. Nothing was scuffed or damaged. The lens and front panel had clear plastic stuck on them to protect them.
Here is the kit all unboxed - the remote, remote power supply, battery, control module with attached wiring harness. Oh, and a pretty cryptic instruction manual.
The remote unit came with a lipo battery pack. It was pretty dead on arrival as I had to charge it a bit before the remote would light up.
This is the battery terminals on the corner of the generator. You connect the purple wire's ring loop to the positive terminal. This powers the device, but also how it senses the current battery voltage.
I coiled up the wiring and zip-tied it to an open loop under the van. The cabling is jacketed, so I think it will be OK. I may tape up the connectors and other exposed wires.
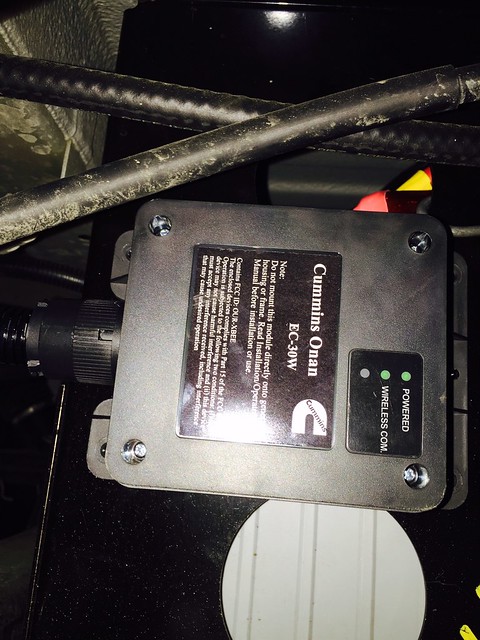
The main control box. Three lights - one is for power, one is for communication connection and the third is for communication traffic - it blinks when commands are going.
I stuck the control module on to the battery support bracket. It was a clean, smooth surface that you could adhere the 3M tape to. The box came with this tape already affixed, so that is how they indend to mount it in most applications. It still has holes for screws if you want to do it that way.I mounted the charge cradle/holder for the remote on the wall next to the other controls. It's held in with two small screws. The power cable runs to the outlet under the overhead cabinet. That cable is also how it senses shore power is disconnected.
This device will monitor the generator hours and give you service reminders. The original hours meter on the van's panel also shows the service hours, so that feature, and the on/off switch, still work.
This is the normal display mode.
Setup was fairly straight forward. You have to establish communication and sync the unit to the generator. You also have to select your generator model (from the list of Onans) and set the current hours on the generator. To my amazement, getting a signal was not an issue. Even with the doors shut, the metal van body did not interfere with communication. I was worried about that, but it was for nothing. It works perfectly!
For those of you who were worried, while I was under the van, I moved the zip-tie for the battery cable from the metal bracket (at the top of the photo) to something softer and more rounded. I think it will be OK here for the long haul.
That's it for the major van projects. Think it's time to enjoy it this summer and stop tinkering with it. Next weekend I'm going to a rally and hope to use all this stuff I've been working on.
