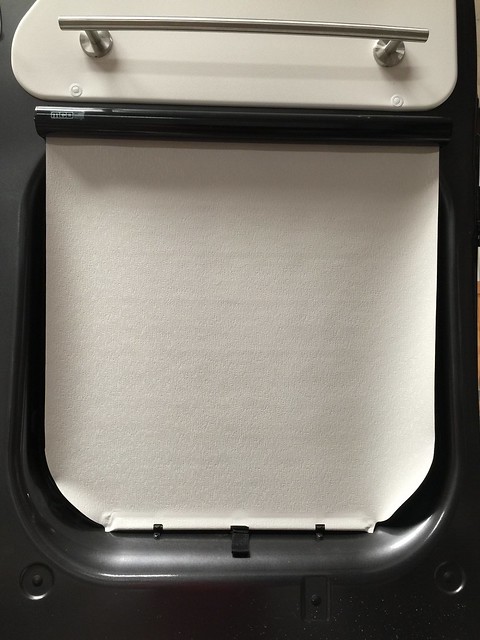
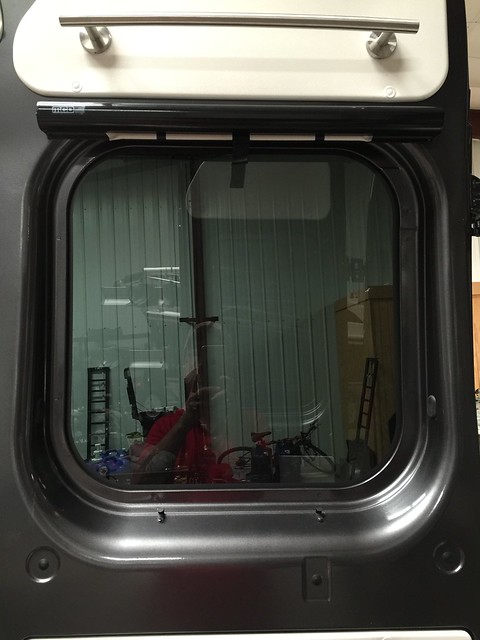
So enter FitRV. They made this project easy as they created a form to order exactly the shades you need and a great instructional on how to install them. I may not have ever attempted this without the ground work they did. Here are links to their blog post and video on it: Fit RV MCD Window Shades Install
The shades aren't cheap, that is for sure. If memory serves, they were around $100 each. The build quality is amazing though. The casings are metal, not plastic. They shipped the set in a single box.
To do this project, you'll need a couple items. Oddly, it doesn't ship with screws. A #6 sheet metal screw will do, but the holes are big enough to use other sizes if you have some that are close. A drill bit, of course, is also needed, that matches the screws. Also, a center-punch can make this an easy project. It helps you make a precise, small dent in the metal, to aid in the drilling. Very handy device - Link to Center Punch Device on Amazon. Also, some 3M VHB tape can hold the shade in place while you are driving in screws.
This is a 30-45 minute project if you don't have issues.
So much handier now. I put the stock fabric covers in storage.
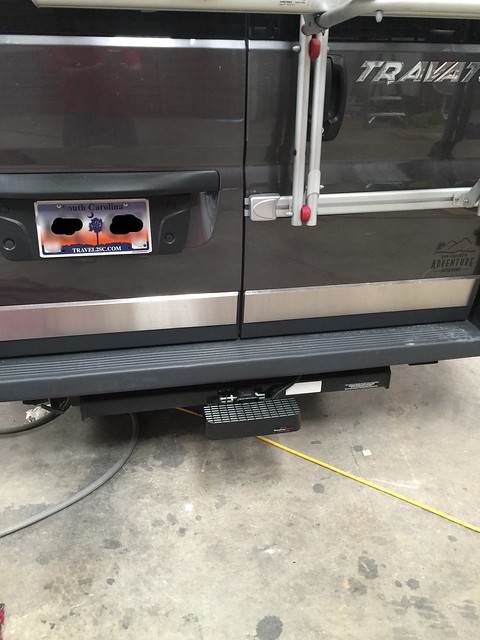
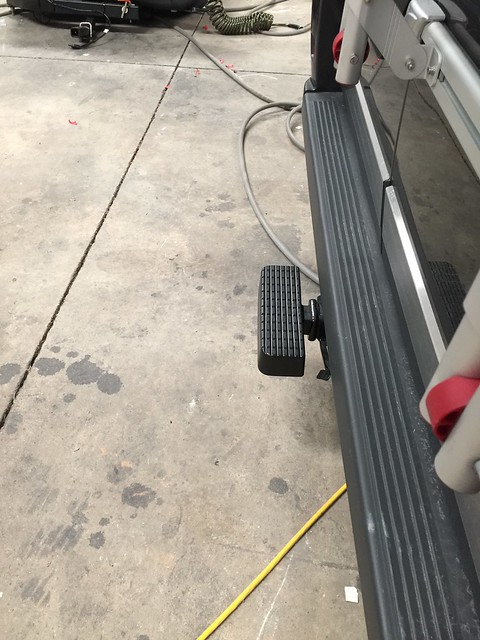
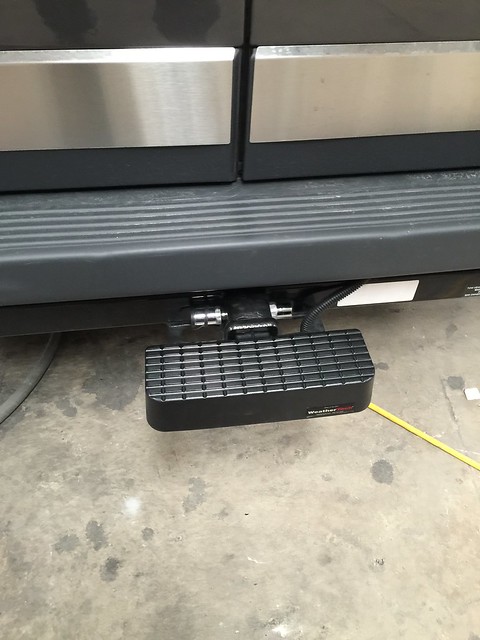
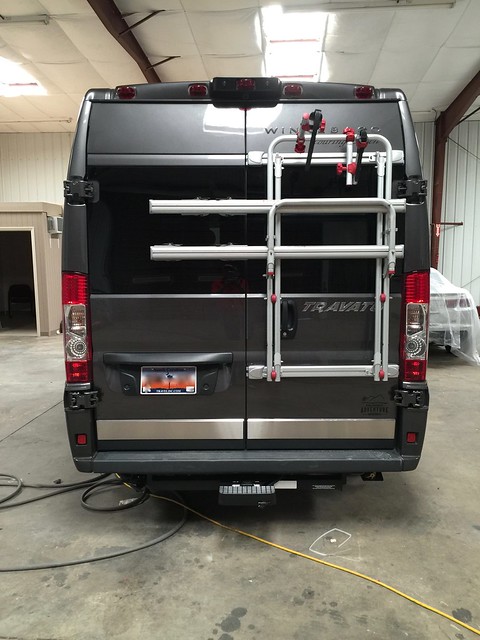
Another item I picked up is the WeatherTech bumper step. It simply fits in the rear hitch reciever. It acts as a step to help you get in the van, but it's also a heavy duty item such that it will protect your rear bumper if someone were to tap it parking their car. I like that it doesn't stick out too far and also fills the unsightly receiver when it's not being used. Of course you can buy it direct from WeatherTech, or from Amazon: WeatherTech Bump Stop on Amazon. Around $40.
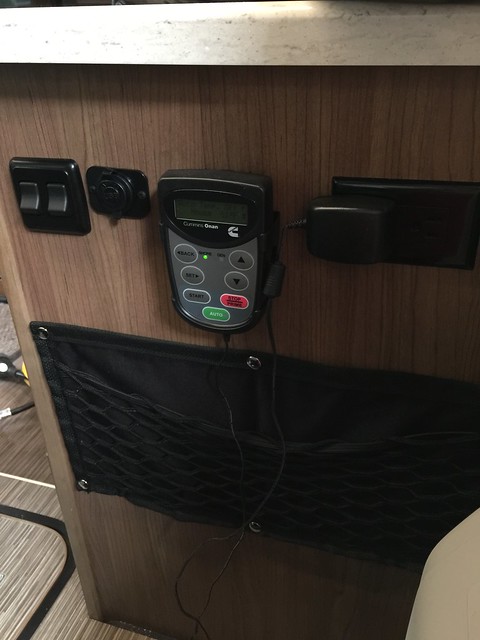
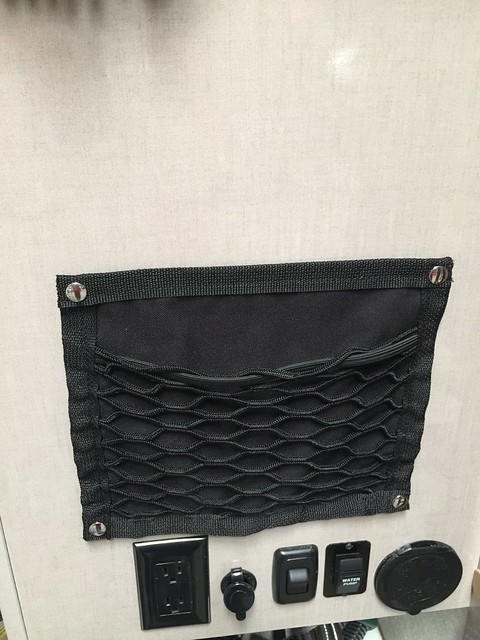
The final thing I worked on today was installing some Organized Obie storage pockets. These are well made canvas pockets with a mesh front to hold your items snuggly. They come with snaps that you screw to the wall to hold them. I suppose that is so you could remove them for cleaning or to carry your items somewhere. Really a snap to install.
These are the two I got: 10" x 12" Pocket and 10" X 20" Pocket
I put the large one on the side of the kitchen cabinet behind the driver's seat. This may be a good location to store travel guides, maps or campground papers.
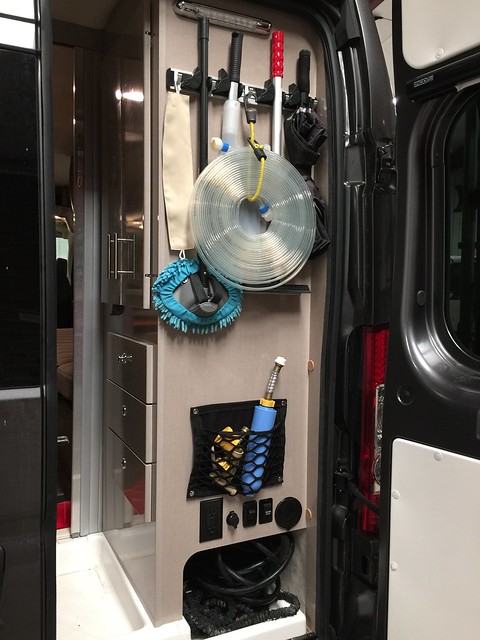
It was too wide to fit in the back. I put the smaller one back there on the rear bulkhead to hold some small items:
A bit better organized. Coupled with the rack up top for holding my handled items, and a bit of decluttering (why carry 3 types of hoses?), I'm more organized.
Note the clear hose that is hanging from the rack. This is a new item I just got that I'm going to test out. You can get one here, but I can't yet vouch for it's durability:
Clear Flat Water Hose on Amazon
