The show appeared to be a great success! Friday did not seem as crowded as I remember it from last year - I didn't have to wait to park or wait to get my ticket - so that was a good thing. But there seemed to be many people there - they were expecting a higher headcount this year, and I believe they were not disappointed. Most of the salespeople I chatted with were expecting Saturday to be crazy.
Nearly every B I saw at the show had a "sold' sticker on it. Discounts appeared to be 10% off MSRP - not really great deals unless people were good negotiators. With some lengthy wait times on new orders, I suspect that many paid these prices and were glad to get some of the hard to get models. There certainly were a variety to choose from, which I'll get into below. I also got to talk at length with Russ Garfin (Winnebago Product Manager) and Jim Hammill (President of Roadtrek). These conversations were very elightening, which I'll get into in the sections below.
WINNEBAGO:
I had a couple of goals in mind for the Winnebago booth. First, I wanted to see the 4x4 Era and I wanted to get a few measurements on the Travato 59k.
I had a couple of goals in mind for the Winnebago booth. First, I wanted to see the 4x4 Era and I wanted to get a few measurements on the Travato 59k.
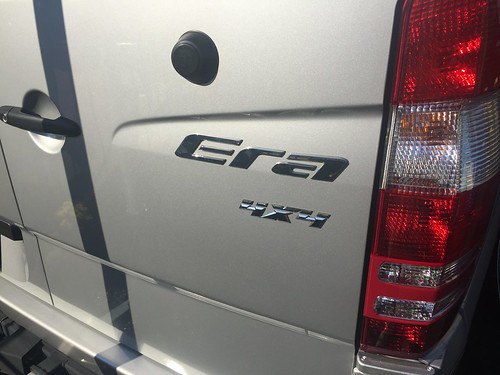
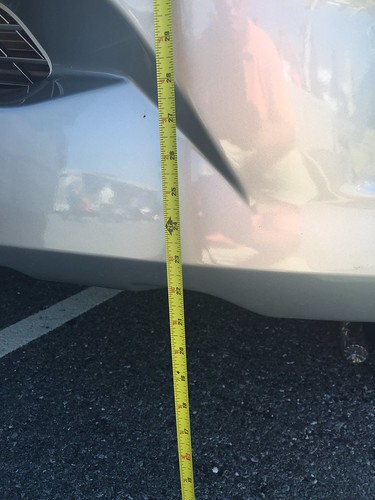
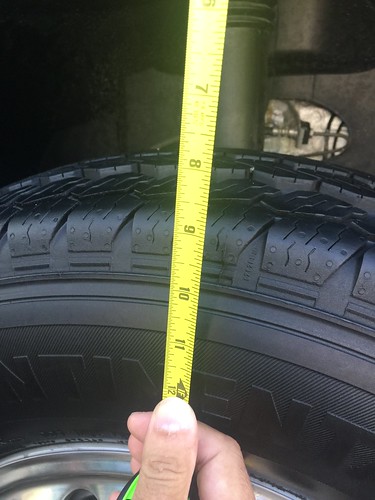
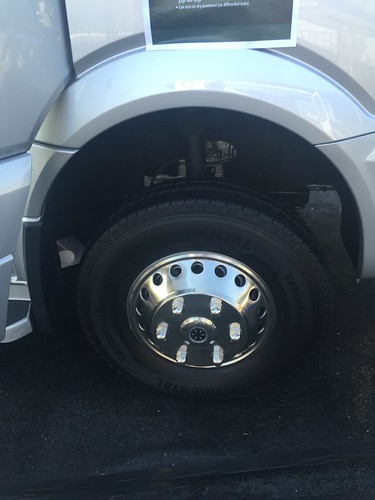
The Era 4x4 on display was an X model. Was hoping for the A. It appears that the only difference when you order the 4x4 is the drivetrain. Nothing else is changed. I was struck by the extreme ride height increase. They add no steps or any other things to ease you entry into this now 4" higher coach - they use the same side step mouldings as the standard van. I think this is a big mistake.
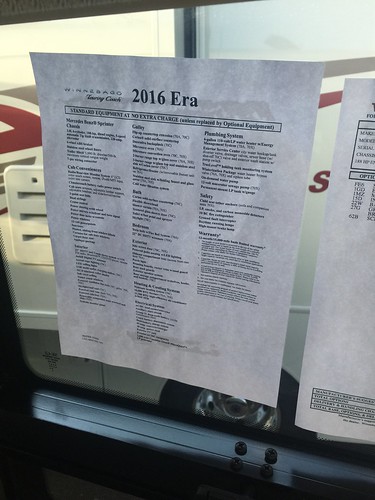
Here is the detailed equipment list (you'll have to zoom in to read it all):
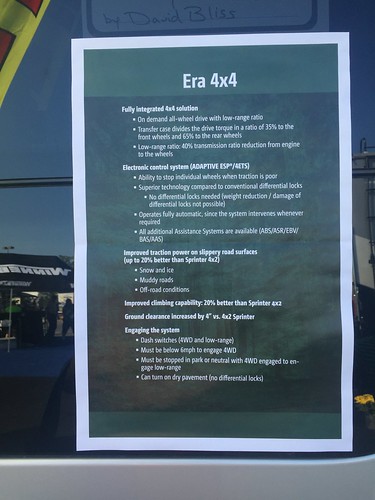
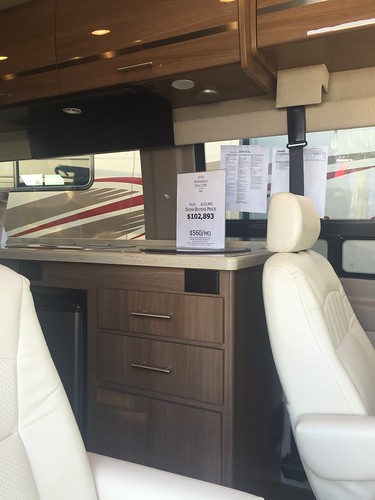
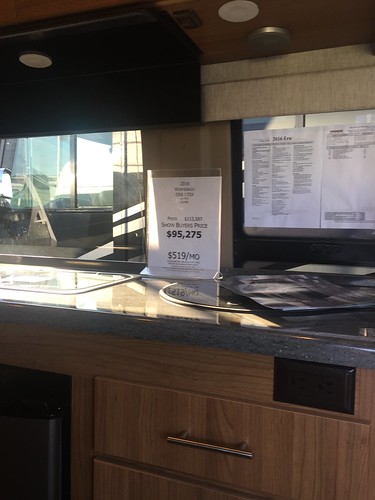
The price with this option is $102k. Not too bad really - they are just charging you the Mercedes Benz upcharge for the 4x4. For comparison, the regular X is $95k. Before you delcare that both prices are outrageous, just hold tight on that. As we go thru the show, your opinion may change a bit.
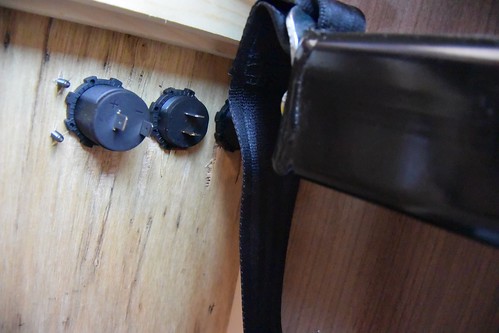
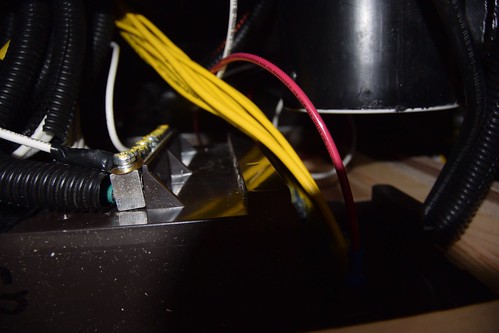
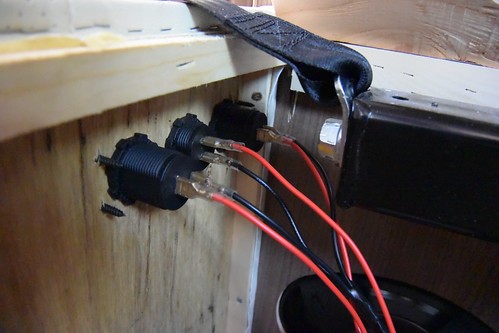
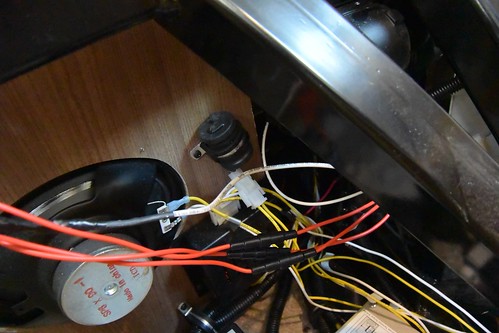
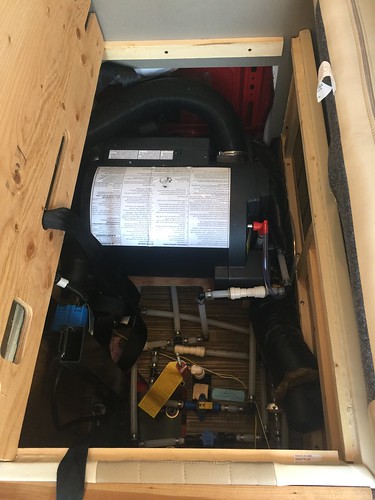
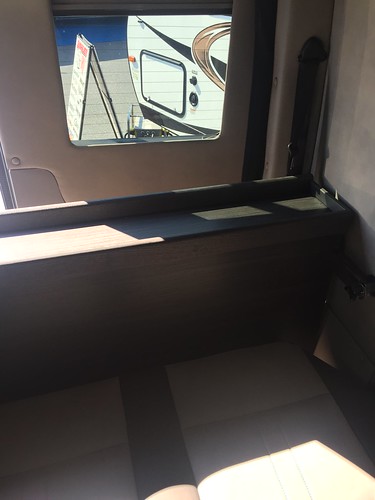
You may be surprised at the lack of Travato coverage in this writeup. Well, nothing is really new on the Travato front, but there was one thing I was curious about - how they fit the Truma system in the 59G. Here is how they squeeze it in under the dinette seat. Notice that the big metal frame that was previously used for the seatbelt mounts is now gone.
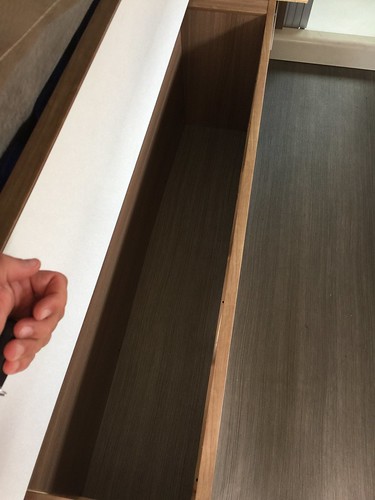
I also wanted to get a measurement on the underbed storage on the 59k. It's 55" long x 11" wide, by 19" deep. I think it's big enough for the gear I want to store there and leave my Stowaway2 box at home most trips.
I also was able to talk a salesman into going on to the roof and taking some measurements for me for extra solar panels. Looks like two of the 13.5" x 58" Zamp 80 watt panels will fit.
Well, while we were photographing the Truma system, I heard someone behind me clear his throat and ask "sir, can I help you with something?". It was none other than Russ Garfin, Product Manager at Winnebago Industries.
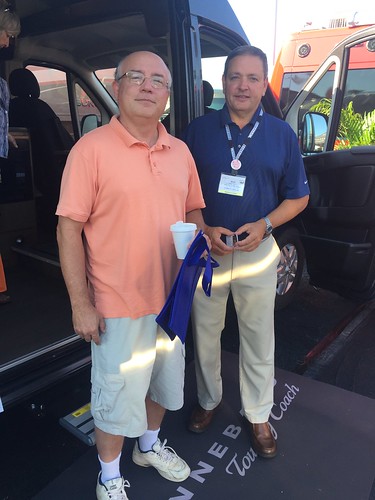
To my surprise, he was aware of the blog and some of my exploits. We got to talking about the Travato. Two points were rather interesting. The demographic on the Travato is not really all that much younger than their other products. Maybe it's just people who are in denial about getting older. RV's are still an expensive exploit, so I guess it's not unexpected that buyers are older folks with money to spend. As far as Promaster news goes, two things - don't expect the new pretty front end of the Ducato any time soon. Apparently the American engine precludes the new parts from fitting on our version of the van. Way to go Italian engineers! Also, don't hold your breath for a 4x4 Promaster or Ducato. The prototype show van was a one-off build from after market, not Fiat parts. No product plans at all from Fiat.
I asked about the absence of Transits at the show. He confirmed they've been playing around with some Transits, but it's been difficult with getting the chassis to work with their designs. Ford's focus is not necessarily on RV service, so there have been technical struggles and alot of back and forth. He couldn't commit to when we'd see any product. Later I talked with Jim Hammill at Roadtrek and he confirmed the same thing, but added a few more interesting bits I'll share when we get to the Roadtrek booth.
I asked about the absence of Transits at the show. He confirmed they've been playing around with some Transits, but it's been difficult with getting the chassis to work with their designs. Ford's focus is not necessarily on RV service, so there have been technical struggles and alot of back and forth. He couldn't commit to when we'd see any product. Later I talked with Jim Hammill at Roadtrek and he confirmed the same thing, but added a few more interesting bits I'll share when we get to the Roadtrek booth.
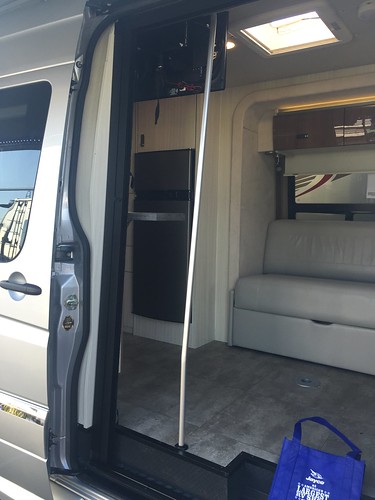
One feature I never noticed before in the Era C was the stripper pole. It may work better more toward the center. Needs further testing I'm sure.
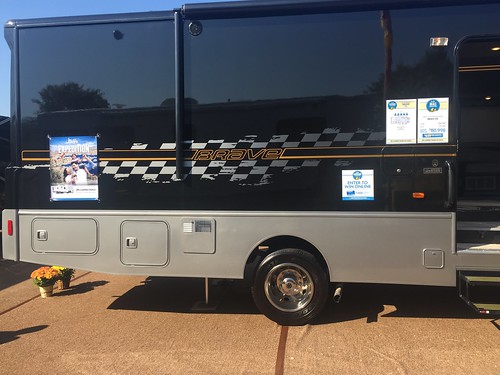
Overall, it looks to me like Winnebago has made some improvements in the quality of their paint work. The black striping and the window fitment on the Travatos on display was much improved. One thing that caught my eye was the Nascar themed RV's. Note on this Brave that this is NOT a sticker. I was impressed with how neat this looked close up.
AIRSTREAM:
There was not really anything new going on at the Airstream booth. They had a few Interstate models tucked in with their trailers. The whole display was much smaller than last year for some reason. But the salesmen were quick to inform me that Interstate was the #1 selling Sprinter class B! I'm sure Roadtrek and Winnebago may dispute that, but I don't know, or care, really. I wanted to see the Grand Tour! It's probably the closest thing to the floor plan of the Advanced RV (who wasn't at the show).
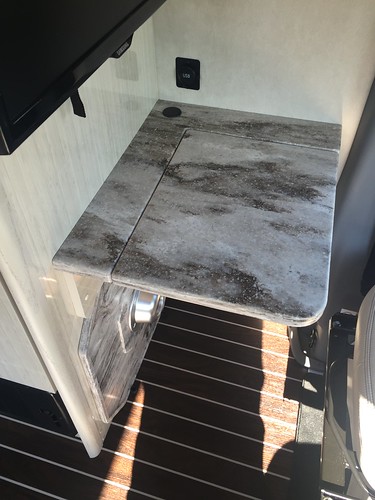
It sure was a pretty coach. The fit and finish was excellent and many items seemed heavy duty. Plus a few nifty, if not quirky features. This computer workstation behind the driver's seat was excellent. Nicely tucks away, and there is plenty of room for your feet.
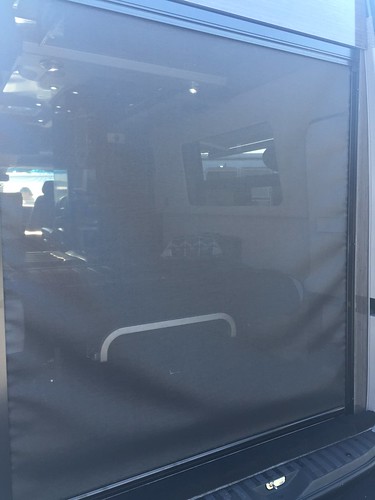
Their screen door was tremendous, imposing even. I'm sure it's very durable. But half the aperature is permanently closed off. I'd rather have the collapsible screen door that is in the Era & Travato.
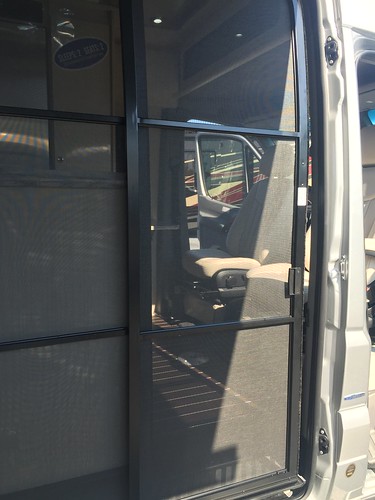
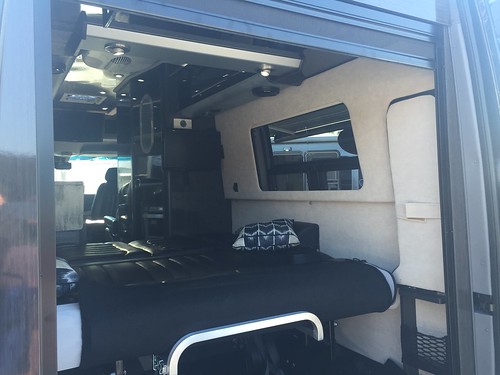
You'd think everyone would have something similar.
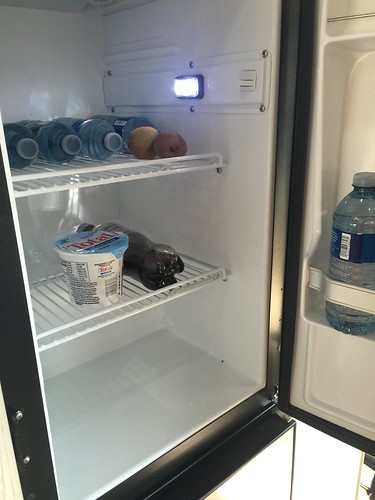
The appliances were top notch. This Nova-Kool refrigerator/freezer is 12v/110v only. No LP.
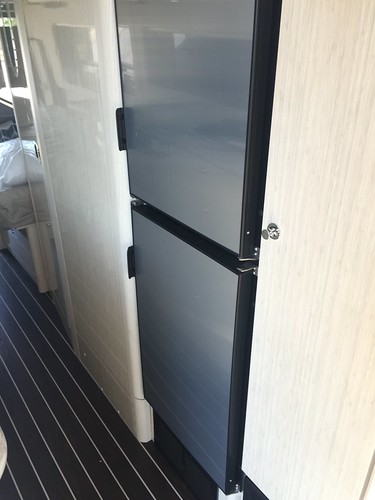
The salesman told me they sourced it from a marine application. It looks it.
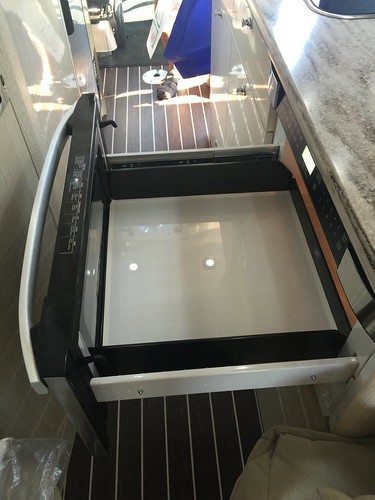
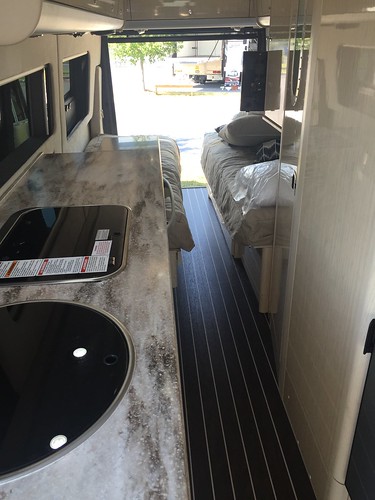
The pull-out microwave was amazing. It actually has a power opener if you can believe it. It does take the entire aisle though. Guess a large pan will fit.
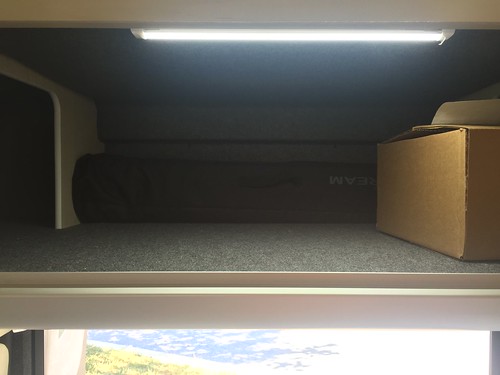
Because this van is an XL, you get a tremendous overhead cabinet in the rear.
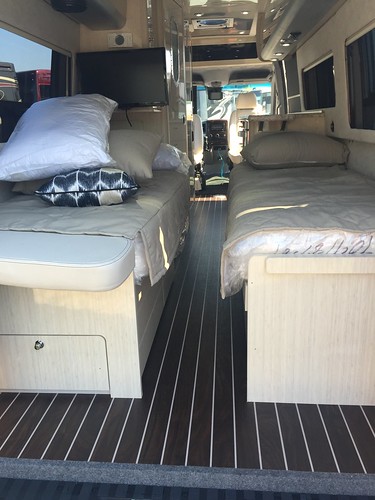
This one was a twin, fixed bed plan. Center aisle all the way from front to rear.
 All that pretty comes at a steep price though - $159k.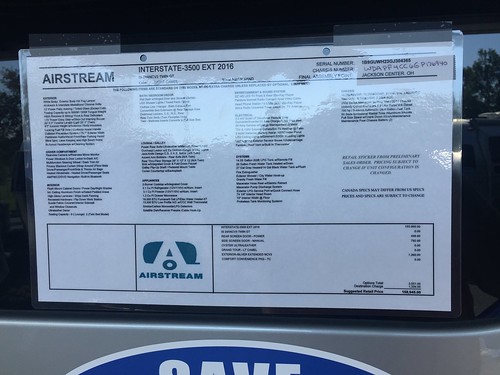
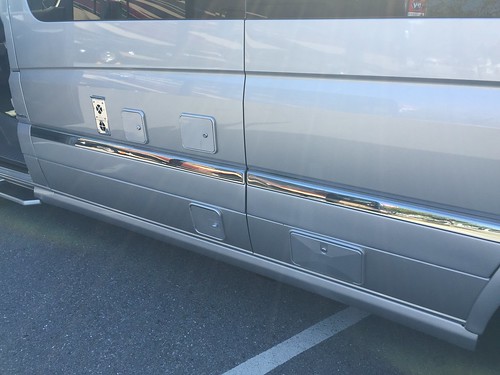
For that price, you'd think you'd get the best of everything. But alas, you get all these ugly doors in the bodywork:
MIDWEST:
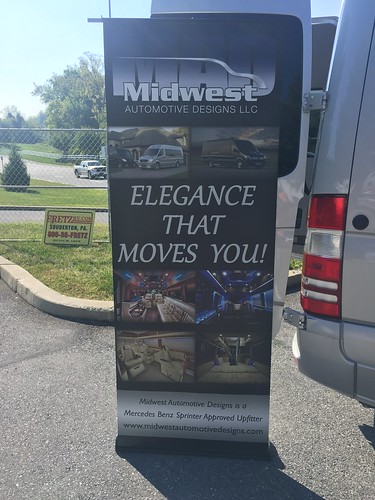
The next booth was the MidWest Automotive Designs. They primarily do luxury limo van conversions, but they also do touring coaches. They tell me they are not just build to order, that they have dealers and inventory on sales lots. If what you see below makes you interested in knowing more, check out their website - www.mwautodesigns.com. Jason Sullivan was the salesman I talked with.
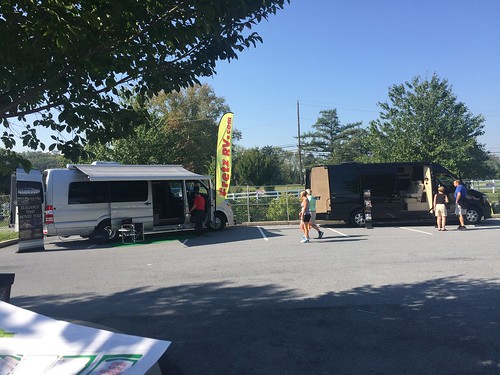
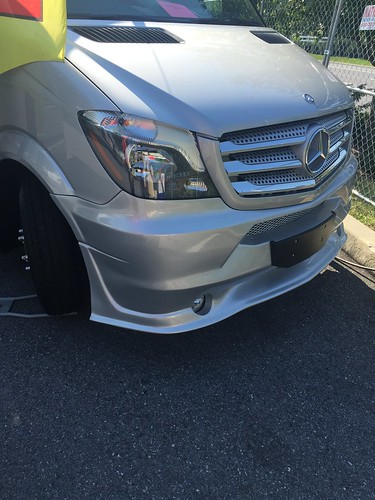
These guys were the only ones with a custom fiberglass fairing on the front of their Sprinter. Think it's a good look.
Their upholstery was exquisite. Soft buttery leather with contrasting piping. Some models had a diamond pattern stitching reminiscent of a Bentley.
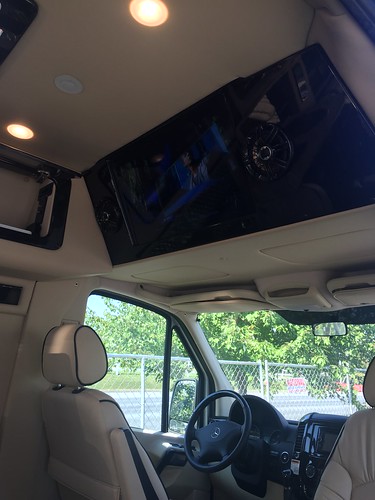
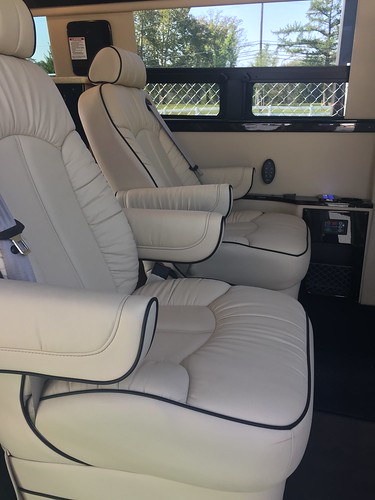
I liked that the hid all the control panels inside a cabinet. Some of it is high-end.
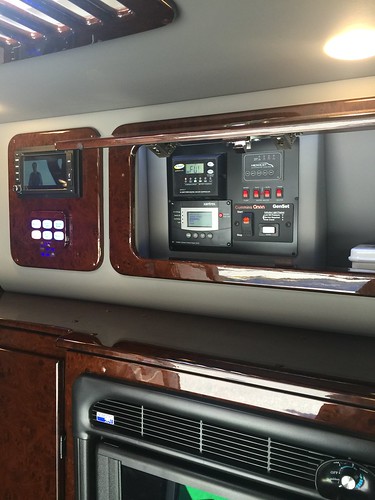
All their wood work was real wood. Highly polished/laquered. That, with the leathers and suedes on the walls was very plush. But it struck me as kind of dated. If you like the look of private jets and limos, though, you'll feel right at home.
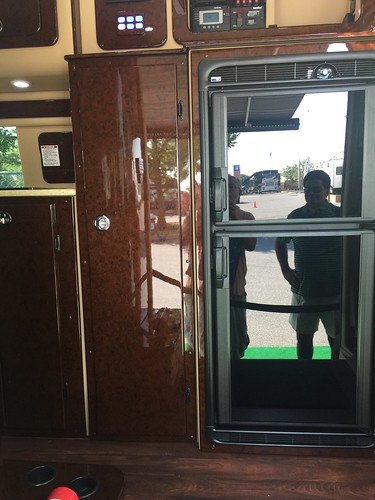
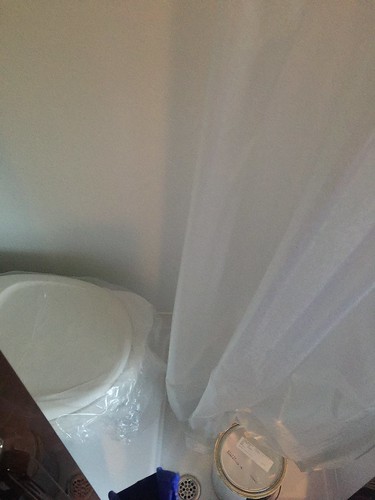
Their bathroom was typical for a B van. Nothing really special. It was big enough to shower though. No sink hitting you in the hip, which I liked.
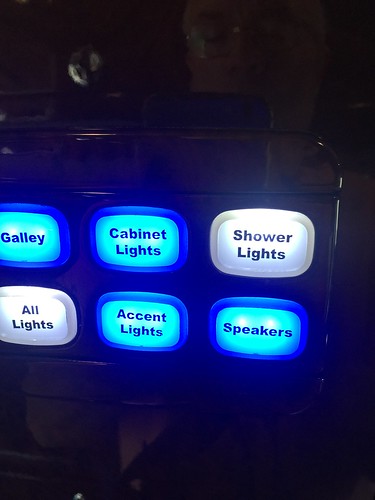
They use multiplex wiring, like Pleasureway. The switches are very legible, but somehow look dated compared to the Pleasureway.
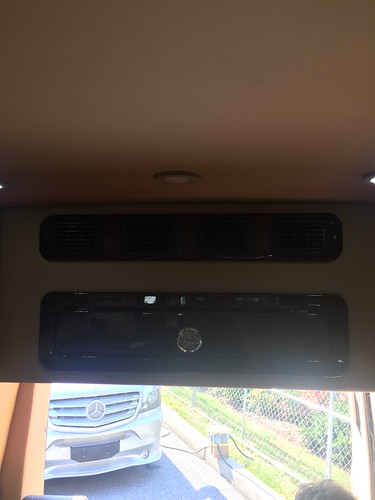
Their most interesting feature, to me, was their dual air conditioning system. They call it a 12v AC system. Actually, it's an additional compressor under the hood that powers a unit in the rear upper compartment. They claim 60,000 BTU cooling. Jason demonstrated it and it got quite cold in there with the outside temps in the mid-80's. You have to run the van in "high-idle" though while doing this. You also have a standard 13,500 BTU RV air conditioner on the roof that is powered by shore power or the onboard Onan generator.
So you can have the best of both worlds. Pretty unique in the RV world, probably standard fare in the limo market.
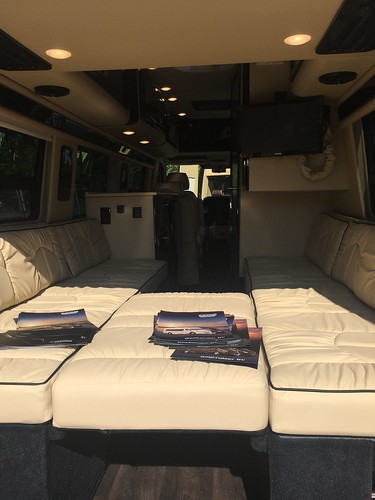
The dark color scheme was too dark for my tastes, and apparently my camera too. You can get chocolate or black, whatever your taste.
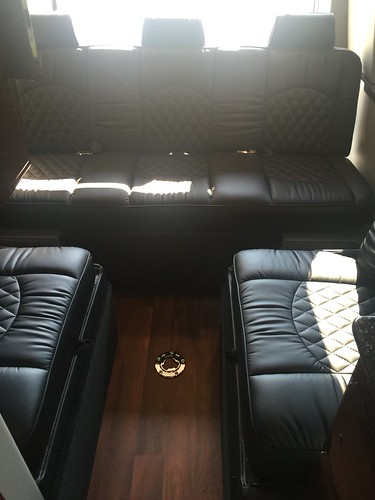
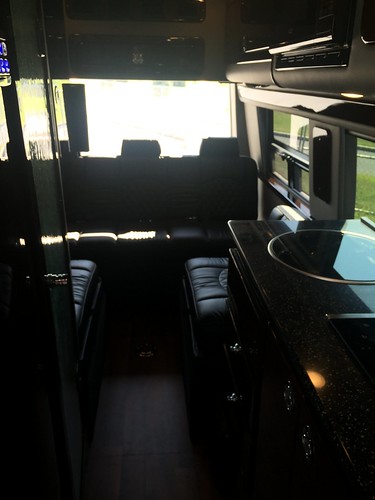
Prices for the two units on display were $155k and $145k. So that's on the high side of the market on par with Airstream and the Roadtreks.
COACH HOUSE:
Next was Coach House. Their only B at the show was the Arriva. The rest were their B+/C products. I didn't notice anything really different from last year, other than it doesn't look like they've had the price appreciation of the other brands.
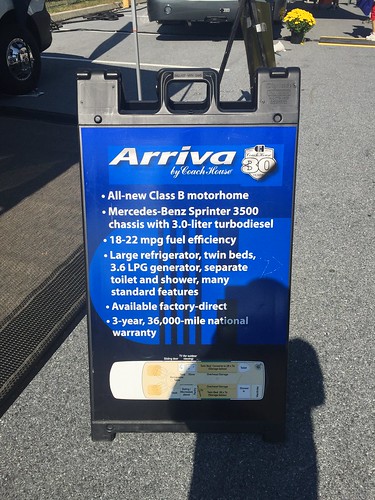
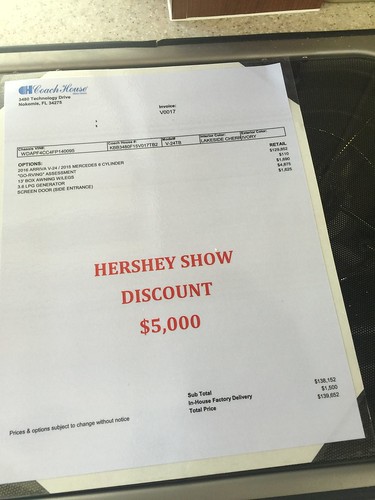
But maybe they are making it up with meager discounting. A whole $5,000 off for the show?How generous guys!
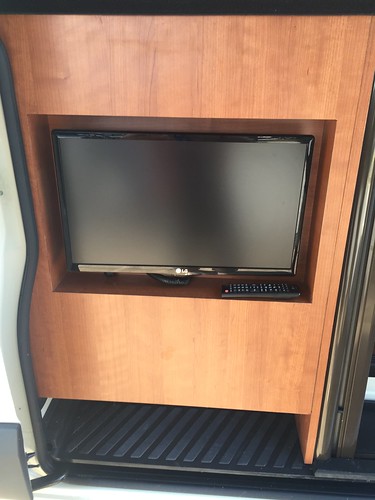
Their outside TV mount was nice. Protects the TV, but requires you to have another one inside.
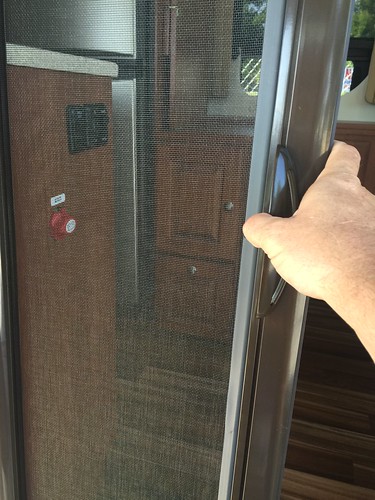
Their screen door was a roller type. It had a mid-point closer and a full closer, so you could set it in either position. Neat and seemed durable enough.
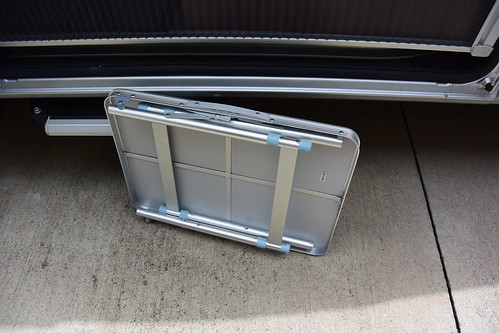
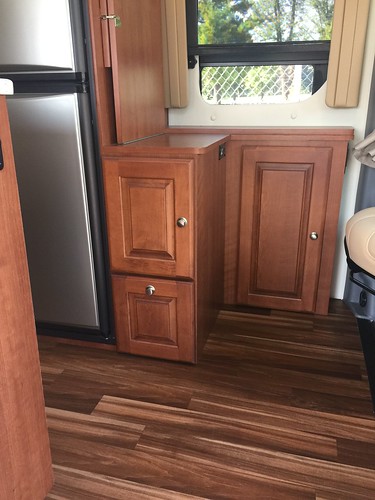
This brand has pretty traditional styling. What I thought interesting was this large fold-down table. In the first pic, it's folded up in travel position.
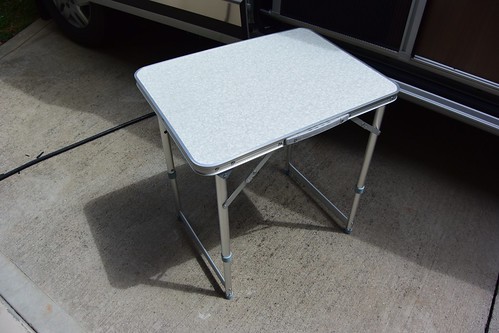
Here it is unfolded. You might feed two at this table, but the passenger seat would be more in the corner.
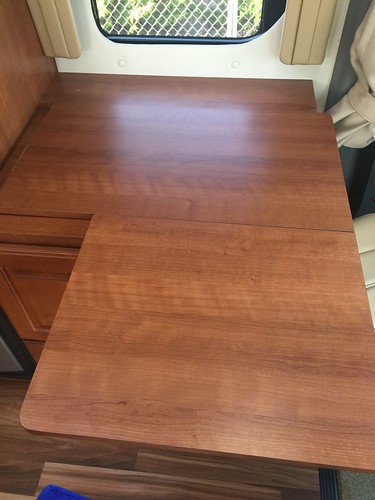
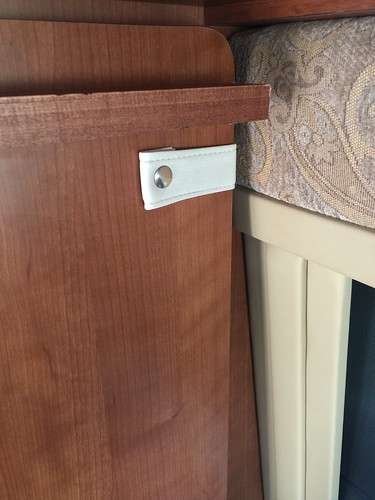
I had alot of difficulty putting it back in travel position. The snap strap was hard to get around and re-snap while holding the table up at the same time. Also, this is the only thing holding the table up and from hitting the back of your head/seat. I think this design needs more work.
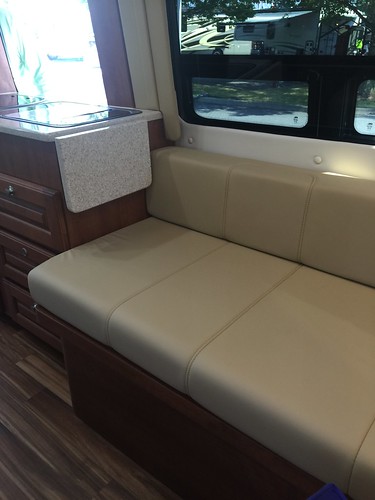
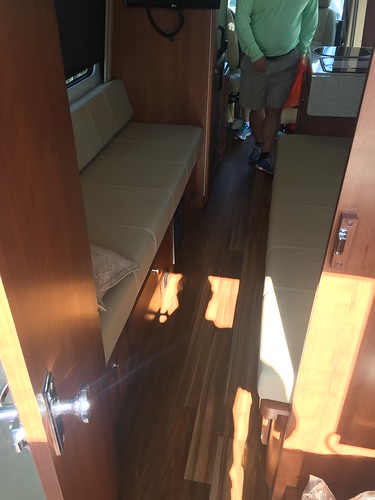
Same two big sofas that turn into twins or one big bed. They seemed soft enough, but the backs are two low. Not suitable for extended sitting/lounging. Like the idea, but not the implementation.
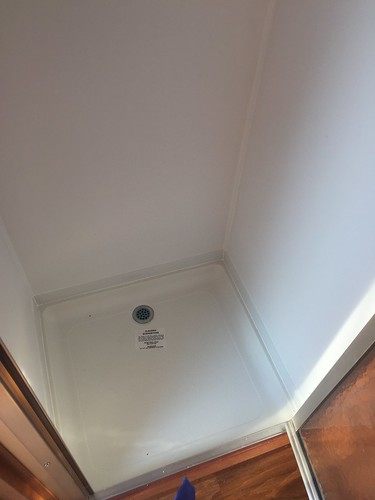
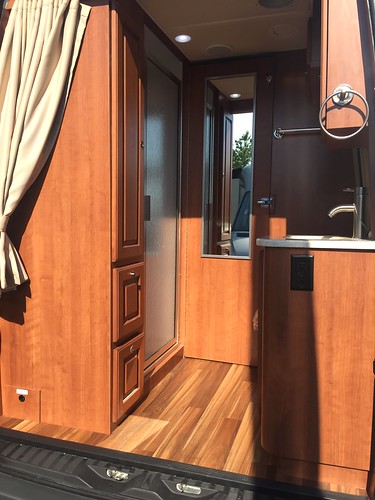
The bathroom was as large as it's always been. The shower is a seperate stall and a nice 24" square with a glass door instead of a curtain. The stool is between the sink and the cabin bulkhead.
Obvious cost cutting can be seen on the front valance. Where the Midwest had a custom fairing worth probably $1,000, Coach house starts with the cheapest MB van you can source, with unpainted ends. Disappointing considering this van is $135k (with the generous discount).
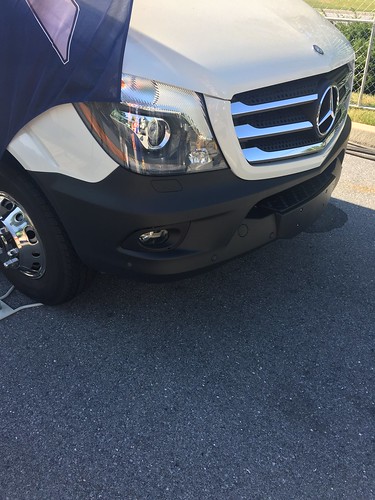
PLEASUREWAY:
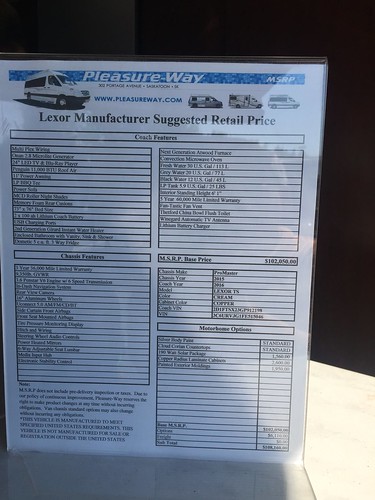
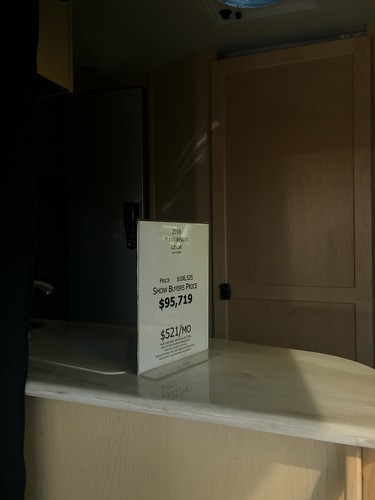
Pleasureway is one of those brands that has a mix of great and some quirky features. They have the same Plateu Sprinter models this year and are back with their Lexor, which was a prototype at last year's show. They actually came with two Lexor's. One highly optioned, and the other not. Both have the same layout.
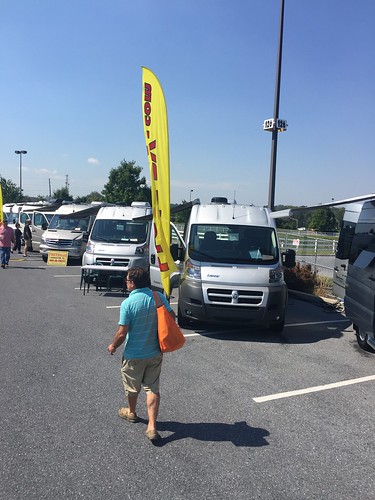
New for 2016 is the painted bumper covers. I think this feature is highly expected at this price point, as well as complementary to the luxury interior and features of this kind of coach.
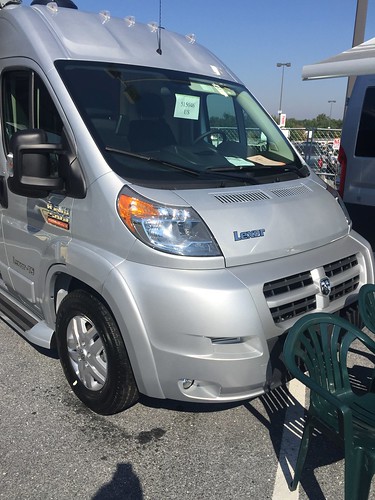
They do leave the RAM badging on this coach, which the other manufacturers are removing. Maybe the chrome bits is considered more bling?
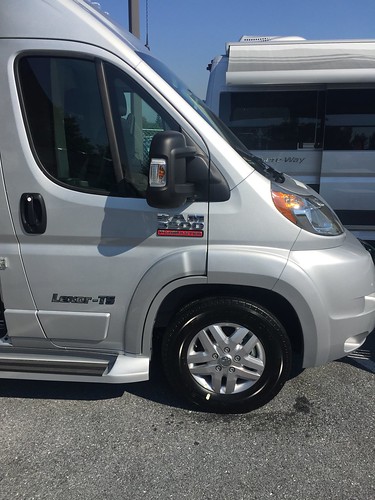
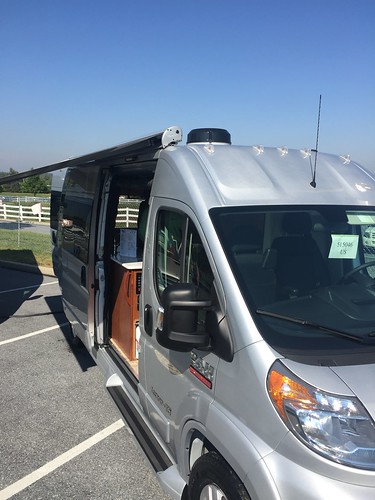
Note the round box antenna on the roof of this van. All their vans had it - you can't see it, but there is Winegard embossed in the black plastic. I suspect is a broadcast TV antenna and not satellite. If anyone can confirm this, let me know.
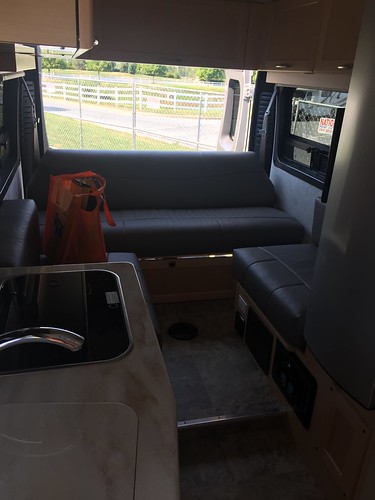
Probably the classiest of the Promaster intereiors. Very serene to sit back there. The width really plays into this layout, making a very spacious seating area in the back.
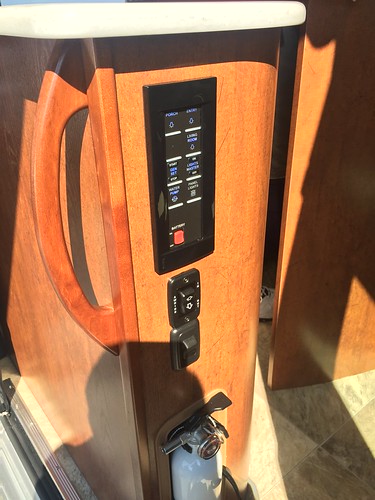
One of their compelling features is the multiplex wiring system. Very nice to have all controls in one panel.
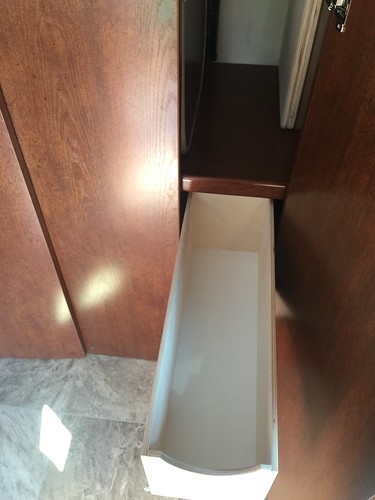
One of their quirky features - these narrow drawers in the bottom of the front hanging locker.
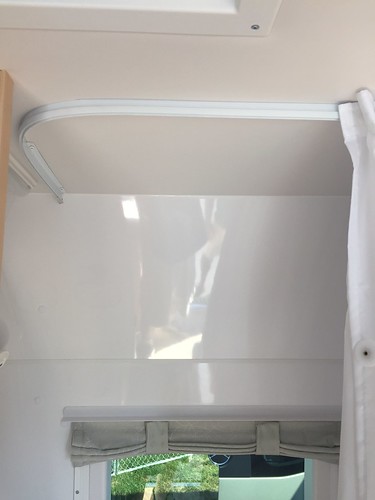
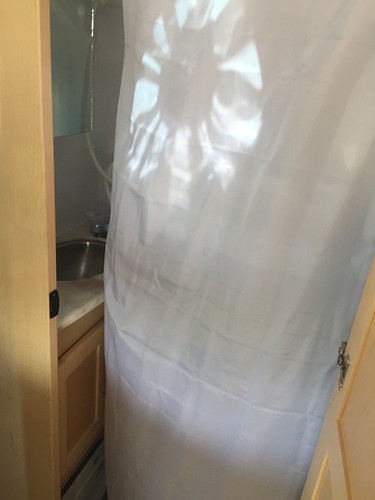
They do have their shower curtain game down pat. Very effective on a track.
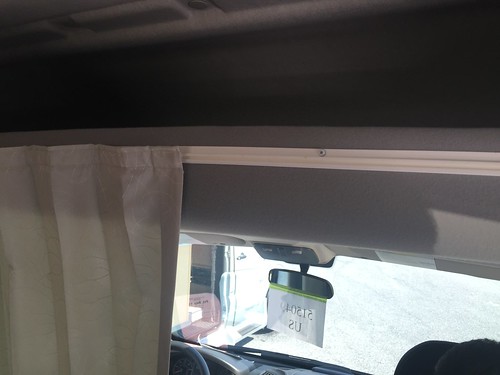
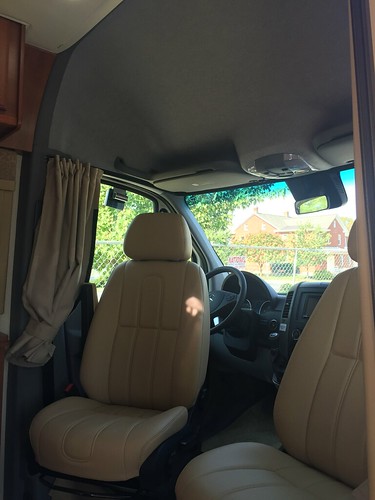
Their cab section can be closed off with a curtain instead of trying to fit window covers. Nicely on a track. This model also had the swivel front seats.
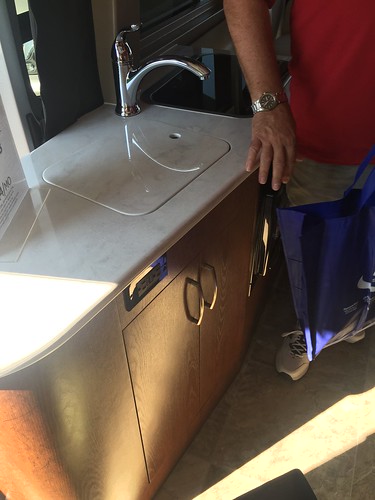
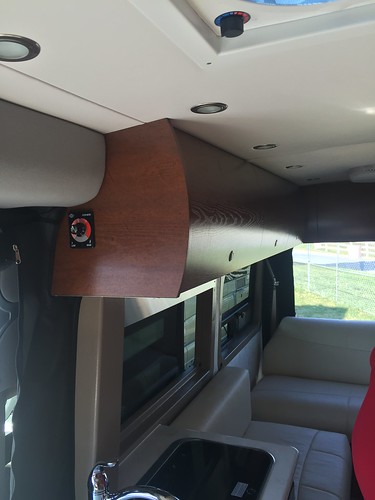
One of their new features I did not care for is the radius cabinets. Just smooth wood with no details. Too plain for my tastes.
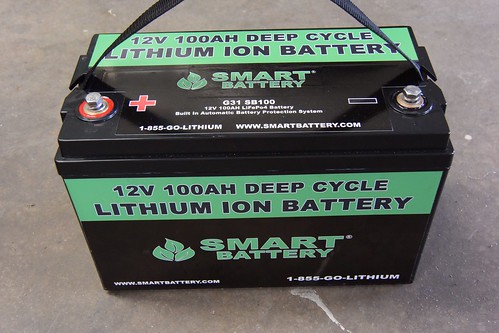
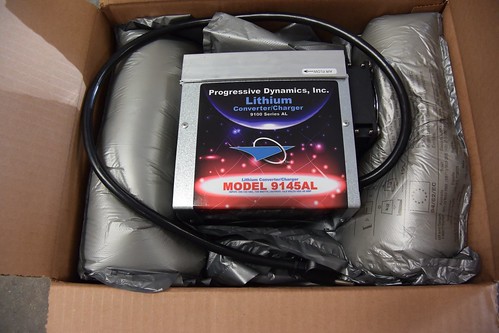
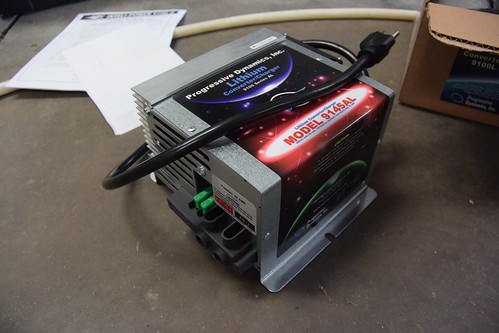
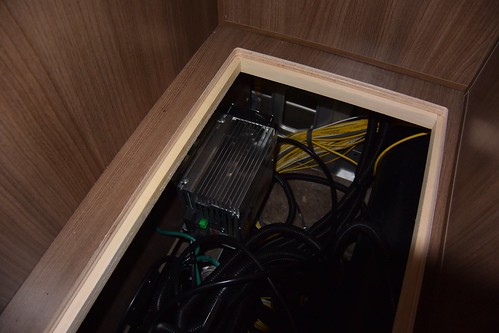
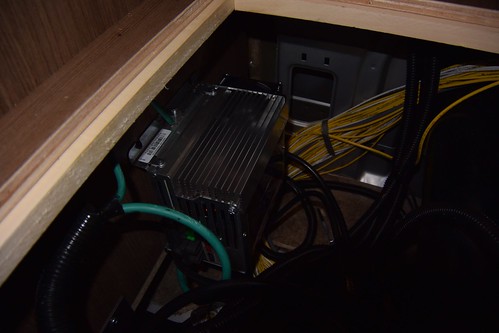
Now to the best stuff. They now, as stardard equipment, are using lithium batteries and a lithium specific charger/converter. In this picture, you can see the converter and transfer switch bolted to the wall under the rear sofa. Curious this is in such an open area. Most likely for cooling, as the converter can run at full power for an extended period to recharge lithiums. In the bottom center of the picture, you see the cover to the battery compartment. Unlike in past vans, this one is bolted down - they don't want you in there, obviously.
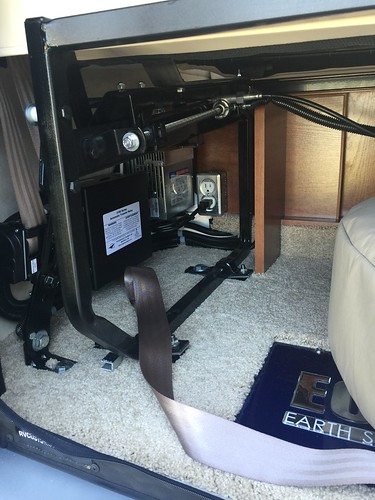
Since there is no rear-door mounted spare, or under mount due to the battery box, they put it here under the sofa, taking up a lot of the storage space. I suspect many will leave this at home.
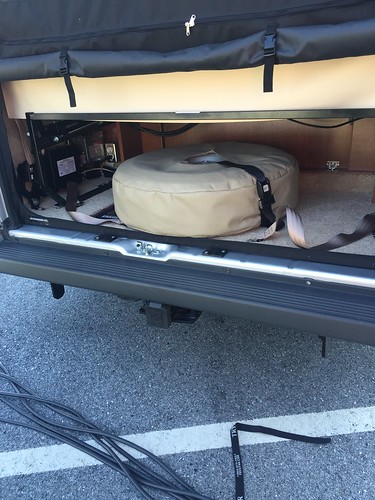
Here is the battery box underneath. I could not tell if there was any heating or cooling to this box. I suspect there is not any. Note that with the generator there, and this box, no room for a spare tire.
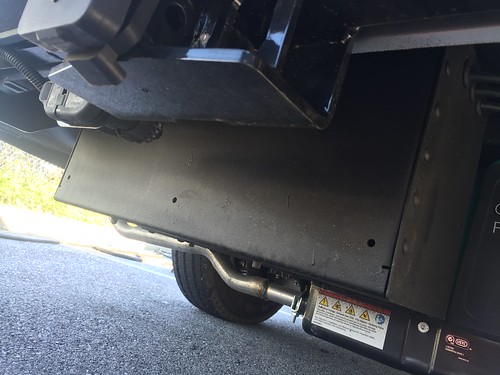
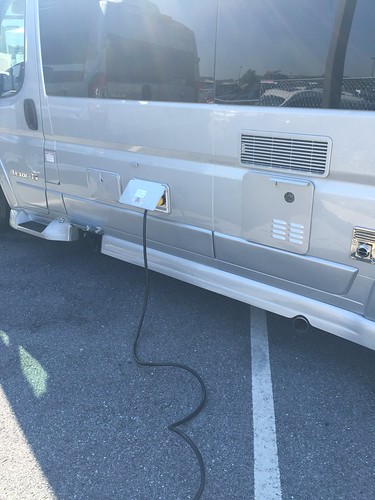
Lots of panels and service ports on the street side of the van. Nothing in that lower valence. Think I'd prefer the power connector to be more to the rear. This van also has the tankless water heater. LP refrigerator - note the vent.
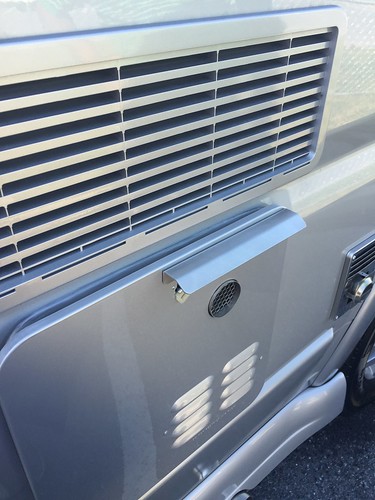
Another thing I thought was interesting was this small wing over the water heater exhaust vent. Not sure the purpose of it, but I suspect it is to keep exhaust gases from floating into the refrigerator vent.
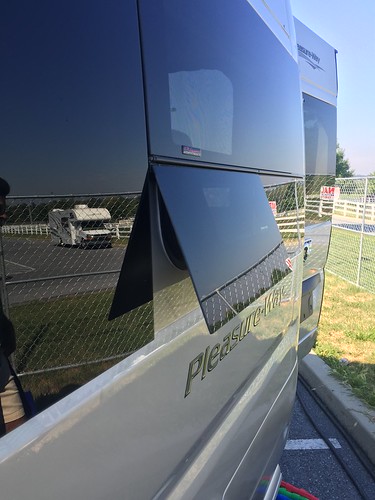
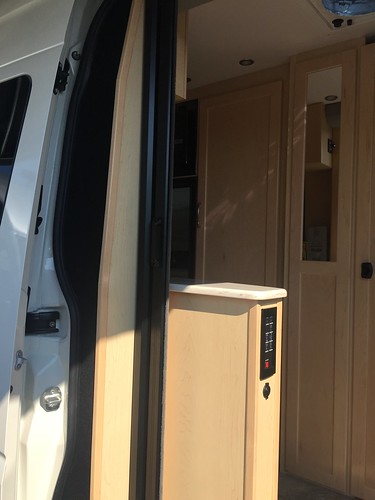
Now for some wierd stuff. This screen door is a roll up type. Why use that when there is a nice collapsible for the Sprinter now?
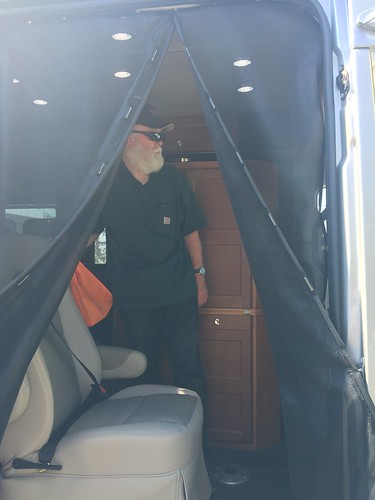
And this one with the magnets. Wasn't this a thing on TV last year?
And this one - rolled up and snapped to the ceiling. Is this a tent, or a van?
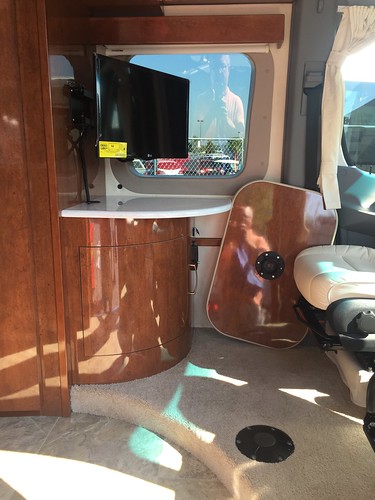
I have no idea what the thought is behind this "entertainment area". It's a boatload of space for a TV.
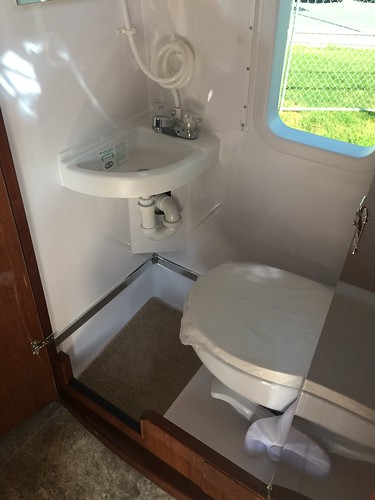
How is this a suitable shower area? How in good conscience can this be sold as a shower?
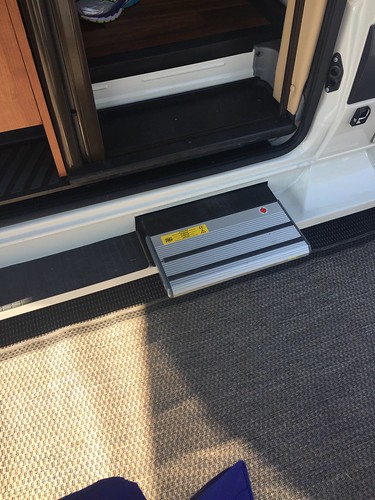
This is actually a good idea. Obviously the proper step in height wasn't where the molded in step is. So they cut a hole in it, and stuck in a power step. Odd, but effective.
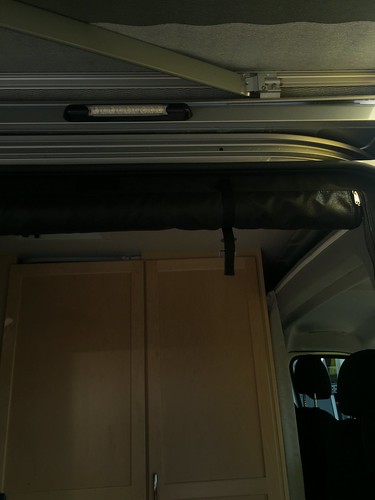
I call this a lost opportunity. All that storage space, just gone in favor of a high headliner. Cheap, cheap!
ROADTREK:
I was really looking forward to see the Roadtreks. I wanted to check out the new Zion SRT and all the new Eco-Trek technologies. I have to admit, I was a bit underwhelmed as you see in the following.
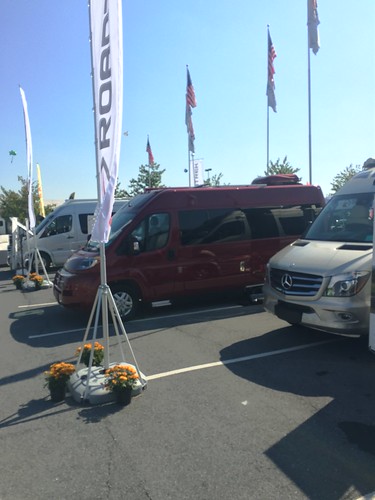
They did have a lot of models on display. There was no shortage of product and I think that every single model was presented.
But the prices! E-Trek at $178k MSRP!
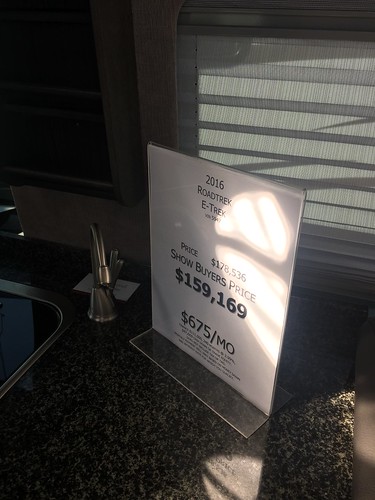
Even the low-tech versions are pricey.
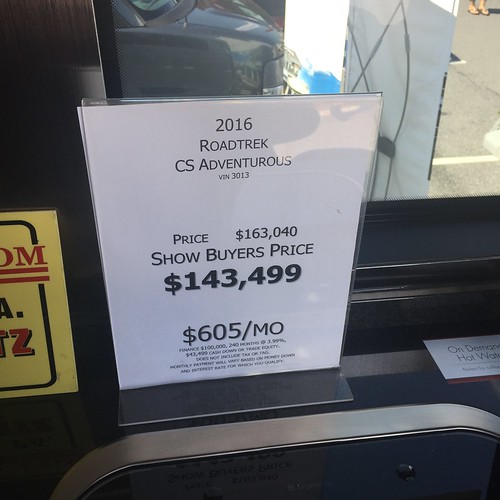
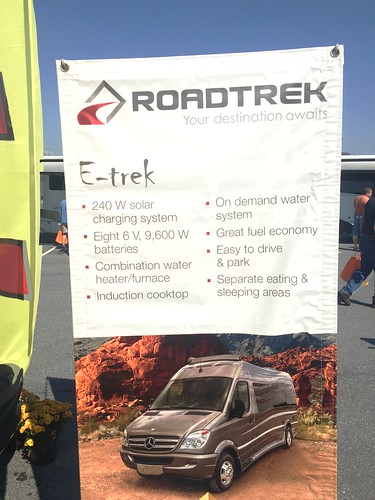
The most you'll see as far as the tech goes are on the banners. You really are hard pressed to see it when looking at the coaches. It's buried pretty deep and I think that is intentional. They really don't want you tinkering with anything, just use the coach and not worry about it. Besides you have a 6 year warranty, so why worry? We'll see if the market sees things the same way. Folks online seem quite concerned, as the folks interesting in buying this kind of stuff are the very ones that want to tinker and to monitor.
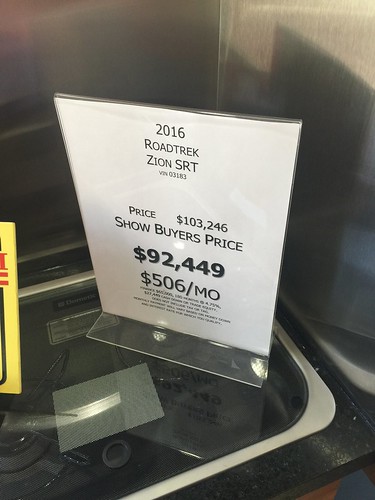
Now to the Zion. The one on display was fully optioned out, as you can see in the price. It topped $103k, which is the very top of the market for a Promaster van.
They sure picked a flashy color for the debut of this model. It's a very attactive color. On their other models, this is an expensive option. Obviously it is as well on the Zion. Only white is in the base cost.
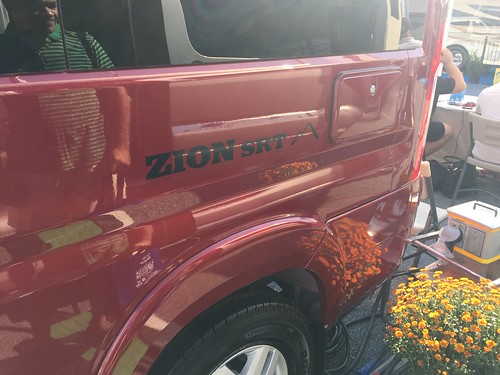
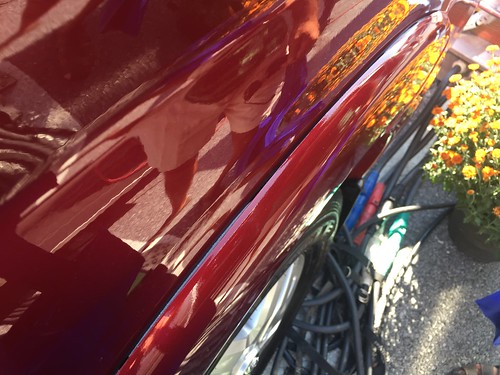
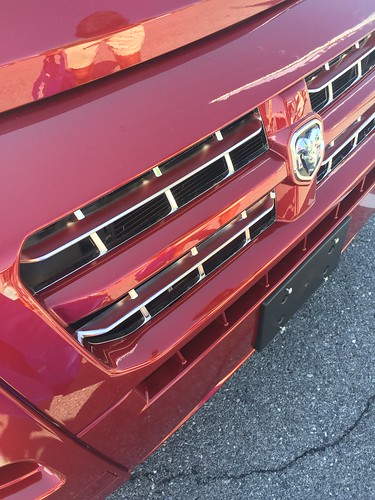
But alas, I was greatly disappointed. It was full of orange peel. The van looked like it was painted at Roadtrek and not by RAM. In the picture below, you can see that the fender trim was just masked off and painted - you can still see some black along the edges where it meets the van. I don't think the other manufacturers paint these parts with them attached to the van. Just a poor practice.
At first, I was attracted to the chrome grill inserts. Thought maybe this might be a part users could buy aftermarket. Again, disappointment - they paint it with chrome paint, and not very well at that.
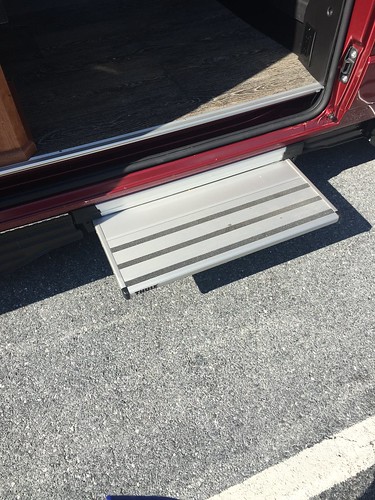
Not all is bad though, the Thule step system is really nice. The slider door step is much larger than what you find in other vans. All of them are actuated by opening or closing a door. So no fumbling for a switch like on the Winnebagos.
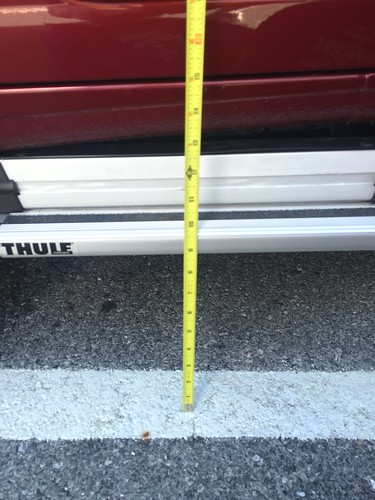
But I question the wisdom of lowering the ground clearance right behind those front wheel. OK if you stick to paved roads, but if you don't, watch out.
New for this year is the fairing they put down each side of the van. It's a hard, ribbed plastic and is set just under the body panel to hide any ugly protrusions. I like this idea very much and cleans up the appearance without all the garish fiberglass fairings they use on the Chevy's. This is the curbside:
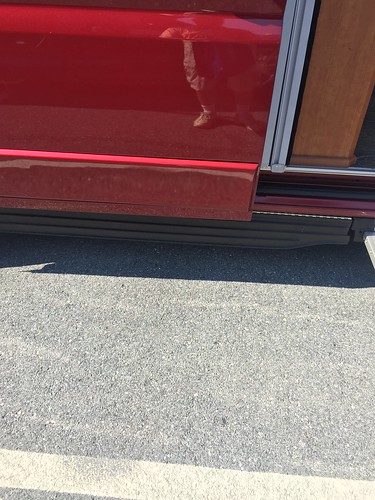
This is the streetside:
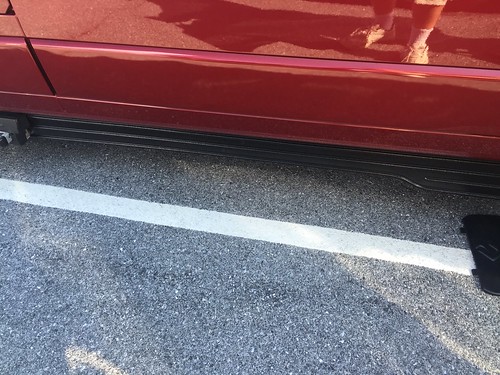
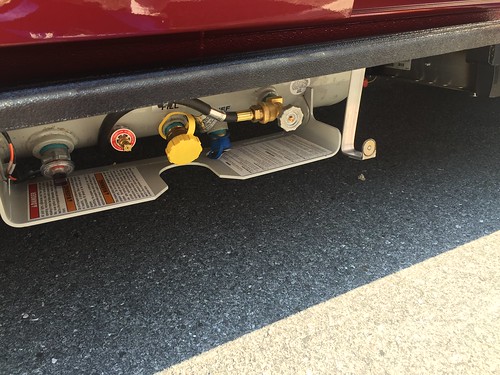
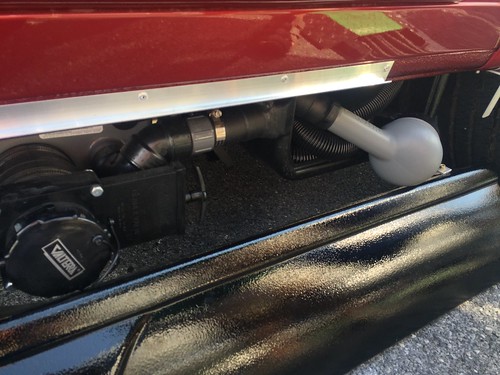
What I don't like is that the fairing over the dump outlet and macerator is not on a hinge. You have to unlock it and lift it off to do the nasty duty. I suspect many of these will get broken or scuffed up. This design needs more work.
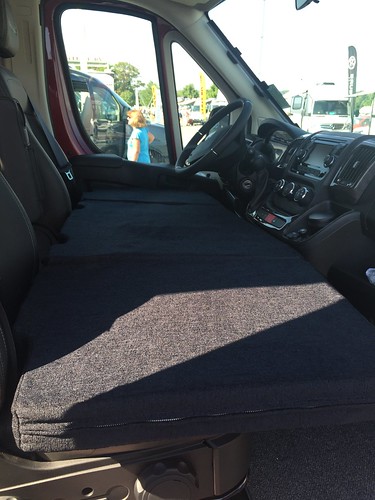
Here is the extra bed pad for the front seats to allow one of your grandchildren to sleep. It looks like just a foldup foam pad to me. It's hard to believe they charge money for this. I'd not let a child sleep here.
They frame out the over-cab cubby. It looks neat, but the opening is smaller than stock.
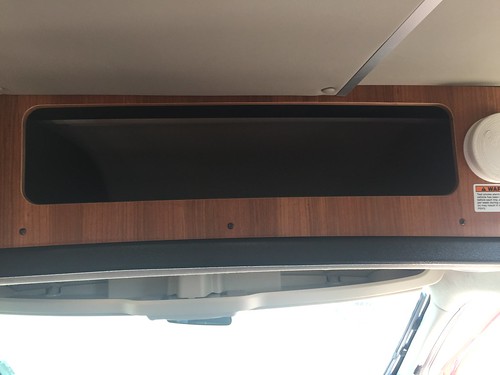
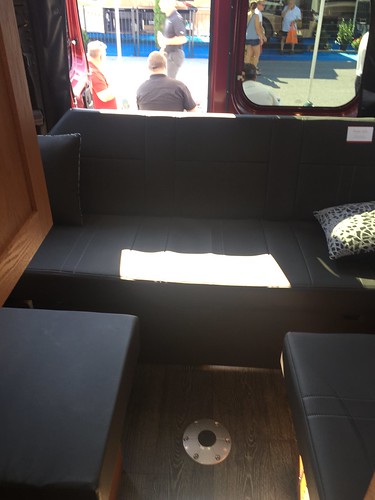
This is the rear couch that folds into a bed. This is the only layout for the SRT. Looks like a queen. Forward of the sofa, this van is identical to the regular Zion. The wardrobe, all cabinets, the bathroom, everything.
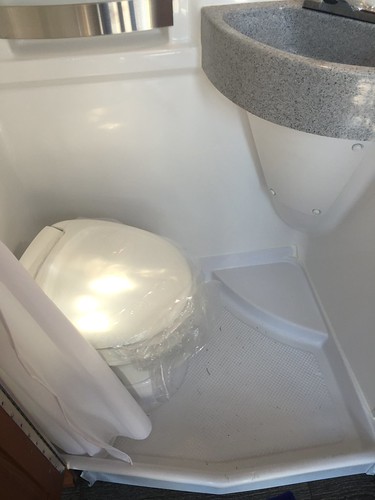
The bathroom looks sufficiently useable for a shower. I'd prefer no or a much smaller sink. I asked why not a foldup sink a-la Winnebago 59K. After I was told how poorly that part was adapted to the Winnebago, Jim explained that they once offered a swing away sink and customers did nothing but complain about it. So something like that is probably not in the cards in the future on a Roadtrek.
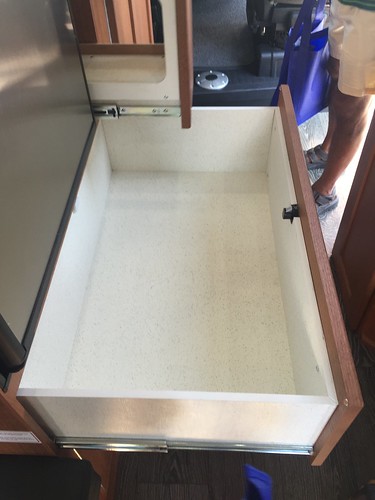
I think this may be the single biggest drawer I've ever seen in a B. The pantry above was nice and large, but struck me as a little flimsy.
This is in the cabinet below the fridge. I don't really know what to say about this. Draw your own conclusions.
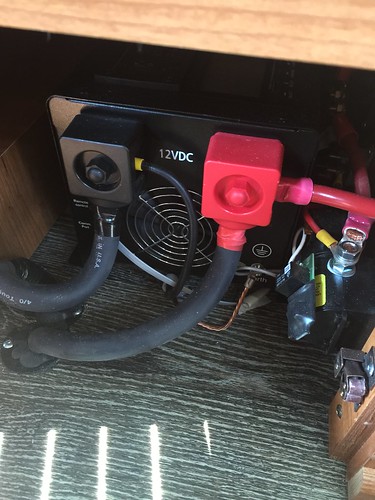
This is under the streetside ottoman. It must be some kind of inverter, but there is one in the back as well that I'll show you later.
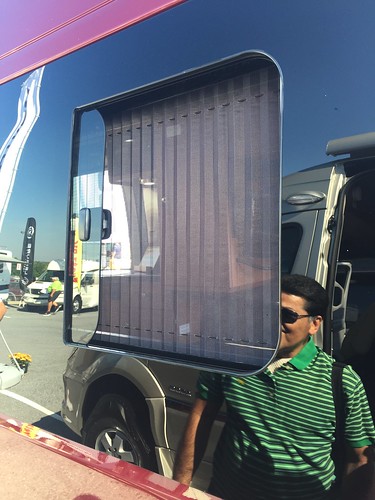
There windows are a cool design, but there are only a couple openings. Not good in the rain, but a clean look.
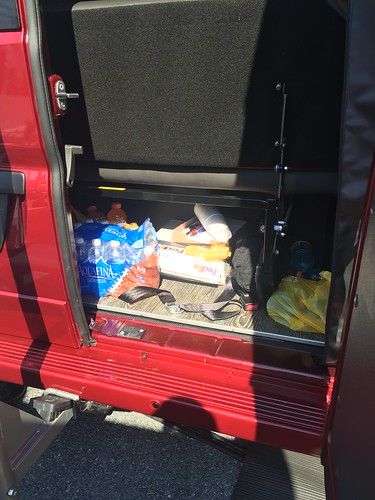
Limited storage under the sofa.
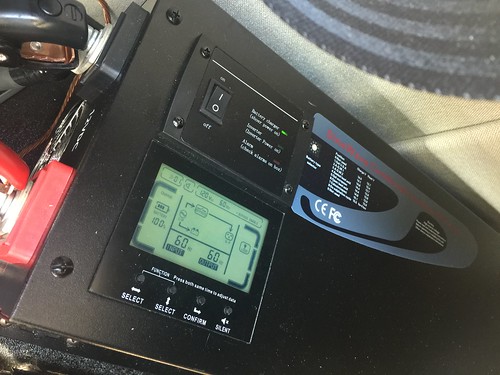
I did find a panel of sorts under the sofa against the driver's side wall. This looks to be the battery charger. I'm not sure if this van had Eco 200, or 400, but Jim implied that perhaps a 600 could be fitted - they are thinking about it.
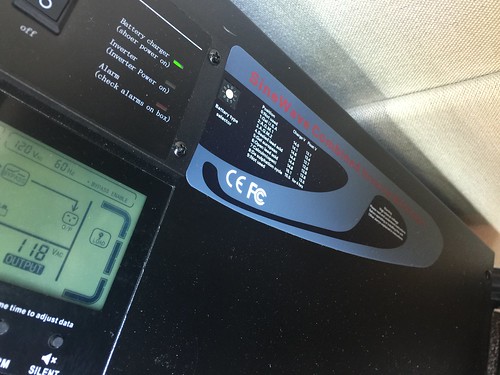
A close-up of the label.
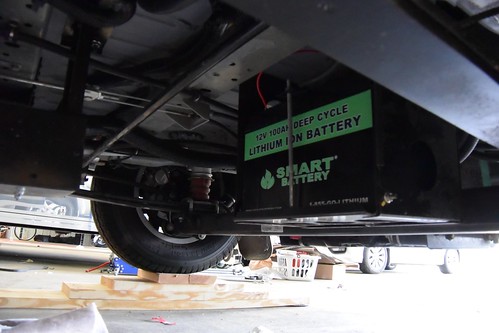
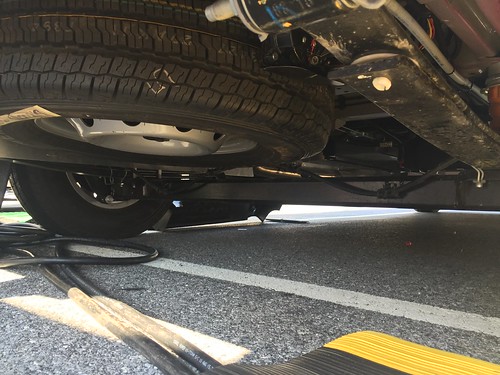
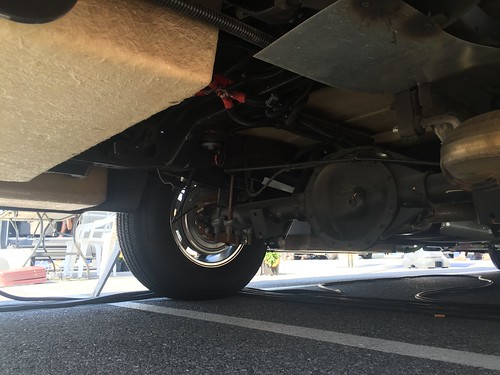
Under the van. A spare tire! This one has the underhood generator and no Onan. Jim really dislikes the Onans. It must be alot of warranty claims.
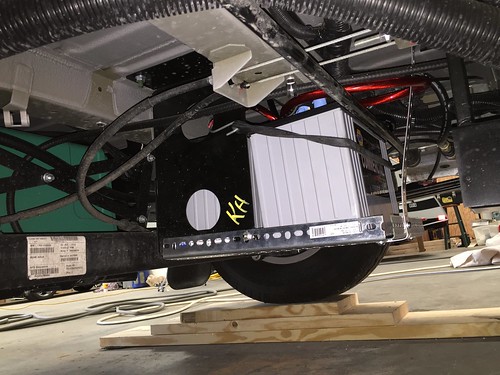
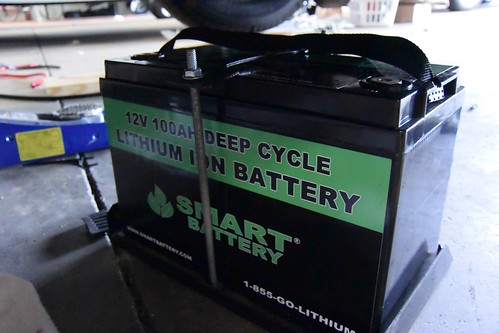
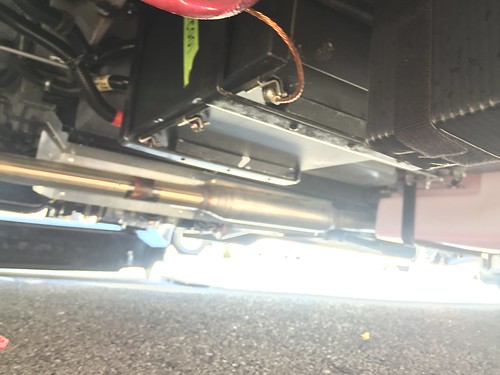
Here is the infamous battery pack under the van. It is heated and cooled by ventilation with a control system that looks after both. I was alittle underwhelmed as I expected a big box like on the Advanced RV. But that's the nature of the lithiums and the lower AH rating of this pack.
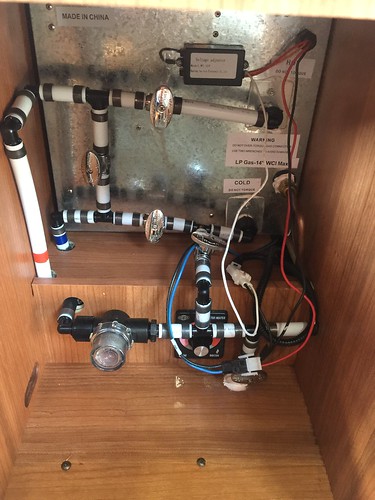
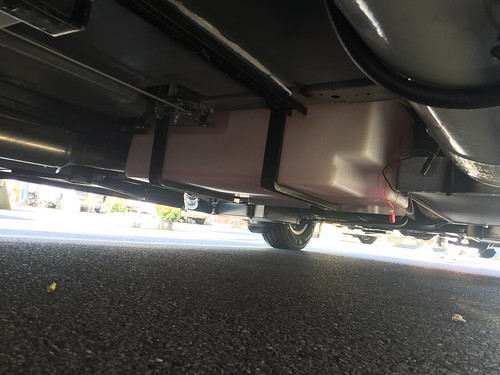
This is their 38 gallon water tank. They molded it to fit across the area right behind and under the front cab seats, and aft of the fuel tank. I suspect is stays fairly warm there. I don't care for the dangling thin wires I see here though.
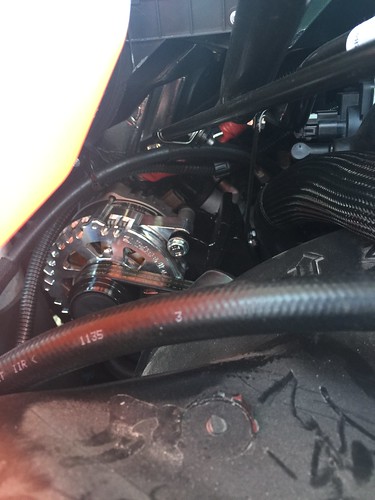
Here is the underhood "engine generator". It' looks like just a shiny alternator to me. There is some heavy wiring coming off it. But no heat sink, or cooling fins, or fans that I could tell. So I suspect they don't think it needs any cooling. The only way to tell it's different from the stock engine alternator is that it's shiny.
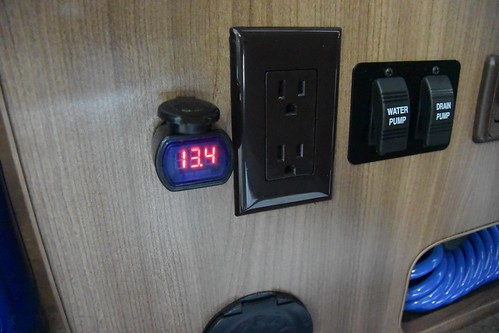
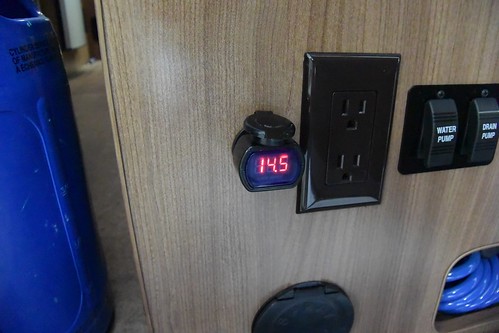
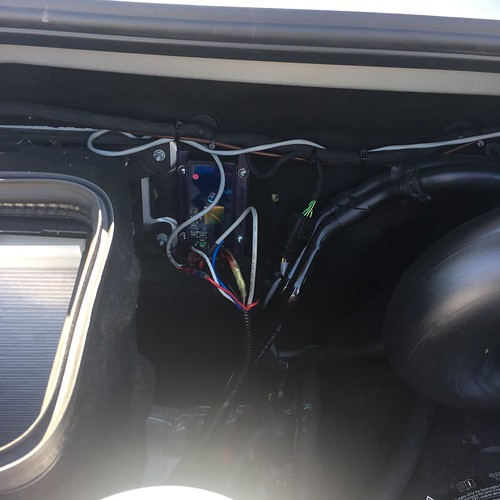
When I asked about how to tell the health of your battery pack and the charging system, they proudly pointed me to this gizmo mounted to the firewall. It has an LED display that rotates thru a series of figures on voltage and amperage that is currently going on. Not sure what that would tell me, but I suppose there is a way to glean how the system is doing.
Not sure I like how the wiring is done here.
Inside the coach, there is the typical Roadtrek 4-dot display panel. But with the lithiums, you only are going to use the top two dots. When the battery is depleted (11.3 volts) it drops from 3 dots to zero. Most likely if that happens your Voltrek autostart has kicked in to resume charging.
I like the layout of the regular Zion much better. Especially the floorplan with the facing sofas. A power couch across the back is also an option (like in the SRT).
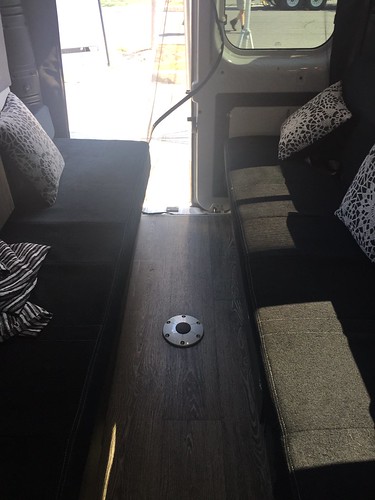
Other things of note from the Roadtrek display. The CS Adventurous had the headboard option ($1800!) to keep stuff from falling between the bed and the rear doors. Looking this over, I'm a bit appalled at the price.
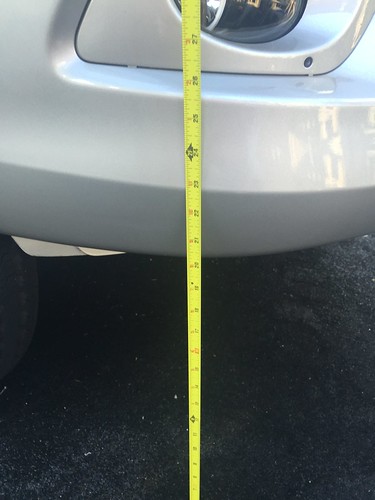
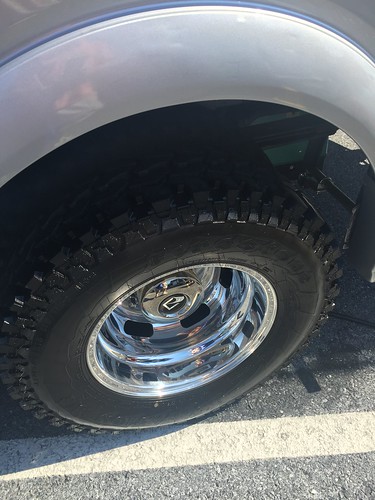
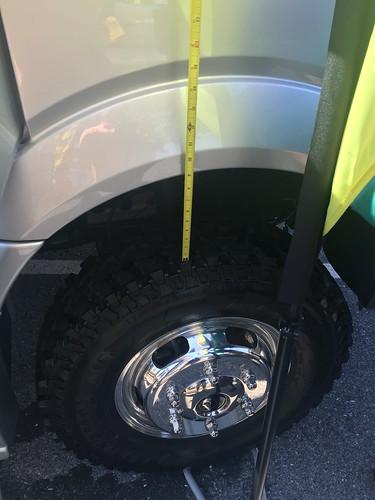
They also had their version of the Sprinter 4x4. It has the same ride height as the Era, but with much better off-road tires.
Overall, I think Roadtrek has gotten alittle better with their fiberglass work. This 210 only had a few ripples in it.
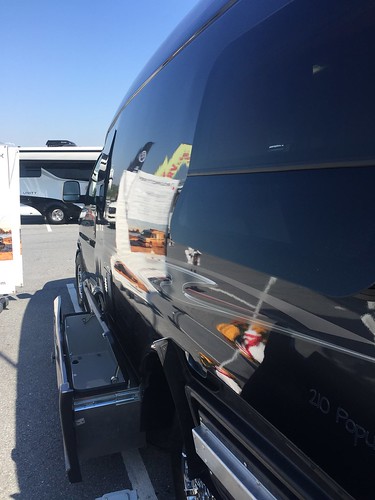
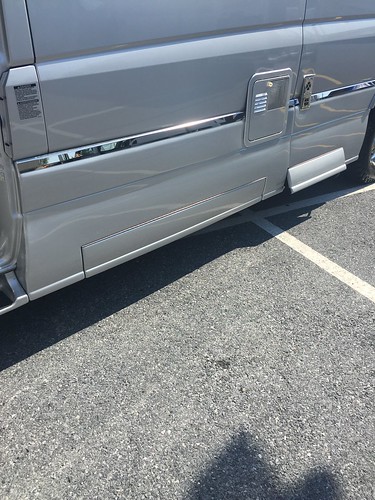
This CS looked perfect. Love the little doors to reveal your hookups.
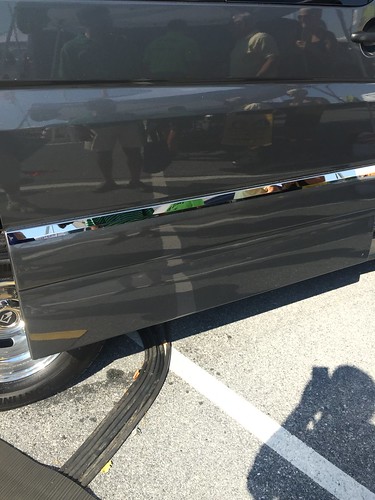
But this one was poor. I'd be reluctant to just order a Roadtrek and trust it would come out OK. For this kind of money, I'd want to just buy one off the lot.
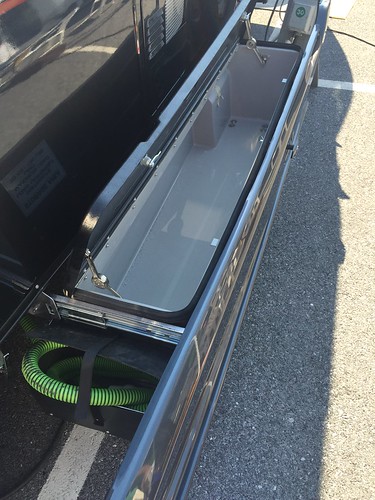
Some of the venerable old models still stood alone on some of their neat features. Nobody can top this outside storage on a 210.
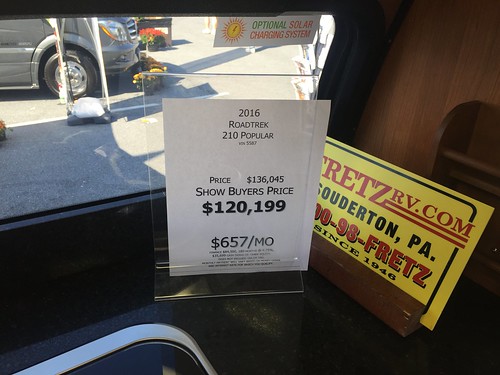
But wow, there has been some inflation. This one had a compressor fridge, but it didn't have the Eco-Trek.
I was lucky enough to have a long conversation with Jim Hammill, the President of Roadtrek. I think I got a better sense of where he's coming from. He's very proud of his product and they have worked pretty hard on developing alot of things in-house. It seems that they are reluctant to just buy off the shelf parts and try to research and develop many of their parts and technology. They even crash test each of their vans, which is not required, but they do it anyway.
I think Jim's heart is in the right place, but often he comes across in the wrong way online, which causes a stir in the forums.
Anyways, we talked about future layout plans and Transits, as well as some interesting building techniques used in the Zion to hold down costs and boost production. They are planning a new layout for the Zion similar to the Winnebago 59K (but better!). No word on the timing of that release. To build the Zion, they cut the floor on a CNC machine. They cut notches in the floor to fit the cabinets and bulkheads, creating a very strong mounting technique, but also easy to assemble. His comments on Transits mirrored what Winnebago was saying. Slow resolution of the technical issues with Ford. But interestingly, he says there is not much price advantage over the Sprinter (~$2,000). So not really a compelling choice price wise. So will they come out with one? Not sure, can't commit. We also talked about demographics and ownership. The average ownership of a Roadtrek is around 5.5 to 6 years. With the 6 year warranty, he thinks it gives most people the peace of mind to be under warranty until they trade up. It also boosts the resale value of the vans that get on the market earlier than that.
OTHER STUFF:
Inside the Giant Center were the usual vendors. Hawking everything from timeshares to resort destinations to cleaning products and accessories. The arena floor was mostly taken up by Camping World. A few things that caught my eye:
Uncommon USA was there displaying their collapsible aluminum flagpoles that you could attach to your reciever hitch. Some of them were enormous. Not sure where you'd carry that in a B-van, but they were impressive. Old men like flagpoles for some reason. www.uncommonusa.com
I talked at length with RVKR Development about their Yakups brand of upright kayak and bike racks. These allow you to carry 2 bikes and 2 hard side kayaks. This also attaches to your hitch reciever. The reps name was Larry Gray and he said if we had of group of buyers he could give us a little discount. Neat, solid looking rack. www.rvkayakracks.com
The final thing has nothing to do with RV's. It's a portable hot tub (brand is Softub) that is made out of polystyrene foam. Weighs only 60 lbs and has an equipment module for easy hookup and assembly. www.softub.com The rep was Jayne at Innovative Spas in Virginia Beach.
FINAL THOUGHTS:
So that is my lengthy trip report for Hershey 2015. I hope I didn't bore you too much. The bottom line is that I didn't see anything that would make me want to cancel my order for the Travato 59K. I'm still impressed with the balancing act Winnebago does with quality, price and innovation. By far it's the best value on the market. But if you have a bigger budget, there are many compelling choices out there as you see in the pictures above.