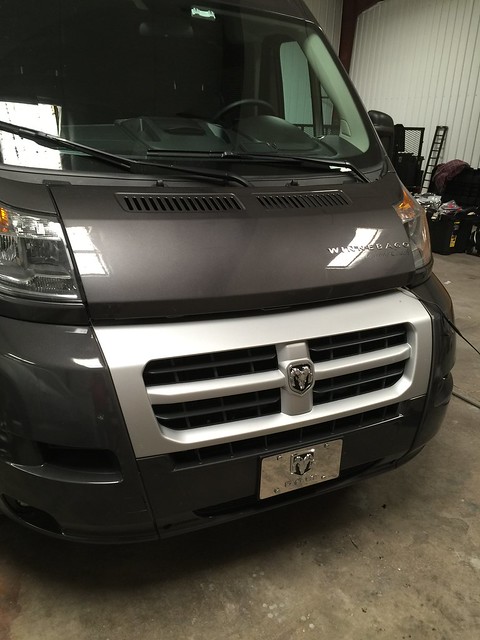
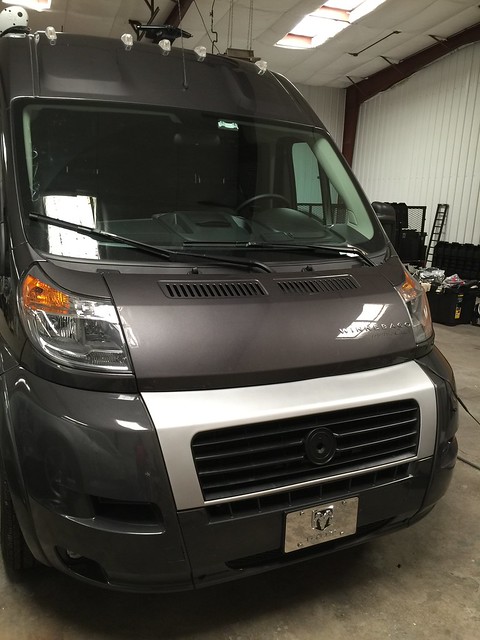
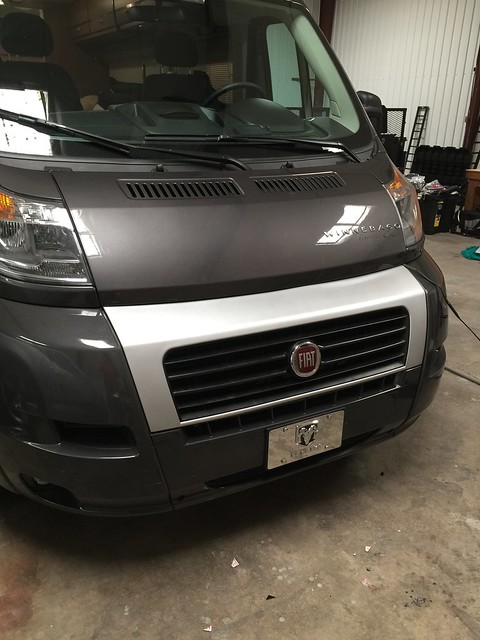
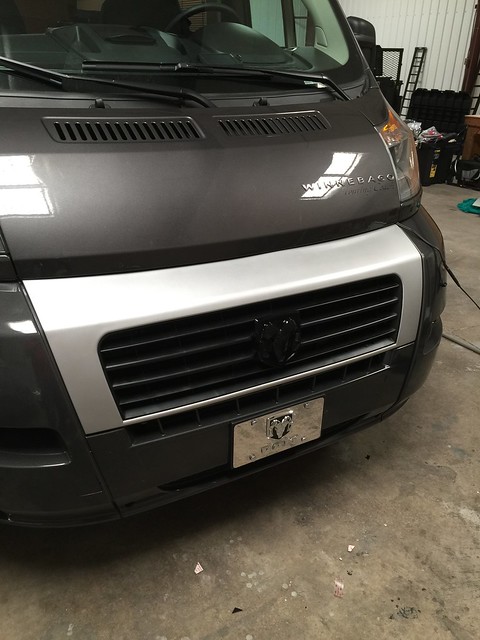
One that I've really been wanting to do is replace the garish RAM grill. Chrysler wants all their vehicles to have the same cross-bar grill no matter how goofy it looks. I think the original Ducato grill from Fiat is a much cleaner look.
So on to Ebay I went to find one. I found a brand new OEM grill from a fellow in Germany. It was $74 US plus $65 shipping! It took 4 weeks to get to me, but DHL delivered it without a scratch.
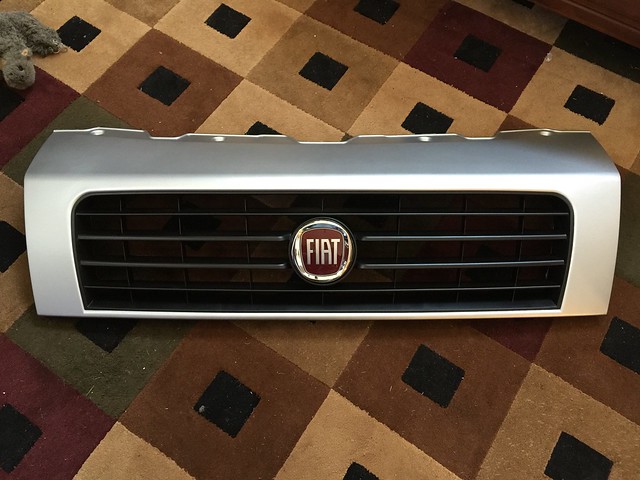
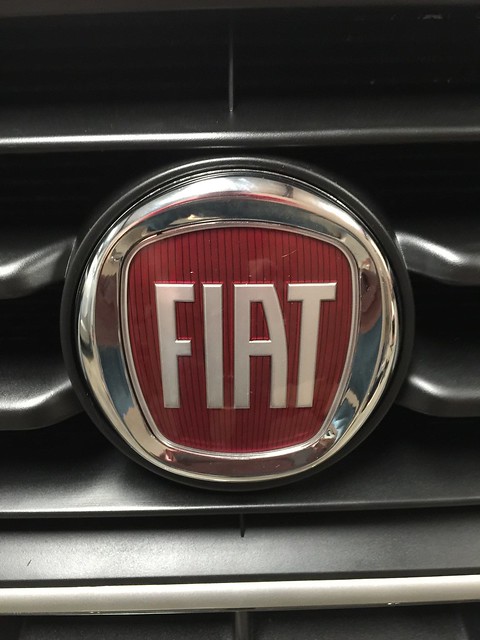
As you can see, I also ordered a new Fiat emblem as well. Some folks I mentioned this two gave me a bit of crap about this. So just for fun, I decided to order a variety of emblems to use and can interchange them whenever I want. More on that a bit later.
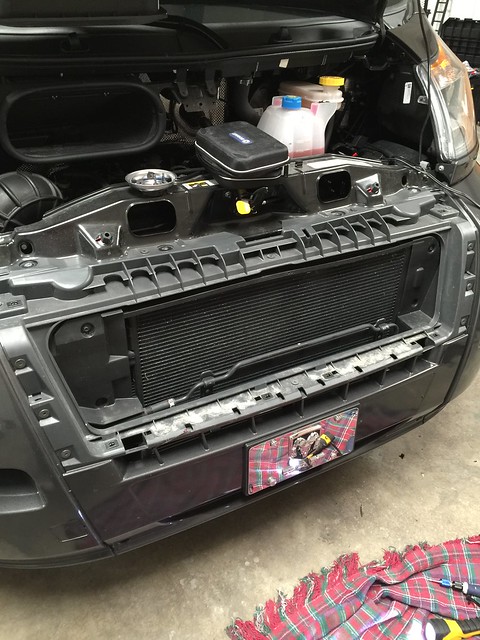
The grill replacement is a snap. There are 4 screws and two plastic screw-clips to remove and she will pop right off. But first things first. Here is the original Chrysler grill:
Here is the grill removed. All you do is remove the 4 screws on the top, and then the two clips on the bottom. Then lift off the grill from the top and pull it toward you.
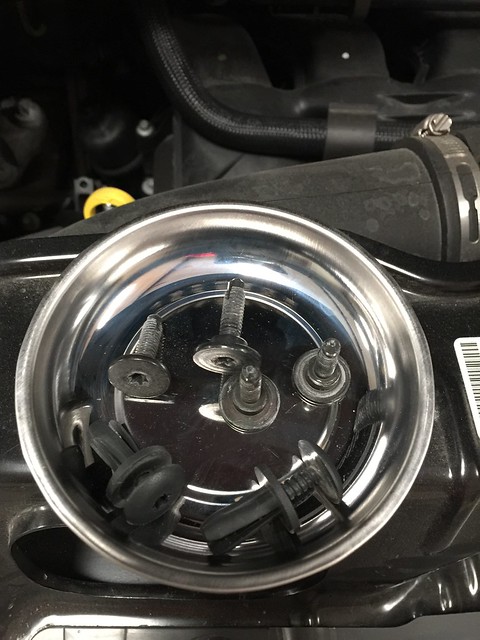
In this picture, you see my little magnetic cup (highly recommended) holding the 4 screws and 2 plastic clips. Note that they are a star head. You need a T27 star head for your screw driver to fit them.
To install the new grill, you just reverse the process. Starting at the bottom, you place the lower part of the grill into the slots in the bumper cover, rotate toward the van, and press down. You'll snap the built in plastic guides into their respective clips in the bumper cover. If everything is snapped in place properly, then the 4 screw holes at the top of the grill line up with the threaded holes in the van. Now all you do is install the 2 lower plastic clips first, then the 4 screws at the top. Done!
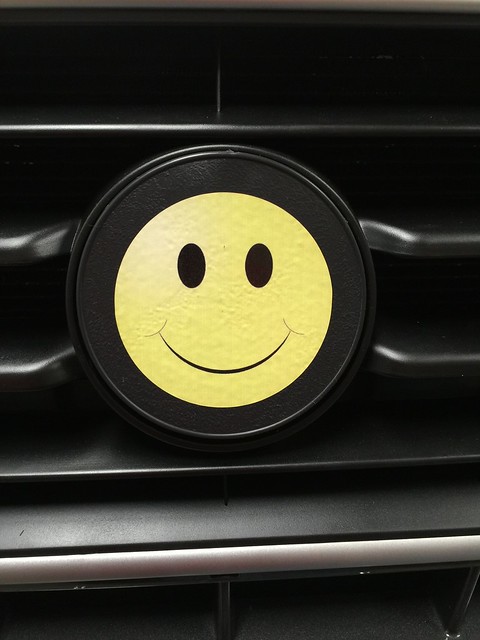
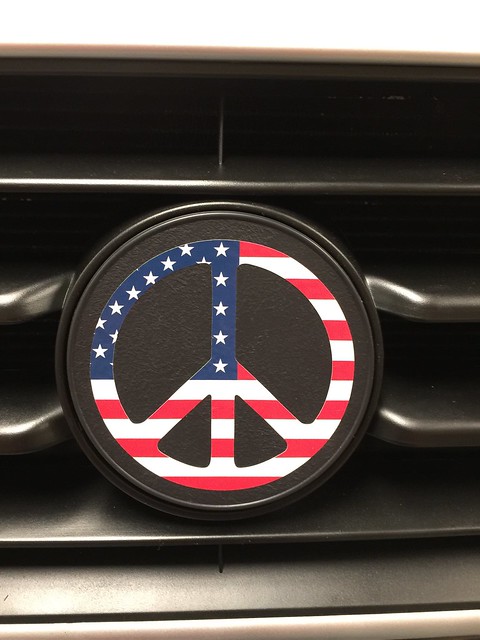
Now for all the emblem fun. First you need a way to affix them. You need something that will hold tight, yet can be pulled off as desired. You can go with two methods - magnets or industrial velco. I couldn't find my magnet tape, so I decided to use the "extreme" velcro I bought online. This is not a fabric type of velcro. It's made by Scotch (get on Amazon) and it's interlocking plastic pegs. It's very grippy, so I have no concerns with it coming off. Scotch Extreme Velco on Amazon

All you do it cut it to fit and stick to the flat part of the space for the logo. It doesn't have to be pretty, since only you will know it's there. A rough cut will do. You just want to make sure it's fully seated in the space.
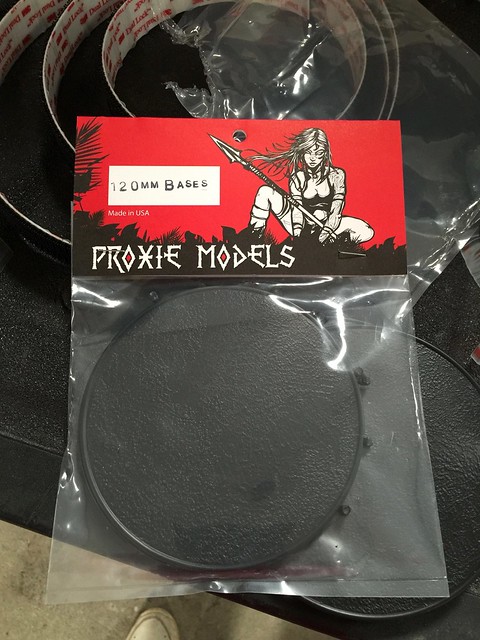
For the emblems, you also need to find something to use as a mounting plate. I found these cheap plastic disks that gamers use to mount model statuettes for their games. They were 3 for a couple bucks on Ebay. The only requirement is that it be 120 mm in diameter. If all else fails, a CD rom disk would also work, as they are also 120 mm in diameter. These plastic disks are probably more durable than a CD, so that's why I went with them.
So all you do is apply some more velco to the back and you are good to go. Again, it doesn't have to be pretty, just put some in the center.

Now the fun begins. I got a variety of stickers and some plastic emblems and went crazy sticking them on the disks. Look thru the following and let me know which one you like the best.
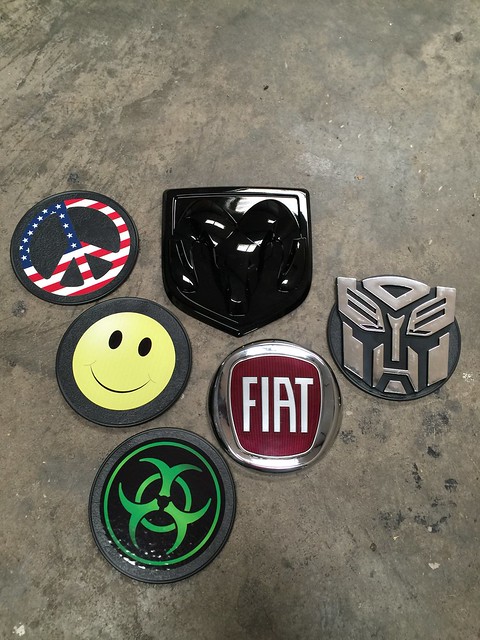
Fiat logo:
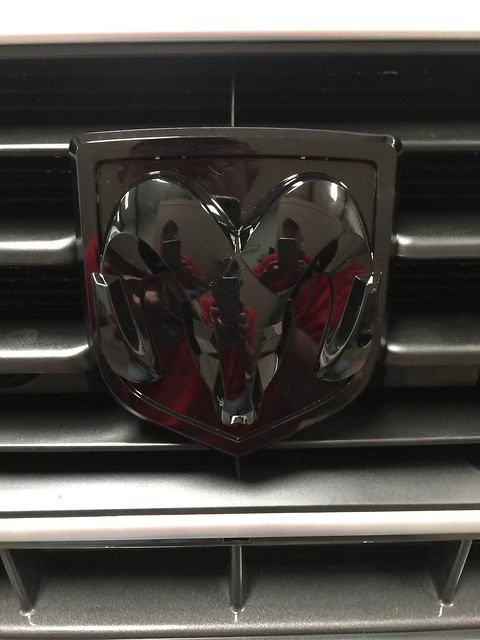
Stealth RAM logo:
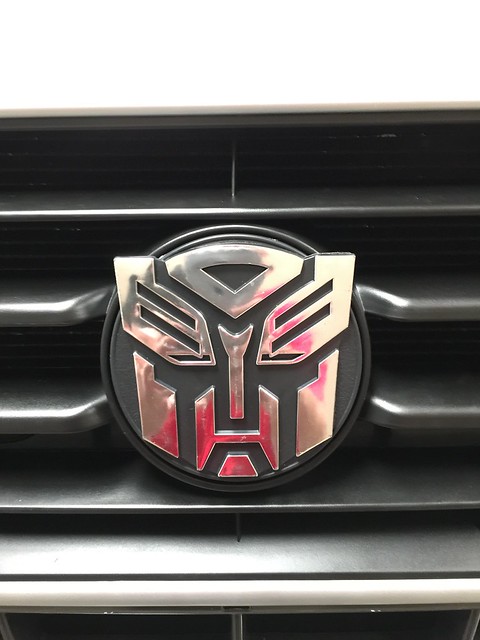
Autobot logo:

Zombie Biohazard:


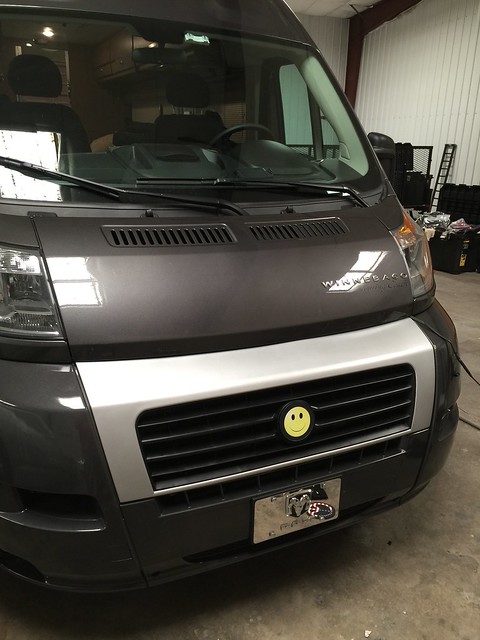
Smiley Face:
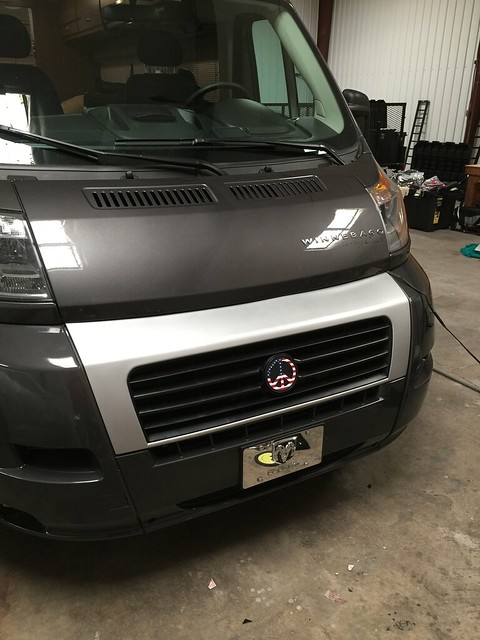
Peace/Flag Symbol:
I like the Fiat logo and the peace sign. Looks great!
ReplyDeleteI like the Fiat logo and the peace sign. Looks great!
ReplyDeleteThe ram is my favorite. #blackphillip
ReplyDeleteHow are they holding up? I think I'm going to do the same thing. Would you change any of it?
ReplyDelete