I decided to pull the trigger and buy an Oliver. I sent in my order sheet today (10/9/2015). Expected February delivery.
Very excited. I ordered most of the options. Gettting the solar, big inverter, AGM batteries. Decided on a twin model, with one side the upgraded mattress, the other side set up as a sofa. Since these are touted as to lasting a lifetime, I decided to get it well equipped to use in my retirement in around 10 years.
As I posted in another thread, I want to use this RV as lodgings in my work and it will see winter conditions. I'll be selling my fifth wheel after I get my new trailer. After considering how much unused junk I've been carrying around, I don't think downsizing will be very tough.
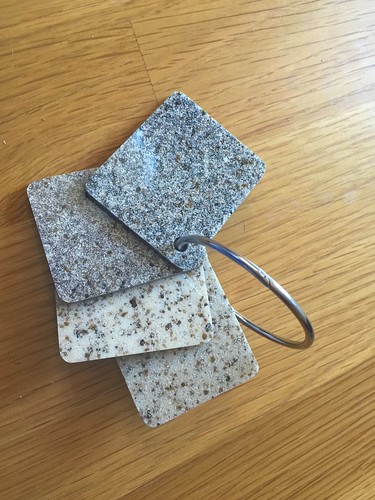
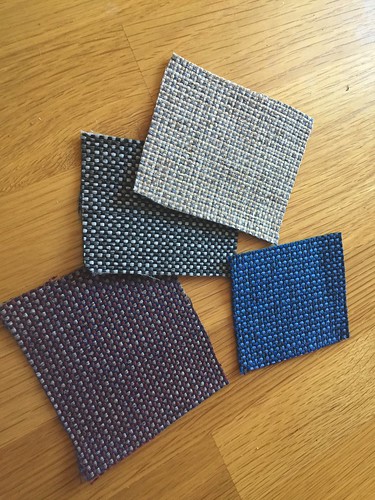
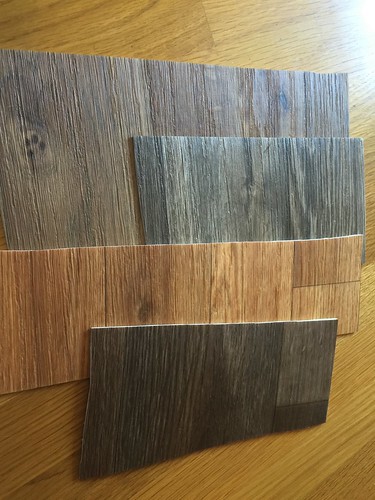
Here are the samples for the counters, cushions and flooring:
Here is the link for the exterior graphics colors:
ORACAL® 651 Intermediate Cal - Graphic Products
These are the awning colors:

I put a few combos togther. Here they are in order of preference:
#1
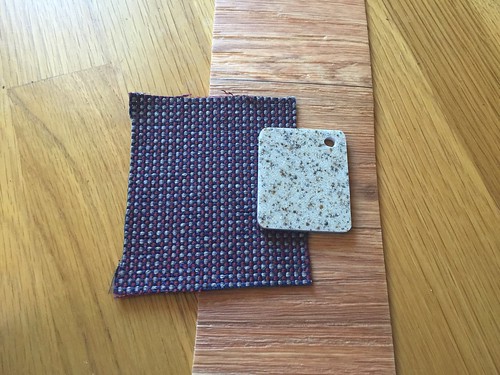
#2
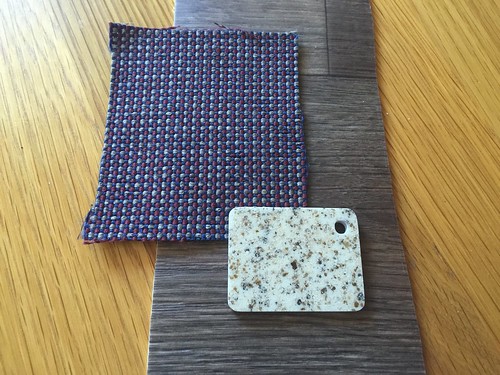
#3
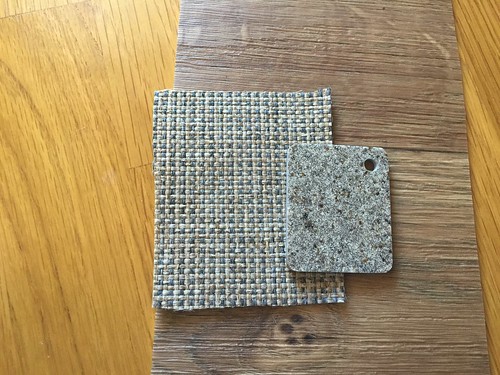
#4
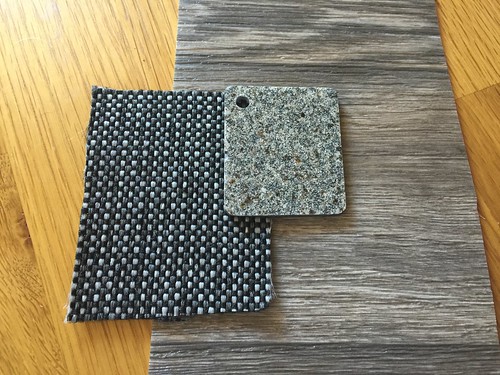
I'm not really good at this kind of thing, so I'm going to my sister's tonite to get a ladie's input.
I ended up choosing none of these combos. You'll have to see the final pictures to see what I selected. There were many more choices than the samples above. The Oliver website has a fairly complete listing.
For the exterior graphics, I'm thinking a red and a gray. For the awning, I was hoping for a bright red, but there really isn't one, so maybe the gray.
January 6, 2015:
Well, I'm in production. Here are the photos I recieved today. Very excited it's getting going.

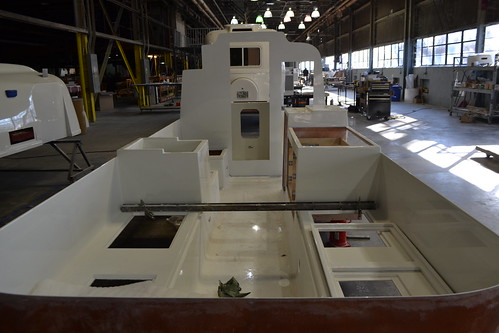
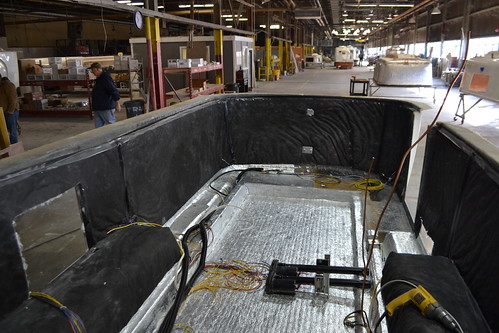
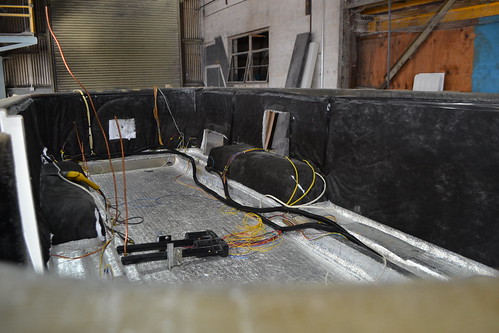

January 27, 2015:
Shell complete, major appliances in, countertops in, windows in. Happy surprise the high neck faucet.


Looks like we're only a few weeks out!
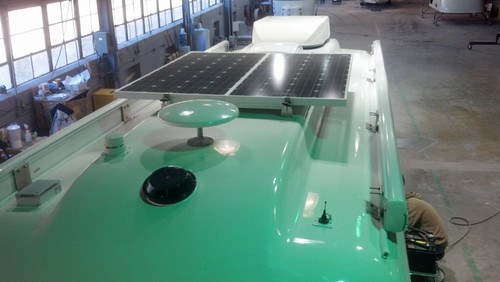
Solar, TV antenna and both awnings!
February 5, 2015:
Solar, TV antenna and both awnings!
February 5, 2015:
Getting extremely close now - my guess is next week!
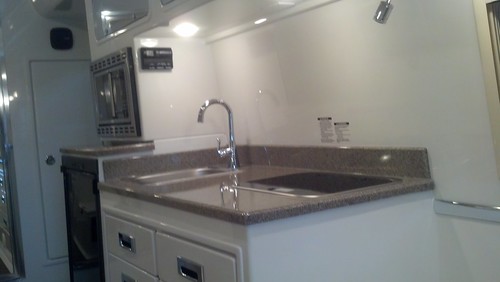
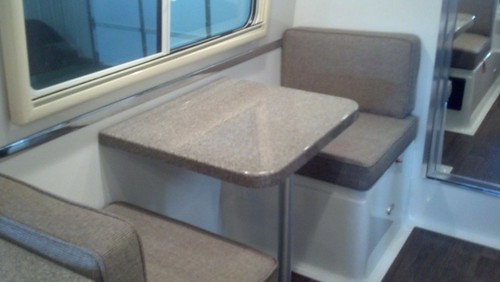
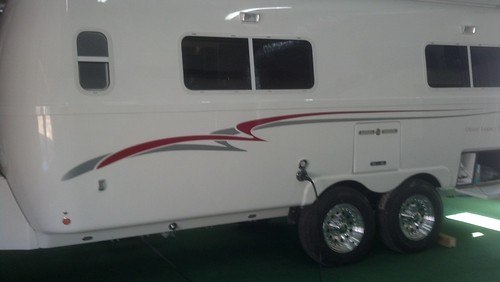
Looks like Tuesday the 17th is delivery day. Very excited!
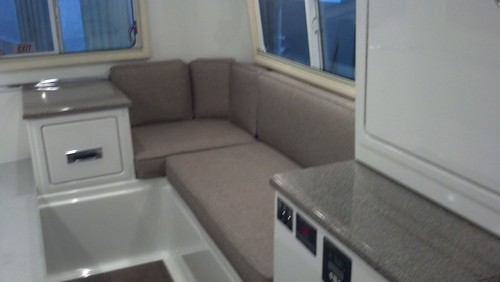
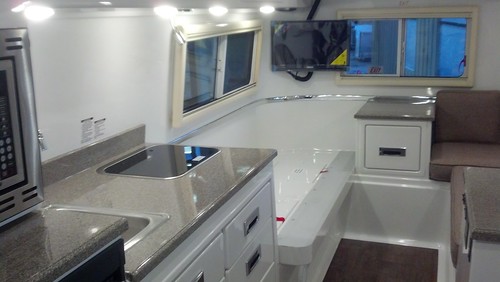
I'll give you my rundown on why I chose the Oliver over the Airstream. Please don't anyone take this as bashing the AS. They are lovely trailers with alot of desireable attributes.
On the Pros of the AS:
They are bigger - wider particularly at 8' and 8'6" depending on model.
They have alot of storage - mostly interior cabinets.
The aesthetic is beautiful if you like the retro look and the shiny bits.
The torsion axle setup is a very low slung and smooth ride. They tow very well.
They have a very active community and a network of AS only campgrounds/resorts.
They have a long history, so there is a huge knowledge base of resolving issues and deep spare parts inventory.
They are backed by a huge company, so you can be assured they will be there for you many years down the road.
Now the CONS (but PROS for Oliver):
The aluminum is very susceptible to damage - scratches, dents (like from hail) and corrosion. In the way I use my trailer, I just don't think I could keep up with the AS to keep it beautiful and perfect. The fiberglass of the Oliver is much more forgiving.
Not true 4 season capable. Many would argue it's not even 2 season capable. The insulation is old style fiberglass batt. There are pics online of old trailers where the insulation came loose and drooped down inside the walls, leaving large sections basically uninsulated. Newer trailers have a bottom skin, but I don't believe it is also insulated. The Oliver, of course has insulation applied directly to the fiberglass, and all the plumbing is enclosed inside the hull. AS does not offer any dual pane windows. It does have many more windows, but that just adds more area of no insulation.
Weak on technology and equipment options. You only can get a modest solar and inverter setup on the AS and only 2 batteries. They are just not keen on setting them up to be off-grid. With Oliver you can get 4 batteries and a big enough inverter to run everything except air conditioning. The solar panel setup is all properly sized wires and large enough to service a large battery bank.
The AS uses a wood floor and a steel chassis frame. Very old school and a shame considering the price point. So they all eventually rot and don't have the available payload of an Oliver. My new trailer will have a 7000 lb aluminum chassis!
The AS can leak. All those connected aluminum sheets have a joint that is put together with rivets and sealant. Eventually that will leak inside the walls and will rot out the floor. The Oliver is all joined fiberglass. The only place it can leak is at the penetration points and windows. If it does, so what. You clean up the water, seal the leak and keep going. There is no wood to rot. There is no fiberglass insulation to collect mold and have to be removed.
There are many more points, both pro and con, but these are the majors to me. Oh, and I forgot to mention price. A similar sized AS is going to be $70-$80k. That is significantly more money and a tough value proposition if you consider the above.