Showing posts with label Stowaway2. Show all posts

Monday, June 8, 2015

Changing the Stowaway2 lights to LED

A few weeks ago, I noticed that one of the lights on the Stowaway2 was not working.  The turn signal/brake light element was burned out.  So I went to take it apart to change the bulb and discovered these are sealed units!  So you have to buy a whole new $10 light when all you need is a $0.50 bulb!

So if I was going to go to that expense, I might as well get LED lights to replace them and hopefully, never have to do it again.  So for around $20 I got these on Amazon:

Red Oval Sealed LED Lights

These are the original incandescent lights:
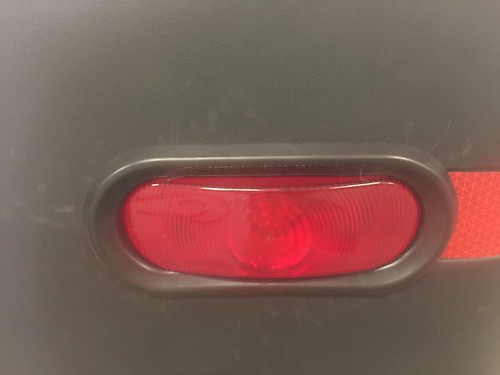

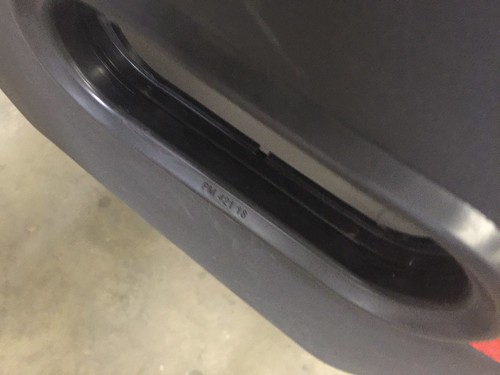
The units are marked with the size - 421.  That must be some kind of standard.  Both the light assembly and the gasket are marked with this number.
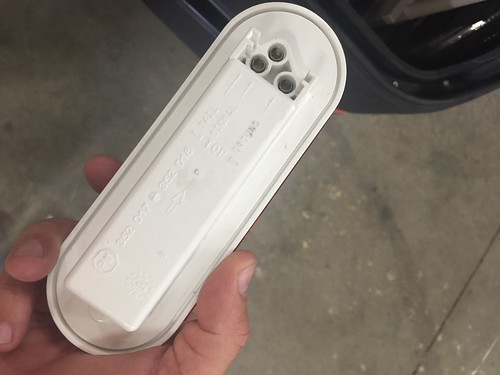

The fixture is kinda chunky.  Probably because the bulbs are rather large.  Note the wiring connectors.  This is universal too.  One marked Tail, one marked Signal, and one marked Ground.
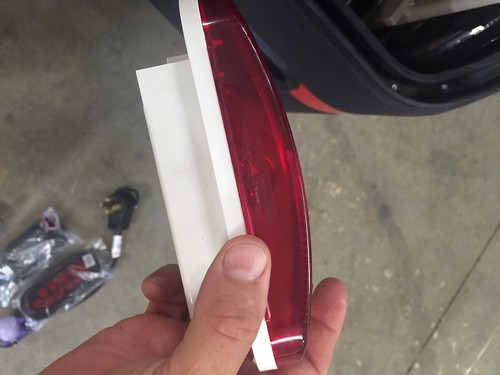
The gasket holds the light in place with just pressure.  The trick is that the gasket goes in from the outside - in.  The light is put in from the inside - out.

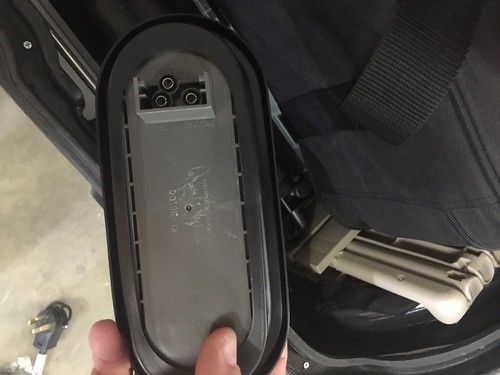
The new LED fixture is much thinner, but the housing has the exact same length and height measurements, so it fits in the existing gasket perfectly.  It did come with new gaskets, but mine were in perfect condition and not very old, so I just reused them and put the new ones on the shelf for later.
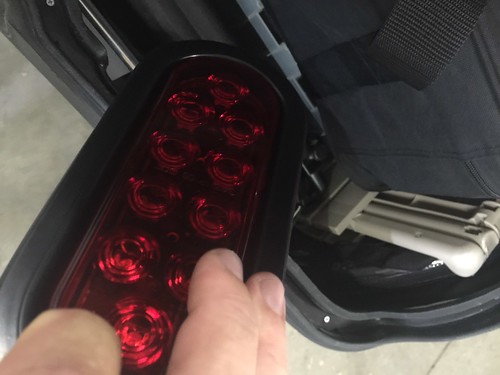

Here they are installed.  Took all of 5 minutes.  This is illuminated in running light mode.
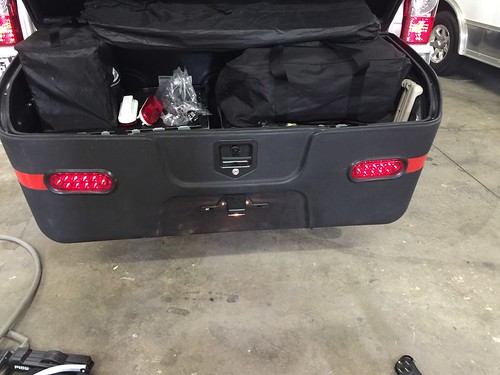

Here they are with the brake pedal depressed.  I guess they are a bit brighter.
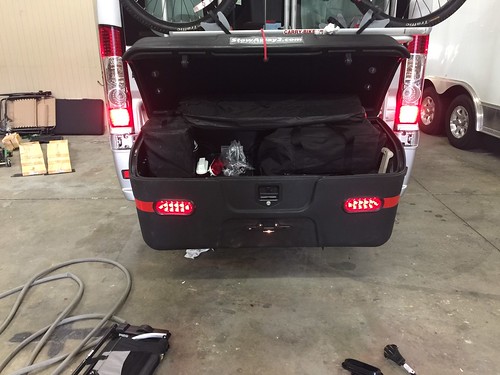

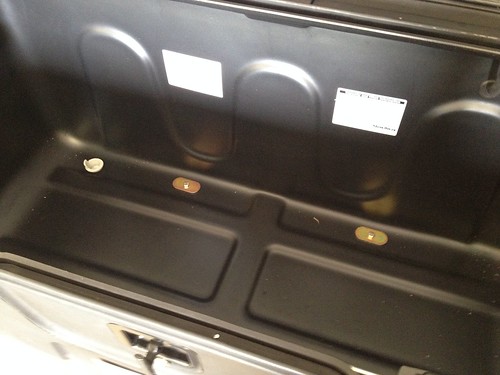
One side benefit is, since they are a bit thinner, the fixtures and the wiring don't protrude into the interior of the box as much, so they are less likely to get snagged by any items banging around in there.

Saturday, May 23, 2015

The Stowaway2 is back!

I decided to put the Stowaway 2 back on.  It holds alot more than the Stanley, and is easier to load and unload.


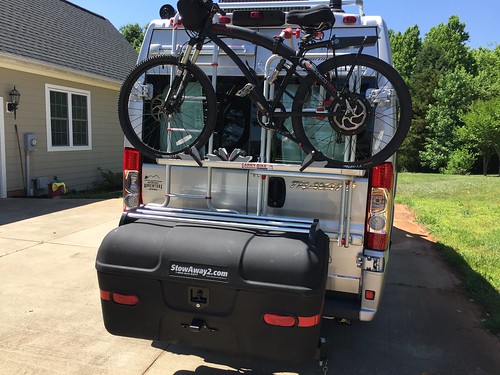
As I expected, it clears the ladder and the bike rack just fine.


I like this box alot.  If you have the bike rack deployed, you need to use a bungee to hold the lid open.  With the rack folded up, it opens fully and stays up just fine.


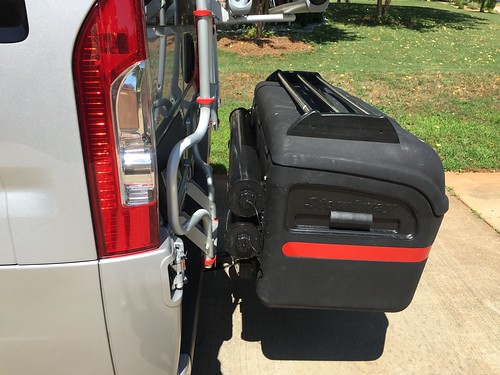
You can load the bike either with the Stowaway in travel position or swung out.  I think the extended position is alittle easier since my bike is so heavy.  If it was lighter, or I was alittle taller, hoisting it up in place with the box in travel position would be no problem.

Sunday, February 1, 2015

Stowaway2 Mods - Add Valterra Tubes

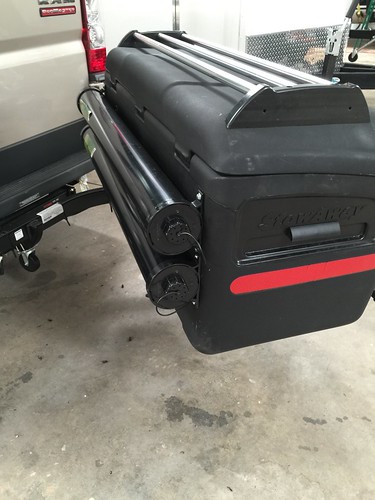
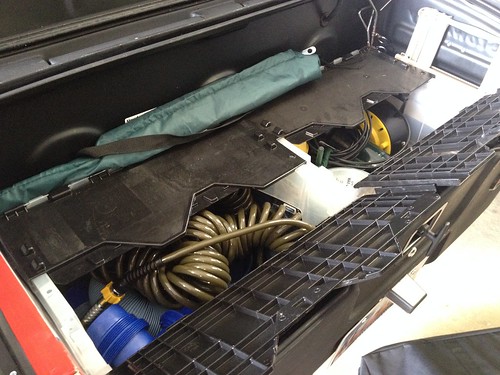
The Valterra Tube has worked so well for my extra sewer hose, I decided to add another.

Image

Valterra EZ Hose Carrier

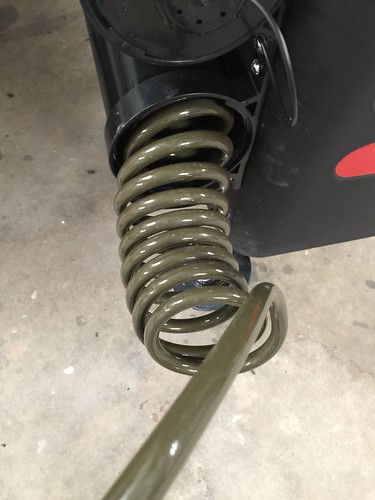
Water Right 50' Coil Hose


Just screwed it in next to the existing.
Image

Why would I do such a thing?   Image
To hold my coil hose of course! I love these hoses. Tough, food grade/potable safe. Enough room it also can have my y-splitter and pressure regulator attached. 50' hose.

Saturday, January 24, 2015

Little Guy T@G Kitchen Mods

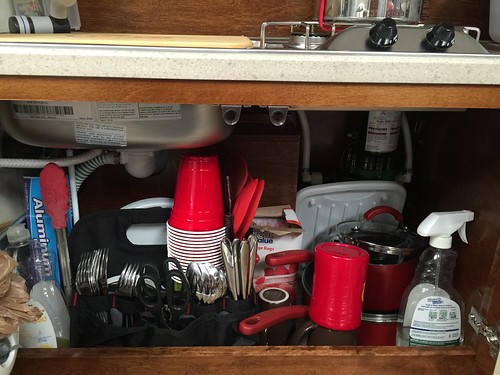
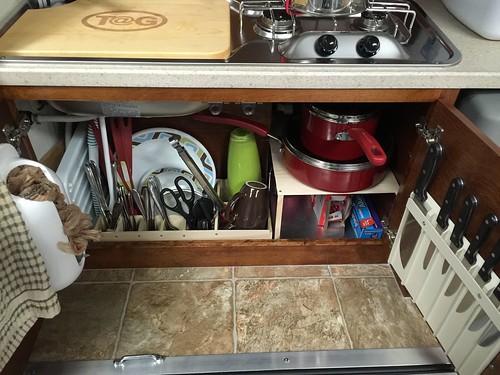
My T@G Max did not come with any drawers, shelves or bins in the galley 
cabinet. I tried organizing it with a fabric tool bag, but it still looked like a 
big 'ole mess:


So I bought some 1/4" birch boards (3 1/2" x 24") this week at Lowes and 

decided to make a shelf and some partitions to hold all the kitchen ware.
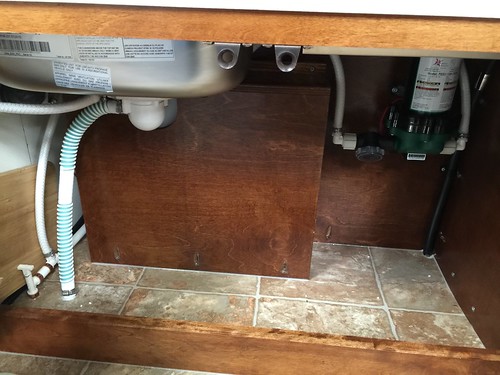
Step 1 clear it out:

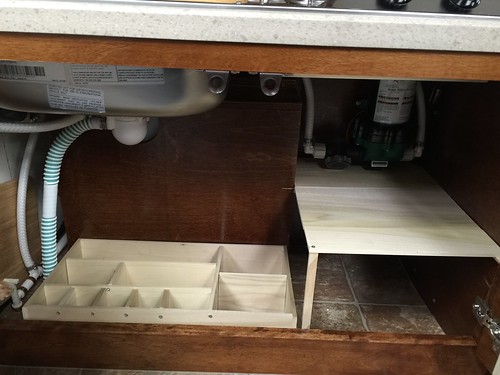
Step 2 build the bin for the dishware, glasses and utensils. I'm certainly 
not a skilled carpenter, but it turned out serviceable. It's velcroed to the 
back of the cabinet so it will stay put while traveling. I built the shelf so 
that it could be taken out to service the water pump. I used 3M red tape 
to hold quarter-round braces (was afraid to screw into the trailer's wood 
as there is a water tank and wiring back there). The shelf breaks down 
into two parts, held together with wood tabs and a velcro strip. It needed 
a leg for support, so I screwed one in made from a piece of quarter-round. 
Sounds flimsy, but it all fits snuggly and seems solid enough.

Step 3 load up my gear:

I like I can now get to all my utensils and they aren't all scattered in the 
bottom of a bag.

Now I have room for some pantry items under the shelf:


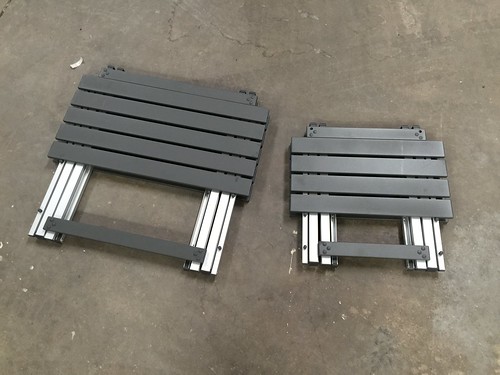
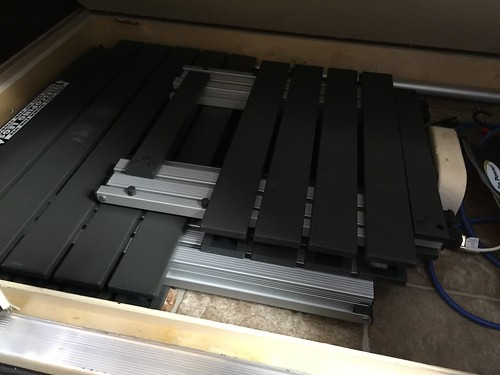
I also was having an issue with my folding table. The T@G only has 3 1/2" 
under the bed for storage. My table folded to 4" or so. So I found these on 
Amazon:


What is nice about these is that the tops are not plastic, but aluminum. 
So I can set my grill on the big one.

Saturday, January 3, 2015

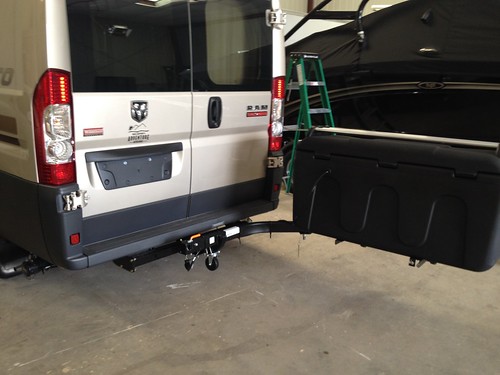
Stowaway2 Mod - Add a Bike Rack

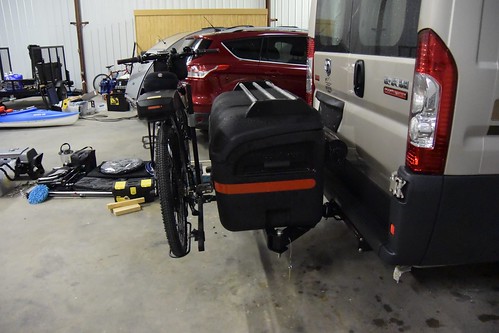
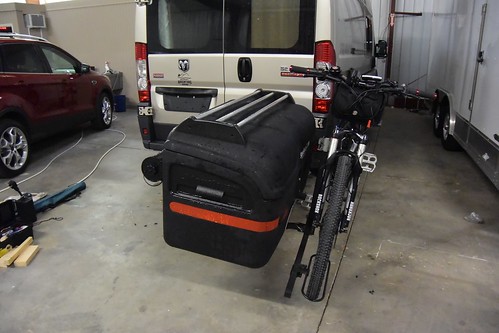
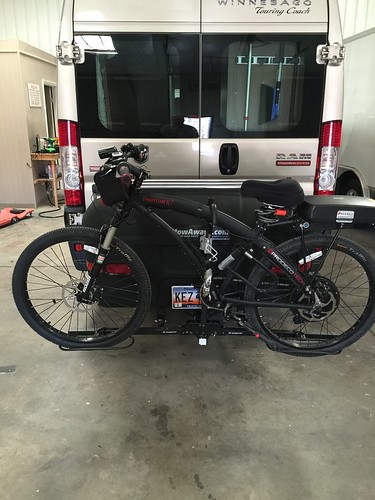
After my recent trip, I decided it would be much easier to have the bike outside the van, instead of inside.  Inside is more secure, but if you stop over for a nite enroute, what do you do with the bike?

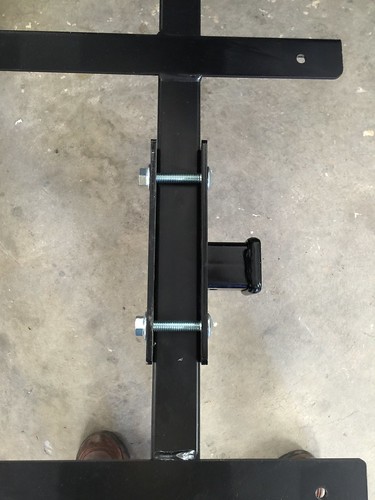
So I ordered a receiver hitch to bolt to my Stowaway2 swing-away box.

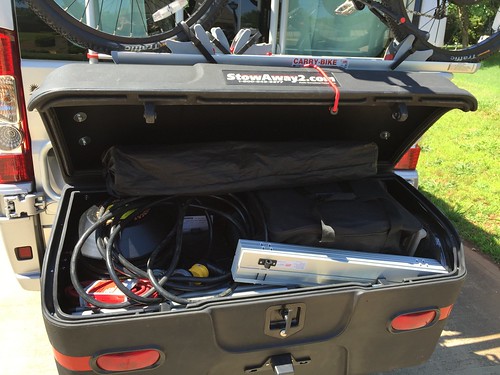
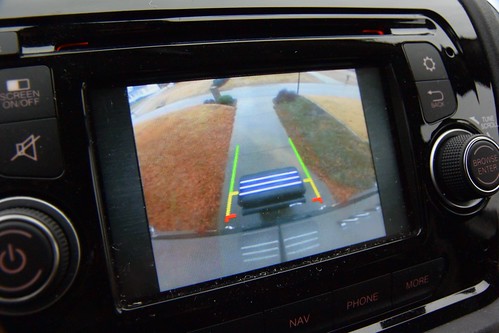
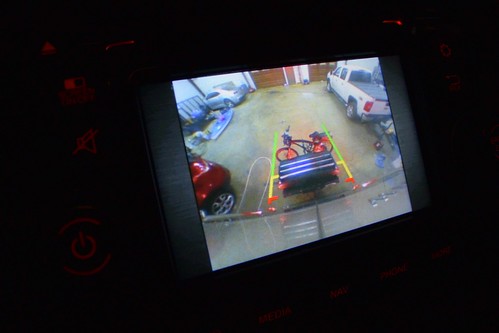
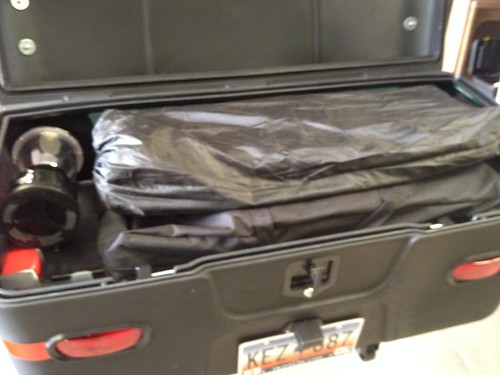
Now I've taken a bit of grief over this box from some members.  As you can see in the pics below, not only can you see it in the camera, it holds a lot of stuff!  Where you guys put all this stuff in your vans is beyond me.


I found this receiver hitch for RV bumpers on Amazon for $35.  I thought it would work because it has steel plates both top and bottom.
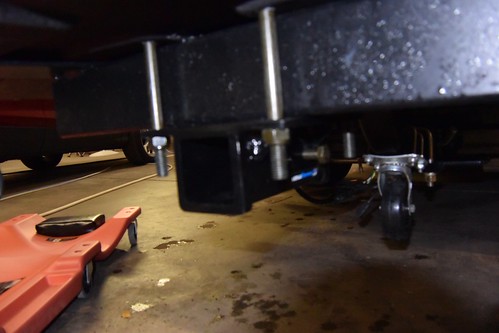
I would only do this because it straddles a steel beam.  Just bolting it to a plastic box would be dangerous and stupid.  This is plenty strong enough to carry a bike rack - but that is all I would dare attach!


I did need to add some washers so I could tighten it down all the way.

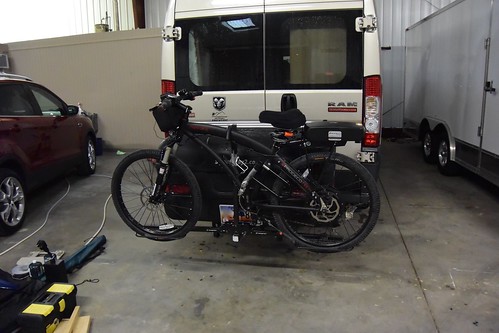
It fit perfectly for one bike.  If I want to carry two, I could put in my receiver extender and push the bike out a bit further.
With the bike on, the rack and hardware it adds 80lbs to my box.  It doesn't sag, and still swings out without issue.  My electric bike is heavy - 50lbs, so a regular bike is about 25lbs lighter.


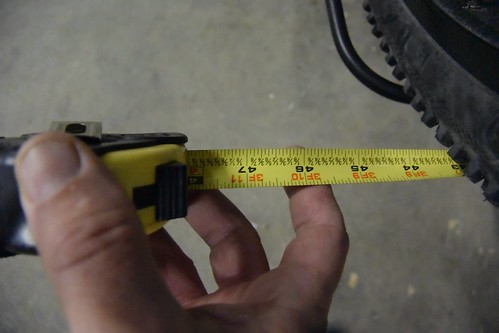
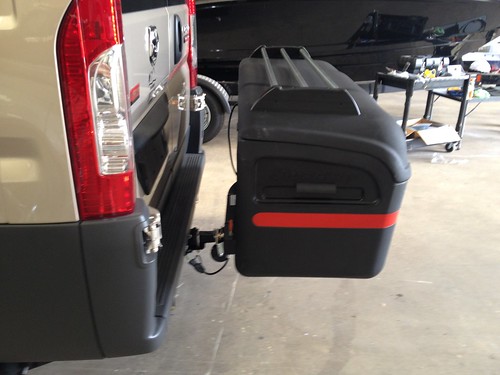
I don't think it sticks out too far.  Overall 46" inches, but you can still see everything in the camera.


Well, after some more pondering, I decided I wasn't quite happy with the hitch reciever I mounted on my Stowaway2.

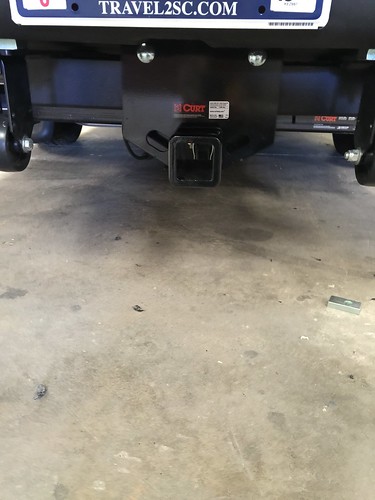
So I took it completely apart and started over.  I found this Curt bolt-on type reciever made for a 2" x 4" bumper.
http://www.amazon.com/gp/product/B004C6TZCM/ref=oh_aui_detailpage_o01_s00?ie=UTF8&psc=1

The instructions on Amazon said 2" x 2", so I passed it buy.  But there were some comments in the reviews that no, it was for a 4x2.  And they were right.


Fits snuggly


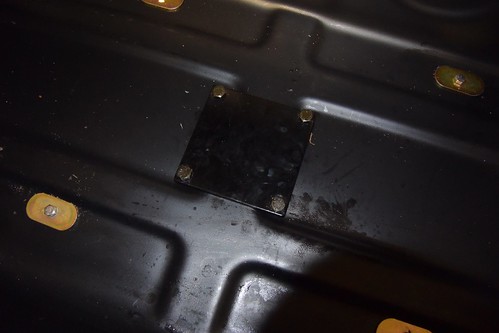
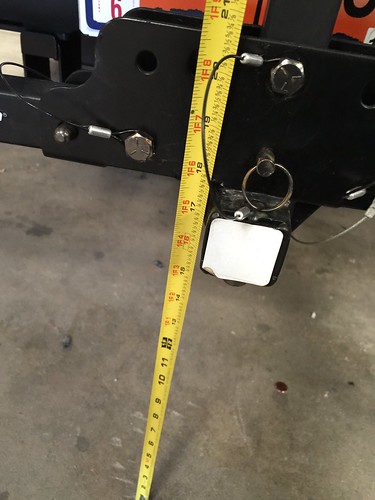
I also ended up putting some spacers on the mounting points instead of cutting the box to accommodate the height of the hitch.  The material is tough stuff, but I didn't want to push my luck as start cutting on it.

Plenty of clearance off the ground.  The bike is more than 17" off the ground.


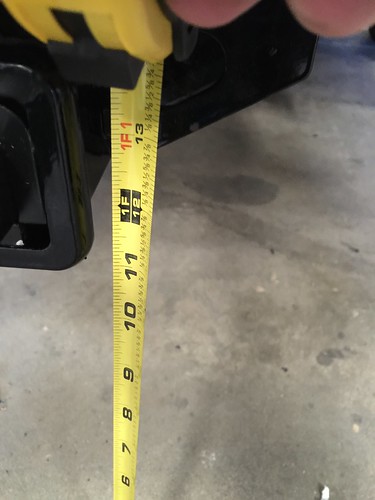
The receiver is the lowest point - around 11"


I have a lighter bike rack on order - one made of aluminum that also holds the bike from the upper portion of the wheels.  The bike will end up sitting a few inches higher than on this old rack.  But thank you UPS, you screwed up my shipment.  Next week!

Friday, June 20, 2014

Stowaway2 Storage Box


I wanted to put all my stray gear in an outside box, so that the interior storage in my Travato
could be used for bikes and a kayak.


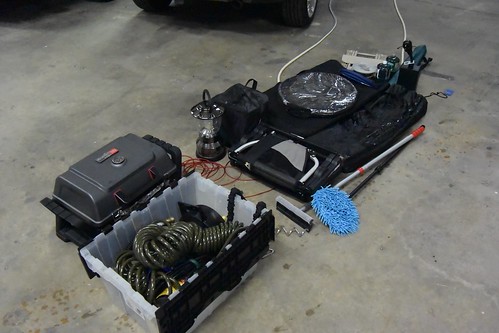
I got it yesterday and assembled it. Basically it fits all my gear. I put two bins inside to 
separate my plumbing items from electrical. In the gaps, I put my folding chairs, tables 
and some sundry items. On top I put my grill table, outside mat, lantern, and lantern post.
Image

Image

Image

Image

Image

Image

http://www.stowaway2.com