So if I was going to go to that expense, I might as well get LED lights to replace them and hopefully, never have to do it again. So for around $20 I got these on Amazon:
Red Oval Sealed LED Lights
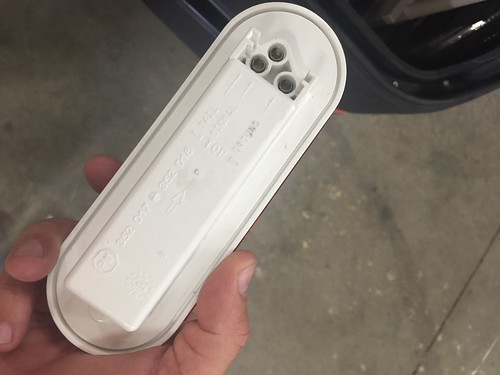
These are the original incandescent lights:
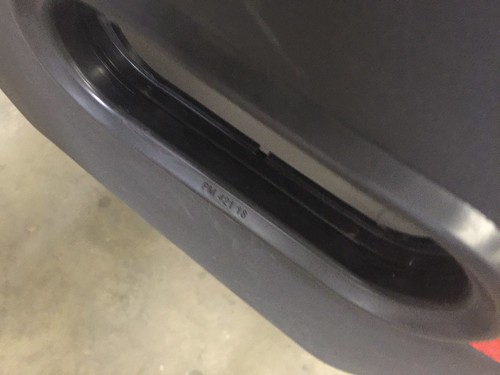
The units are marked with the size - 421. That must be some kind of standard. Both the light assembly and the gasket are marked with this number.
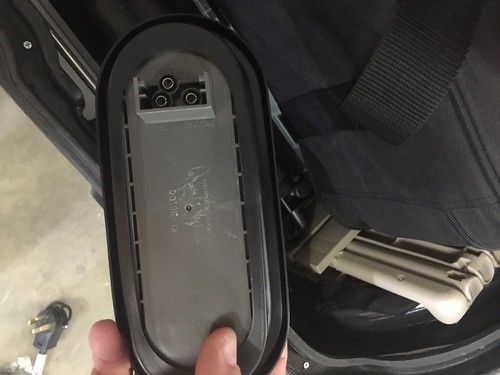
The fixture is kinda chunky. Probably because the bulbs are rather large. Note the wiring connectors. This is universal too. One marked Tail, one marked Signal, and one marked Ground.

The gasket holds the light in place with just pressure. The trick is that the gasket goes in from the outside - in. The light is put in from the inside - out.
The new LED fixture is much thinner, but the housing has the exact same length and height measurements, so it fits in the existing gasket perfectly. It did come with new gaskets, but mine were in perfect condition and not very old, so I just reused them and put the new ones on the shelf for later.
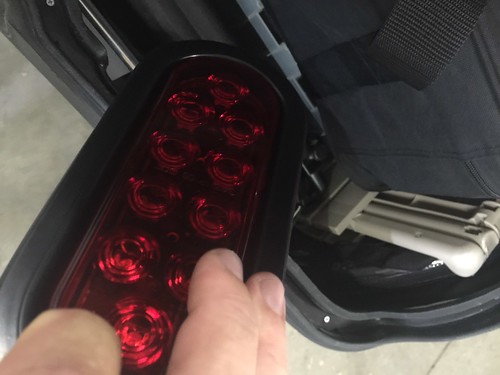
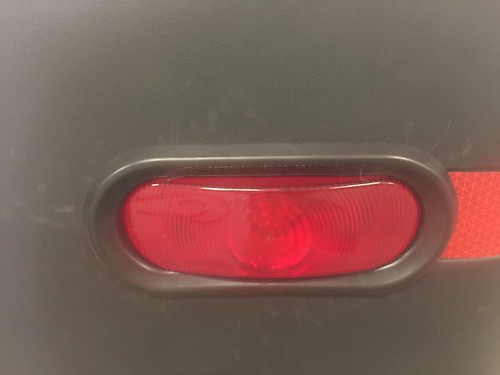
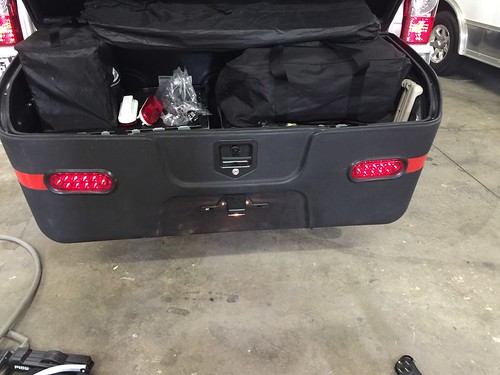
Here they are installed. Took all of 5 minutes. This is illuminated in running light mode.
Here they are with the brake pedal depressed. I guess they are a bit brighter.
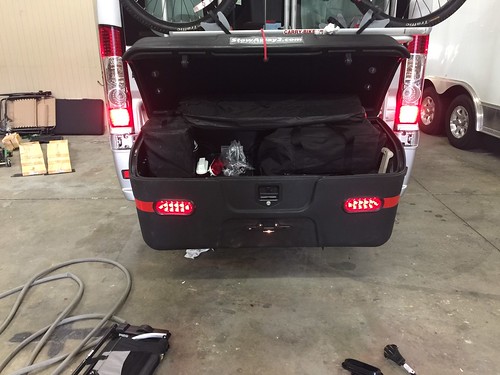
One side benefit is, since they are a bit thinner, the fixtures and the wiring don't protrude into the interior of the box as much, so they are less likely to get snagged by any items banging around in there.
No comments:
Post a Comment