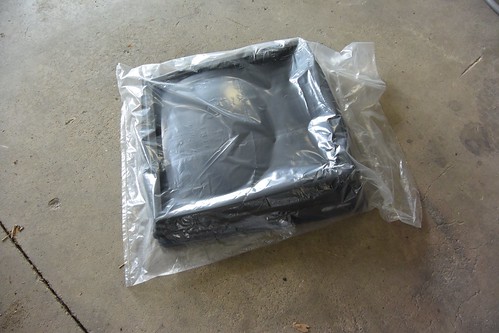
It came in a bag from Amazon, put in a brown cardboard box. No fancy packaging.
It's a pretty simple install. You line up the brackets along side the vent's frame and mark the hole locations. Then drill out the holes. For this type of Fantastik vent fan, you have to use the self tapping screws, as you can't reach inside to install machine screws and nuts.
Just to be safe, I also put VHB tape on the brackets to hold them in place.
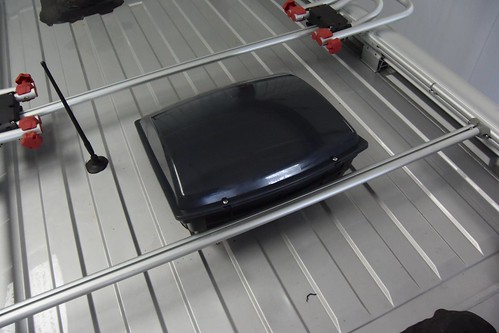
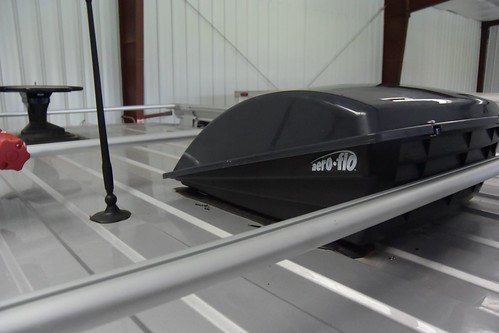
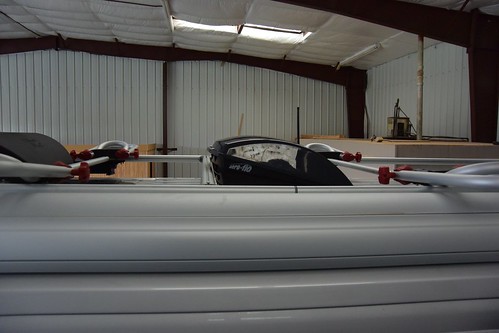
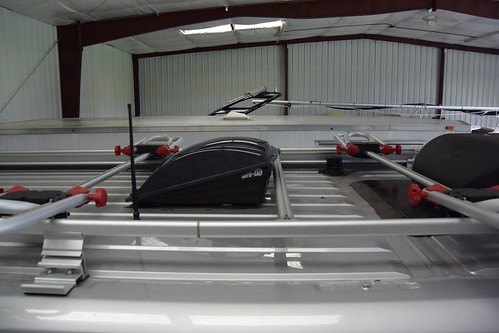
Here is the finished product. Note that it doesn't stick up as much as the other types. You can only open the vent about 3/4 of the way. Plenty for air flow.
I did have to move the roof rack cross bar a few inches. No big deal, it's held in place with allen head screws. Just loosen them, slide the bar down, and then re-tighten. I like that the cover is made with a hinge - you just loosen the two screws and open it up for cleaning inside.
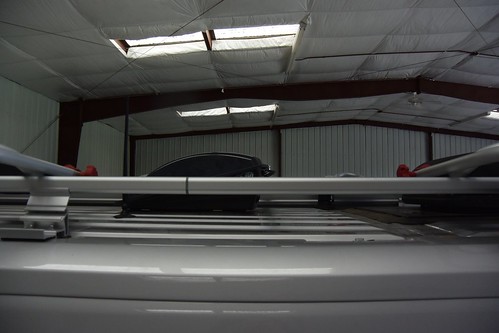
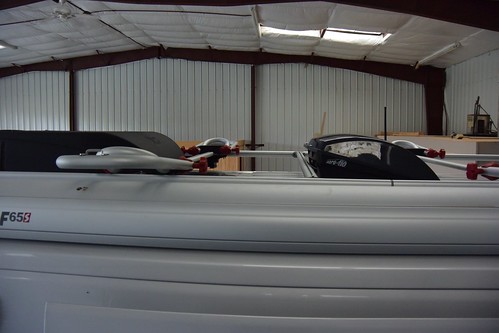
From the streetside:
From the from the curbside. From the ground, you can't even see it up there.
Doesn't look like it sticks up higher than the AC unit.
It wasn't too bad getting up and walking on the roof. You do have to be extremely careful though. A smart guy would put mats up there to walk on. Otherwise it's very easy to dent the roof with your knees and elbows. Feet seem to do OK.
No comments:
Post a Comment