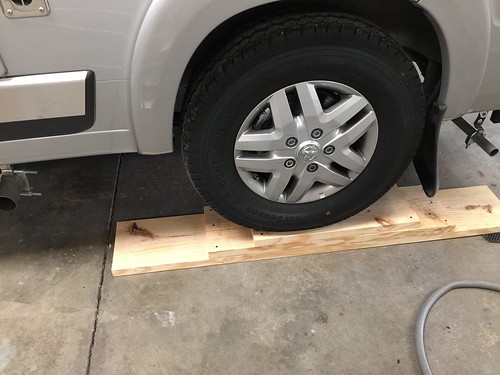
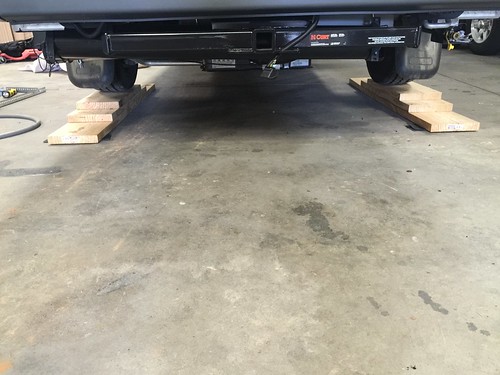
Step one was to build some ramps to give me some working room. I got some 2 x 10"s and had Lowes cut them up for me (cuts are free when you buy wood there). 5', 3' & 2' lengths. Nailed together. Works great, van rolled right up on them. With a couple strips of old rubber floor mat to hold them in place. In hindsight, it may have been better to have these graduated only on one side (instead of the up and over you see below) - that would have given me more room to crawl under the van between the wheel and tailpipe. But I thought this configuration was safer in case I rolled too far. These ramps will be ideal when I need to service the generator, as I'll crawl under from the back of the van.
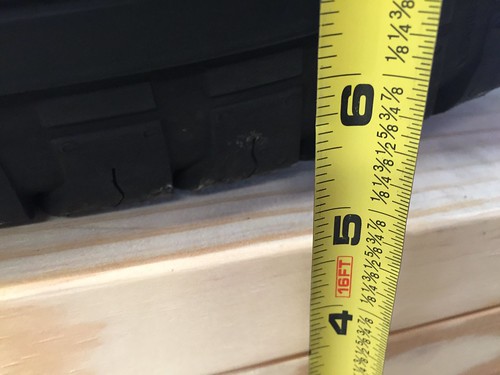
Almost 5" of extra clearance:
I also got started on removing the battery:
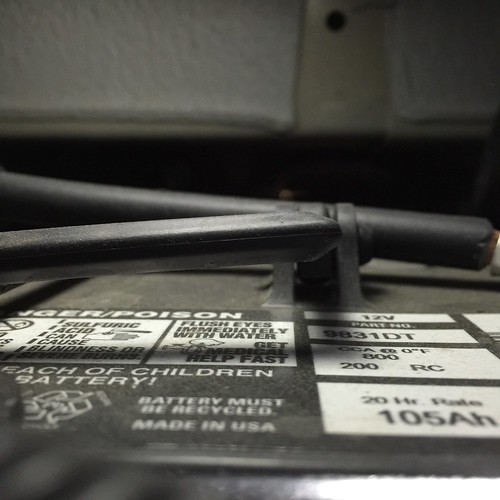
It's tight - you can see the limited clearance above the battery:
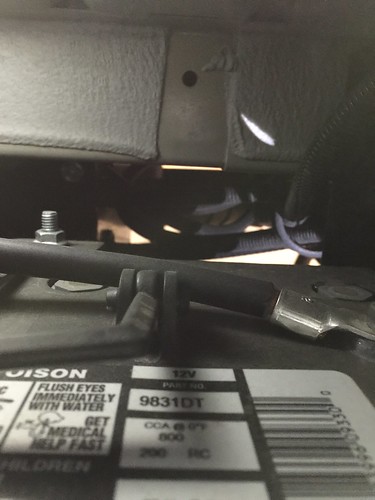
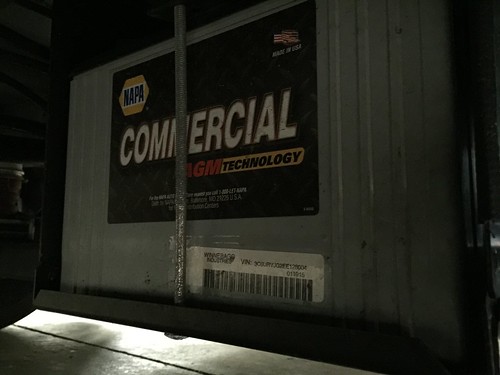
The battery is a NAPA Commercial AGM part number 9831DT
I got the battery out, all my metal parts cut and wiring connected. I think I spent more time changing out the wood blade for a metal cutting one on my chop saw. It really is an effective blade - kinda works like a big grinder. I was also able to sand down any burrs from the cutting with the edge of the blade.
Next the battery gets picked up and I bolt it all back together. One thing I learned - you need to use a floor jack to get the battery back in position. Even with the extra room, it's near impossible to lift a 69 lb battery back up into the frame. Just no room for leverage.
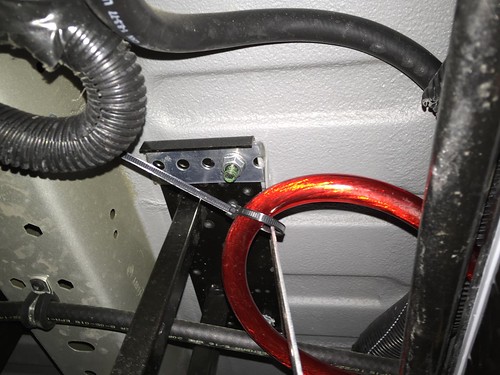
It was really tough getting it to fit in there. The space is tight up against the anti-sway bar.
I ended up having a 1/2" gap between the battery and the bar. I think that is enough. I went on a rather long and bumpy ride and it appears that everything is in there solid and nothing is moving around. Another option, since AGM batteries can be mounted in any orientation, would be to mount this battery on it's side with the terminals facing out. That would clear the sway bar better, but of course, there are other obvious downsides created doing that.
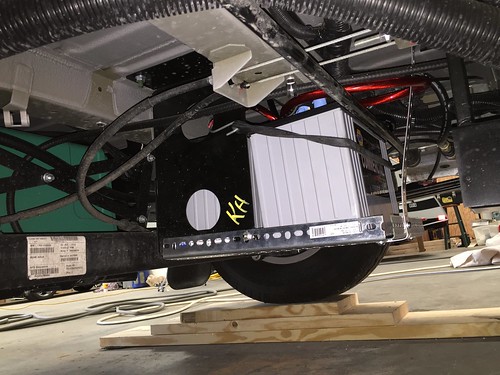
The only way to get the battery in this way (as shown above) is to lift and support it with a floor jack. Then you can bolt the frame pieces in place (one on each side of the existing frame, and one across the front). Then you can let the jack down and install the support strap. There really is no way for it to come out unless you disassemble the metal parts. I used a heavy rubber strap with metal hooks to use as a securing strap. Here you can also see a metal bar I used on the front of the frame to secure that part of the frame. I also covered all my battery terminals with protective tape so there is no chance metal comes in contact with it.
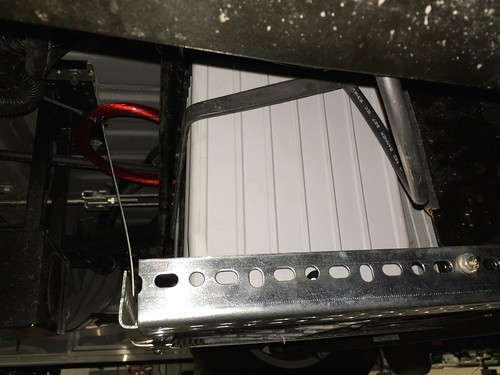
There was one bolt nearby for the gray tank pump assembly I removed and then replaced when I had this strap in place.
You can also see some of my wiring in the above pic. Believe it's 2 gauge. It's a bit heavier than the existing wiring. I did match Winnebago's color coding - red for pos and black for neg.
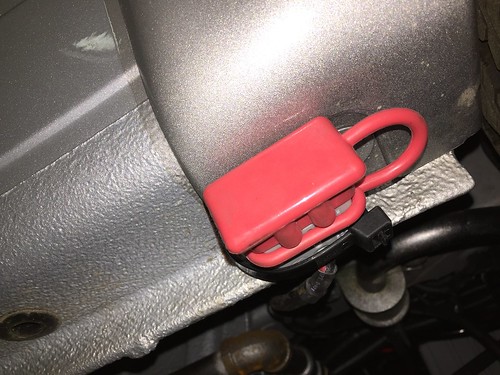
While I was under there, I also zip-tied the connector for my portable solar panel to the bottom of the van near the rear fender. It has that rubber weather cover, so I think it will be alright there.
The project came in at my expected budget. Nearly $300 for the battery and $100 for the materials, a new blade for my chop saw and a new vice to bend metal. So in that regard, I'm happy with how it went. It was just more work than I expected. Now I have 210 amp hours of total house capacity, plus the engine battery.
Thanks for the video, and it's nice to see someone with the energy to actually do this! I've been wondering about this myself.
ReplyDeleteA couple notes.
1) The wire tie holding the positive lead against the edge of the strapping metal. You should change this immediately! The edge of the strap WILL eventually saw/knife it's way through the cable jacket, and then you are going to have a direct short to ground... Best case, that strap will glow for an hour, and you will only destroy the batteries.
2) The front angle piece is held with a single off the shelf bolt. It may feel solid to you, but if you do happen to have it bump up against anything on a cow trail shortcut, those bolts will be sheared off instantly. I'd suggest getting some high strength bolts, and double them up, or even weld the angle pieces. If the weight of the battery is held substantially by that strap, it'll eventually tear its way off of the bolt to the chassis.
Thanks for the tips. Way ahead of you on the cable - I was thinking the same thing and will change that.
ReplyDeleteEven though these bolts are off the shelf, their tensile and shearing strength is still in the thousands of pounds. But it's not a bad idea to double them up. The strap holds no weight, it's just a stabilizer. But point taken on traversing rough roads - there are other issues doing that with this particular van.
Anyways, I plan on keeping an eye on this and making tweaks if necessary.
This comment has been removed by a blog administrator.
ReplyDelete