Progressive Industries EMS-HW30C on Amazon
Of course, I couldn't finish because I had forgotten to bring my volt-meter.
But I did make some discoveries under the bed in the K.
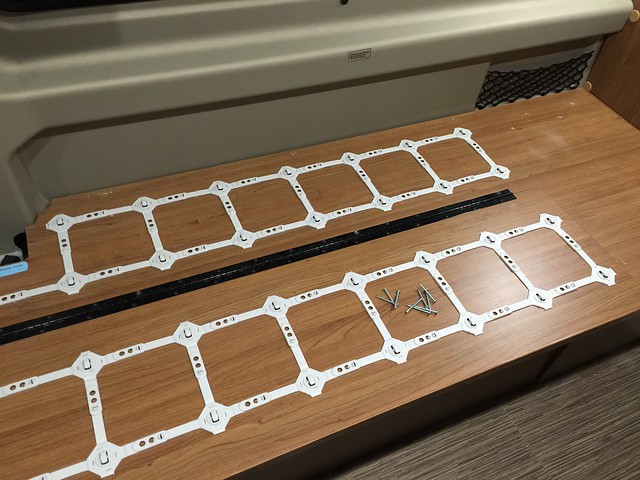
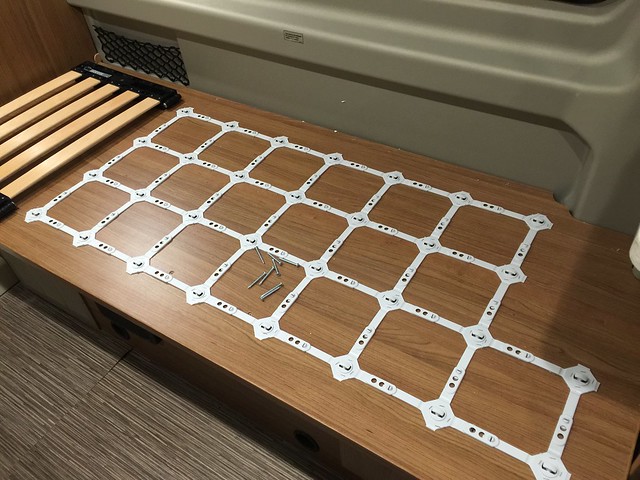
First, you need to remove a bunch of long screws. Nine on the curb side, and eight on the street side. Also, on the curb side, I had to remove the adjustable back (4 screws) because it covered one of the screws holding the deck down. Bring a screw gun to this fight - look at how long they are in the pics below:
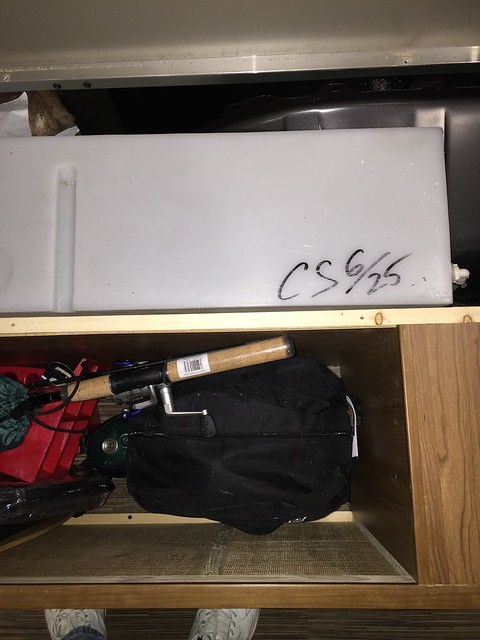
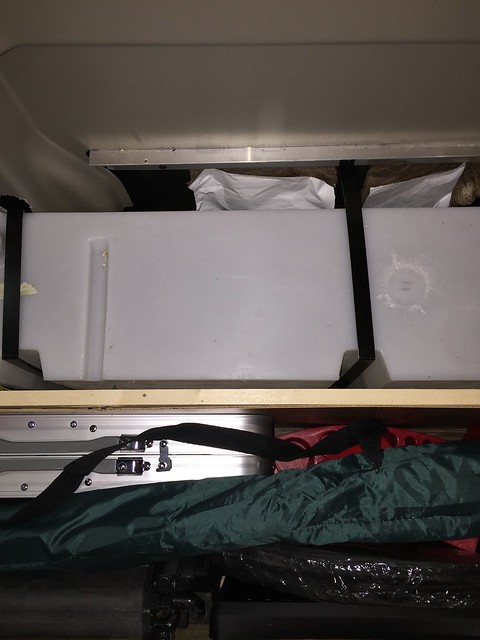
This is under the curb-side bed. Mostly a water tank.
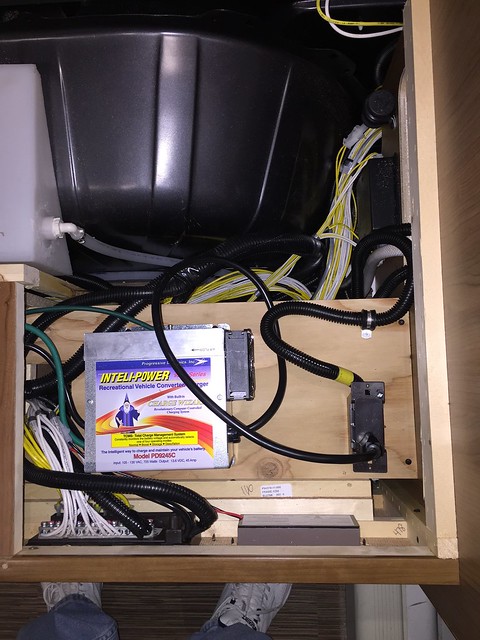
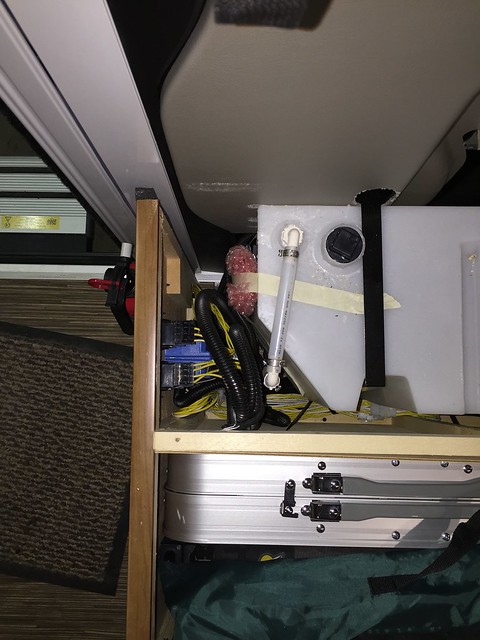
The converter is nicely on a shelf. It was noticeably cool, so I suspect the ventilation is better than in the G. On my G, this space was quite warm all the time. Below the converter shelf is the main 110 circuit breaker box. Looks like there is plenty of room to install my Lithium charger/converter when the time comes. The wiring is exactly the same. You could also install a bigger charger if you so desired - there is a little room around the existing charger - depth may be an issue, as it's only about an inch above the converter to the bed decking. I don't think there is room to install a Magnum Inverter/Converter/Charger if you wanted to seriously upgrade.
The rest of the compartment is the water tank, and of course, the storage area.
With a small area at the end with switches and a 110 outlet. There is plenty of room to install another 12v outlet at the foot of the bed. There are extra slots on the bus bar on the 12v system and open circuits.
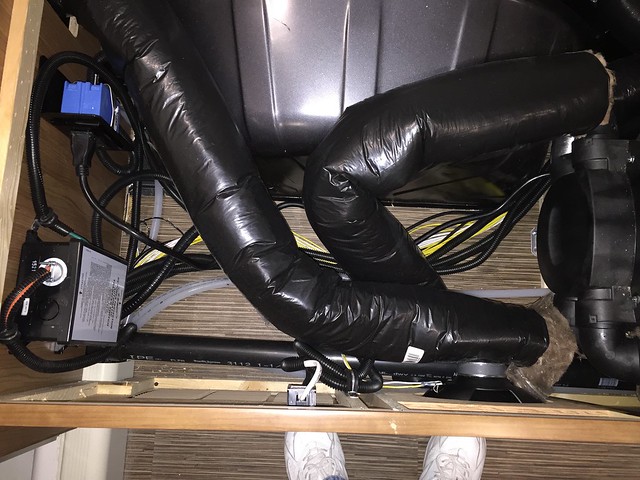
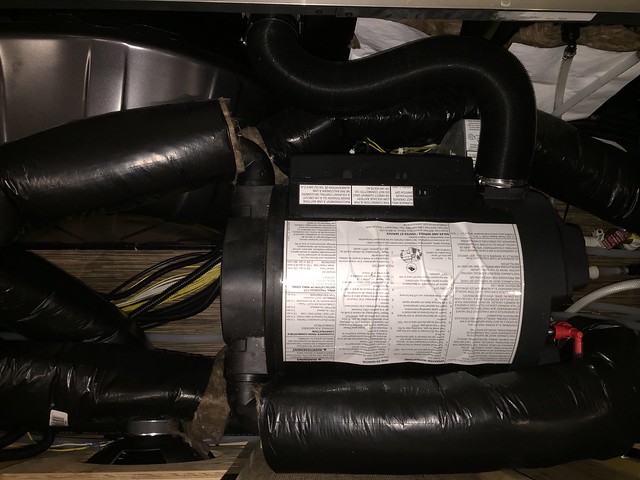
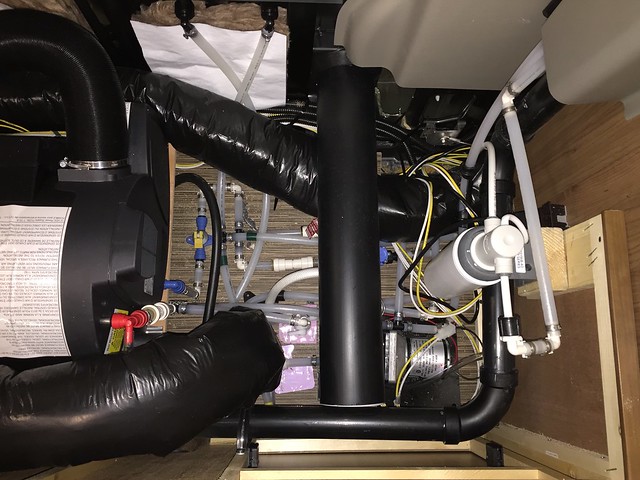
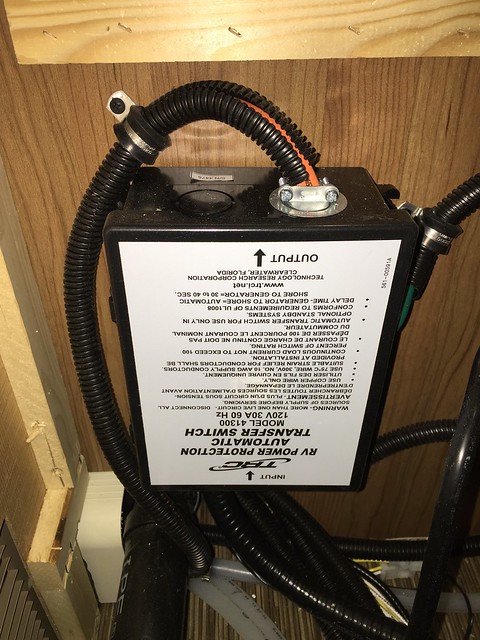
On the street side, it's mostly plumbing and the Truma. But the transfer switch is on the bathroom wall bulkhead. Note that these Truma pipes looked kinked. That is an illusion - what you are seeing is just soft insulation over the stiff pipes that are within. I felt all of this for kinks and there aren't any.
The transfer switch:
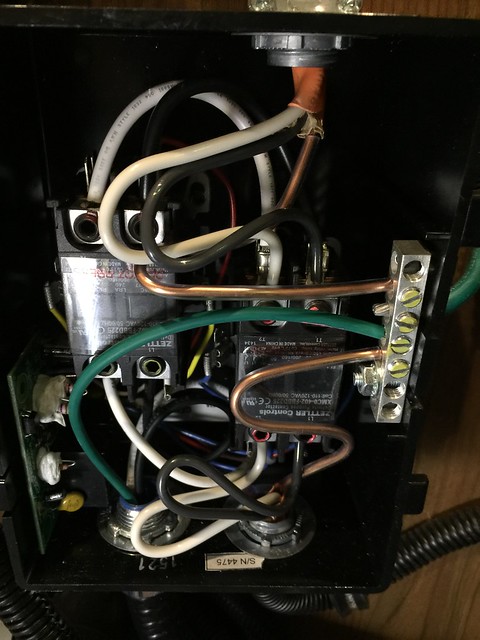
Inside:
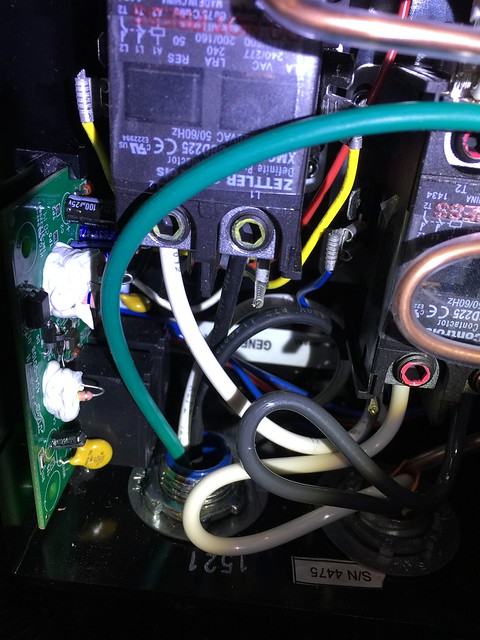
Here you can see a little of the stickers inside the box. On the left input it says generator, on the right, shore power.
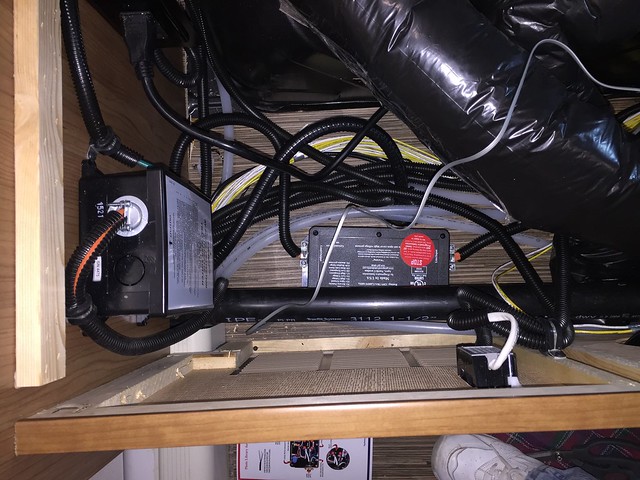
Of course, I didn't have my clamp-on volt meter to see if this is right. But if it is, my thoughts are to clip this cable for the shore power input and install the surge protector in-line and mount it near the transfer switch. I wouldn't mess with anything already inside the transfer switch box.
Well, the following day, I bought out my clamp on meter and confirmed that yes, the cable in question was the shore power line that runs from the transfer switch to the outside connector.
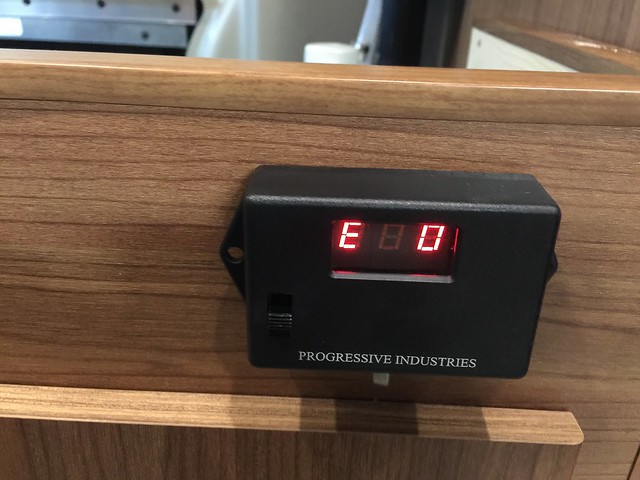
So I peeled back the black combing, cut the cable and installed the EMS-HC30W. It was rather simple - you connect the 3 conductors on each side and button it back up. The remote display is connected via a data cable on an RJ45 jack.
I decided to mount it on the edge of the bed cabinet near the refrigerator. I wanted to be able to see it from standing at the sliding doorway, so if there is a problem with the power pedestal, I can quickly address it.

As always, nice install Ron ��
ReplyDeleteLove the mod.
ReplyDeleteI am trying to decide which Travato to get: 59G or 59K. Since you have used both and know the issues of both - what would you suggest and why?
This comment has been removed by a blog administrator.
ReplyDeleteSo glad I found your blog. My wife and I pick up our 17 59k tomorrow and I am really excited. You have definitely given me some great ideas in how to proceed. Safe travels.
ReplyDelete