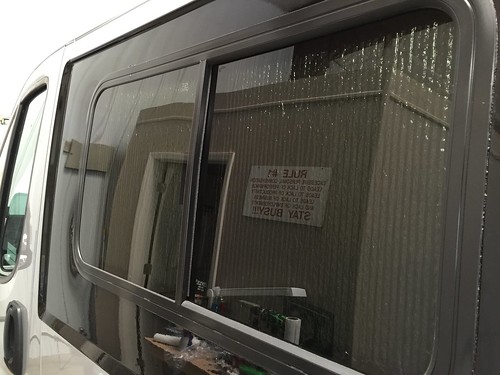
So I wanted to make some window covers to give a bit more darkness, privacy and maybe to keep out some of this summer heat. I got a 50' roll on Amazon for around $50.
Not a tough project, just measure your windows and cut the stuff to match with either a box cutter or just scissors. I used a red disposable cups to do the corner curves.
The two driver side cabin windows are the same size, so you just measure one and then copy it for the second. To hold them on, you just cut some velcro and stick to both the cover and the window frame. You cut it thinner to apply to the frame, and longer and wider on the cover so you don't have to be so precise on sticking it on. Here it is stuck on at the dinnette.
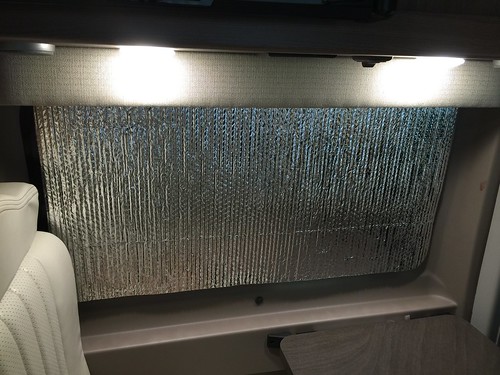
Since the windows are tinted, it already looks pretty dark. I'm toying with the idea of spray painting it will some Rustoleum for plastics. Paint only one side - so you have the choice of having a "black" look, or the reflective look.
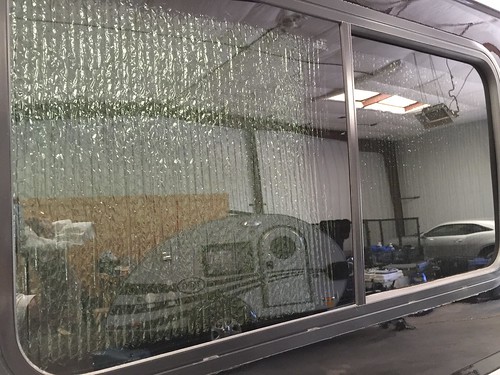
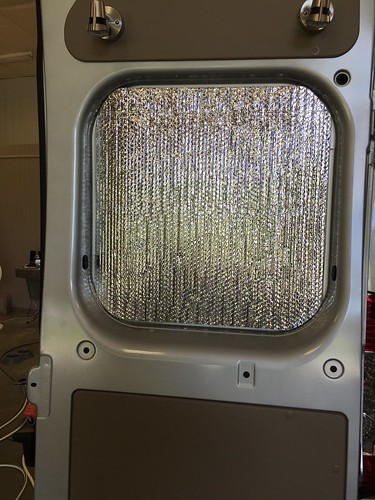
For the back doors, the bare metal is exposed, so I just used magnet tape. It's cheap at Lowes and you just cut, peel and stick. I like how these turned out very much. You can still use the curtains, but you don't really need to.
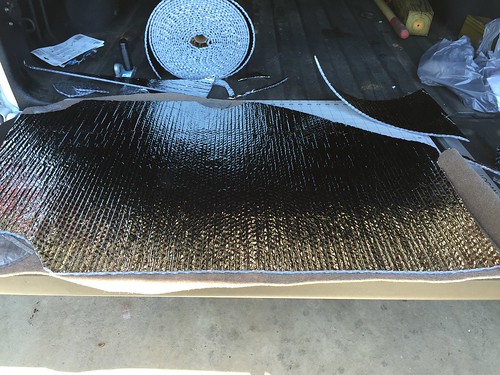
For the cab covers, I just laid out the "mouse fur" ones that came with the van. Just cut the reflectix to match, cutting out around the magnets that hold it to the doors. Then just velcro to the original cover. You can always just take it off if you don't want to use it.
This is how it looks installed.
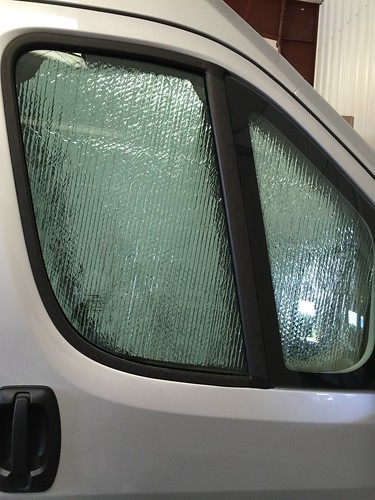
For the front window, I did it the same way, but I had to tape several peices of reflectix together with duct tape as the windshield is much wider than my roll of material.
So with all this in place, it's totally blacked out inside the van. Good for sleeping, good for privacy, and a bit more insulation. All of this will store in the cubby above the cab.
Sunday, June 28, 2015
Saturday, June 27, 2015
Camco Aero Flow Vent Cover
Today I installed a vent cover on my Travato. Having this cover, you can leave the roof vent open on a rainy day. It's not as nice as having the MaxxAir fan on my Oliver, but this gives me largely the same effect for only $28.
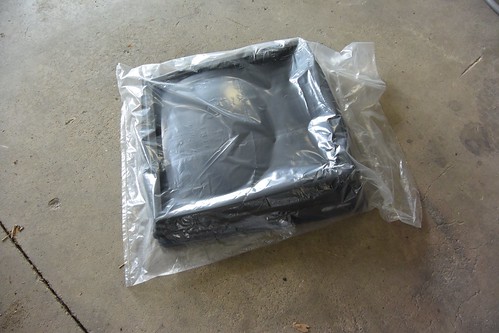
It came in a bag from Amazon, put in a brown cardboard box. No fancy packaging.
It's a pretty simple install. You line up the brackets along side the vent's frame and mark the hole locations. Then drill out the holes. For this type of Fantastik vent fan, you have to use the self tapping screws, as you can't reach inside to install machine screws and nuts.
Just to be safe, I also put VHB tape on the brackets to hold them in place.
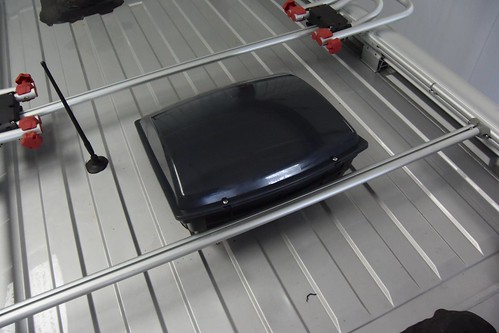
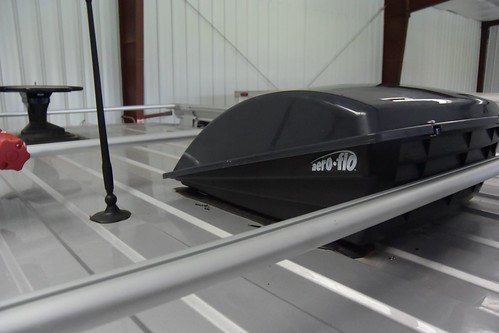
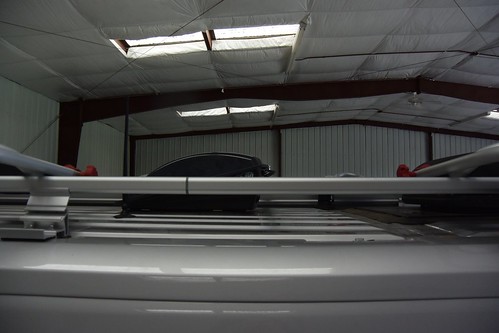
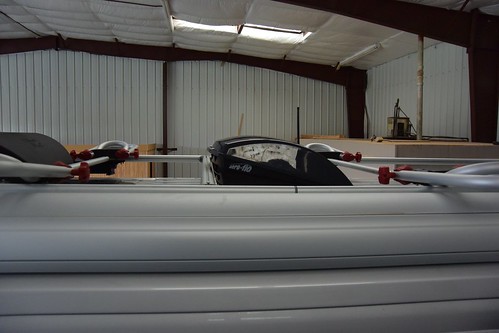
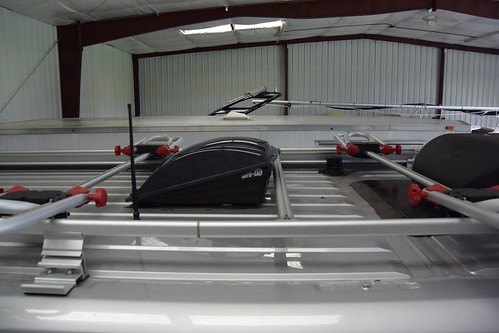
Here is the finished product. Note that it doesn't stick up as much as the other types. You can only open the vent about 3/4 of the way. Plenty for air flow.
I did have to move the roof rack cross bar a few inches. No big deal, it's held in place with allen head screws. Just loosen them, slide the bar down, and then re-tighten. I like that the cover is made with a hinge - you just loosen the two screws and open it up for cleaning inside.
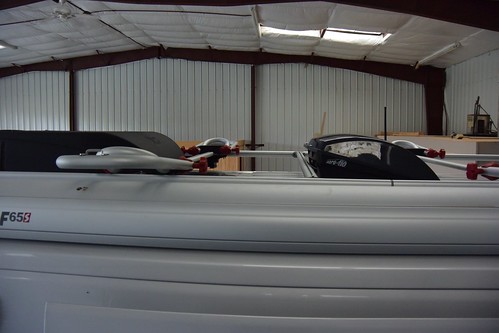
From the streetside:
Doesn't look like it sticks up higher than the AC unit.
It wasn't too bad getting up and walking on the roof. You do have to be extremely careful though. A smart guy would put mats up there to walk on. Otherwise it's very easy to dent the roof with your knees and elbows. Feet seem to do OK.
It came in a bag from Amazon, put in a brown cardboard box. No fancy packaging.
It's a pretty simple install. You line up the brackets along side the vent's frame and mark the hole locations. Then drill out the holes. For this type of Fantastik vent fan, you have to use the self tapping screws, as you can't reach inside to install machine screws and nuts.
Just to be safe, I also put VHB tape on the brackets to hold them in place.
Here is the finished product. Note that it doesn't stick up as much as the other types. You can only open the vent about 3/4 of the way. Plenty for air flow.
I did have to move the roof rack cross bar a few inches. No big deal, it's held in place with allen head screws. Just loosen them, slide the bar down, and then re-tighten. I like that the cover is made with a hinge - you just loosen the two screws and open it up for cleaning inside.
From the streetside:
From the from the curbside. From the ground, you can't even see it up there.
Doesn't look like it sticks up higher than the AC unit.
It wasn't too bad getting up and walking on the roof. You do have to be extremely careful though. A smart guy would put mats up there to walk on. Otherwise it's very easy to dent the roof with your knees and elbows. Feet seem to do OK.
Monday, June 8, 2015
Changing the Stowaway2 lights to LED
A few weeks ago, I noticed that one of the lights on the Stowaway2 was not working. The turn signal/brake light element was burned out. So I went to take it apart to change the bulb and discovered these are sealed units! So you have to buy a whole new $10 light when all you need is a $0.50 bulb!
So if I was going to go to that expense, I might as well get LED lights to replace them and hopefully, never have to do it again. So for around $20 I got these on Amazon:
Red Oval Sealed LED Lights
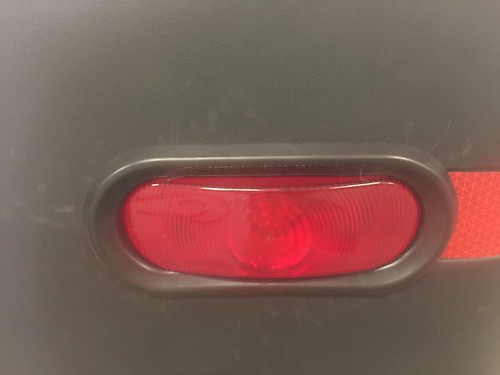
These are the original incandescent lights:
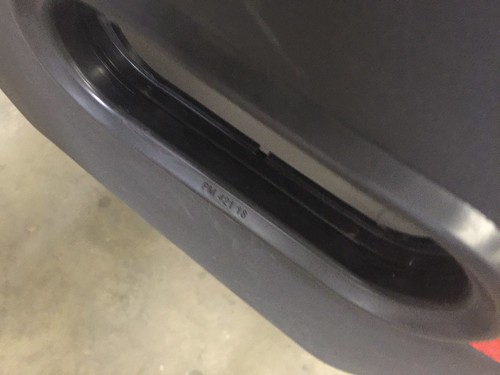
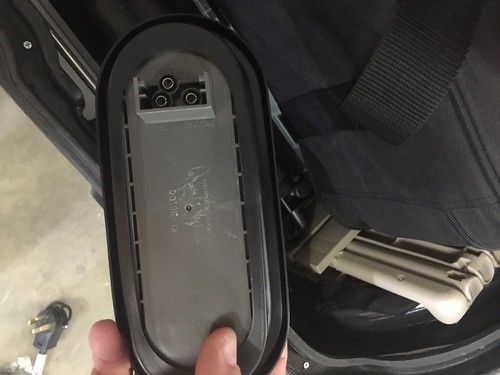
The units are marked with the size - 421. That must be some kind of standard. Both the light assembly and the gasket are marked with this number.
The gasket holds the light in place with just pressure. The trick is that the gasket goes in from the outside - in. The light is put in from the inside - out.
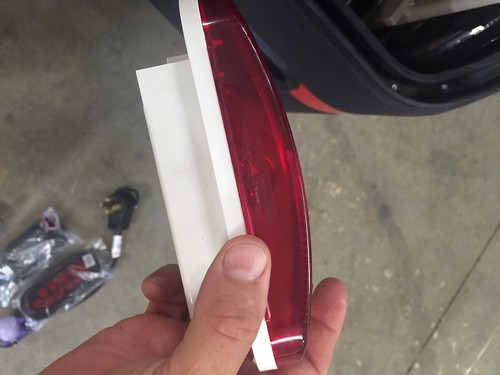
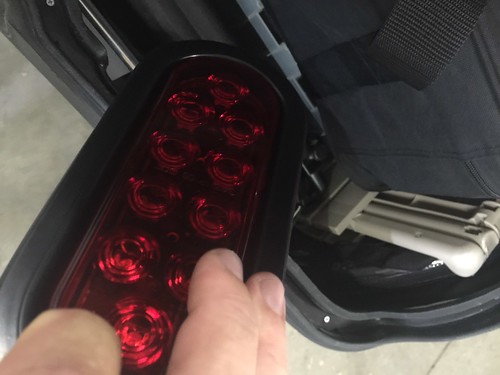
The new LED fixture is much thinner, but the housing has the exact same length and height measurements, so it fits in the existing gasket perfectly. It did come with new gaskets, but mine were in perfect condition and not very old, so I just reused them and put the new ones on the shelf for later.
Here they are with the brake pedal depressed. I guess they are a bit brighter.
One side benefit is, since they are a bit thinner, the fixtures and the wiring don't protrude into the interior of the box as much, so they are less likely to get snagged by any items banging around in there.
So if I was going to go to that expense, I might as well get LED lights to replace them and hopefully, never have to do it again. So for around $20 I got these on Amazon:
Red Oval Sealed LED Lights
These are the original incandescent lights:
The units are marked with the size - 421. That must be some kind of standard. Both the light assembly and the gasket are marked with this number.
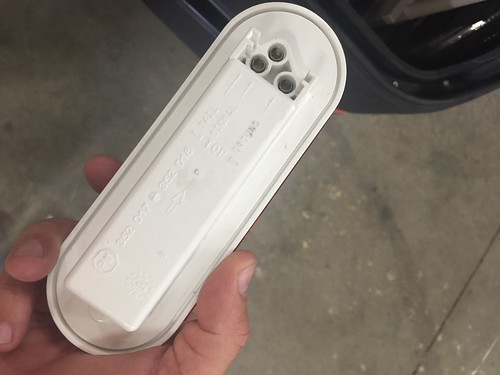
The fixture is kinda chunky. Probably because the bulbs are rather large. Note the wiring connectors. This is universal too. One marked Tail, one marked Signal, and one marked Ground.
The gasket holds the light in place with just pressure. The trick is that the gasket goes in from the outside - in. The light is put in from the inside - out.
The new LED fixture is much thinner, but the housing has the exact same length and height measurements, so it fits in the existing gasket perfectly. It did come with new gaskets, but mine were in perfect condition and not very old, so I just reused them and put the new ones on the shelf for later.
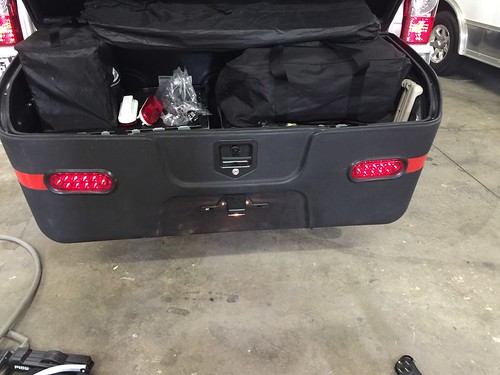
Here they are installed. Took all of 5 minutes. This is illuminated in running light mode.
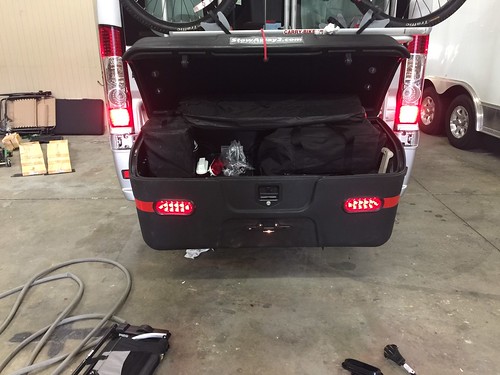
Here they are with the brake pedal depressed. I guess they are a bit brighter.
One side benefit is, since they are a bit thinner, the fixtures and the wiring don't protrude into the interior of the box as much, so they are less likely to get snagged by any items banging around in there.
Saturday, May 30, 2015
Using the second awning
I've gotten a fair amount of ribbing over "wasting" the money gettting a second awning. Not really needing a "his" and "hers" arrangement, I was wondering if my friends were right all along.
Not so today. Extended both awnings to shade the windows. Very nice to have on a hot, sunny day, yet with on and off again sprinkles. I've got all the windows open and running the ventilator fan.
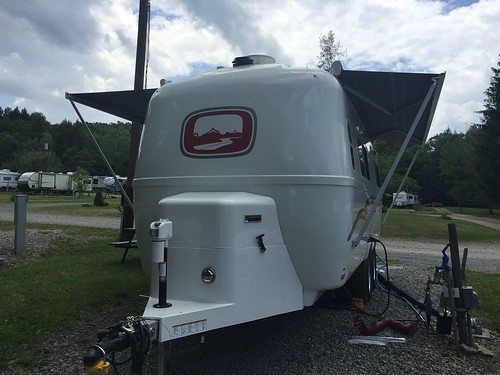
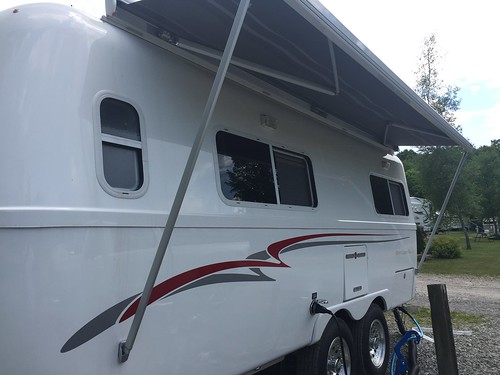
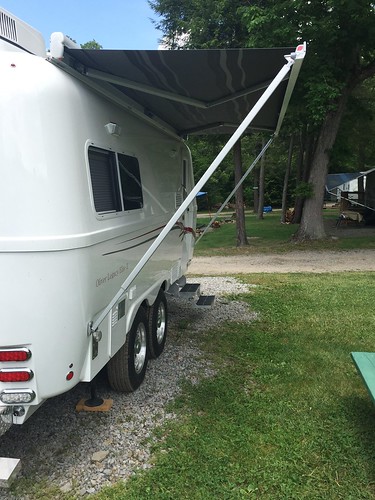
Neither are extended all the way in these pics. Only enough to shade the windows and accomodate the minimum length of the support legs. The curbside one is out a bit more that the other so there is room for a couple chairs.
Not so today. Extended both awnings to shade the windows. Very nice to have on a hot, sunny day, yet with on and off again sprinkles. I've got all the windows open and running the ventilator fan.
Neither are extended all the way in these pics. Only enough to shade the windows and accomodate the minimum length of the support legs. The curbside one is out a bit more that the other so there is room for a couple chairs.
Monday, May 25, 2015
Travato Curtain Project Part Deux
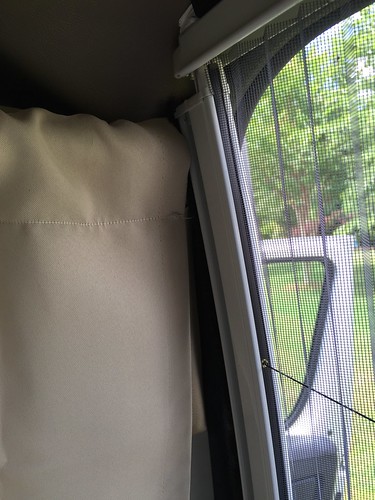
I wasn't quite happy with the black curtain and the small tension curtain rod. Thought with the curtain closed, it was too dark in the van.
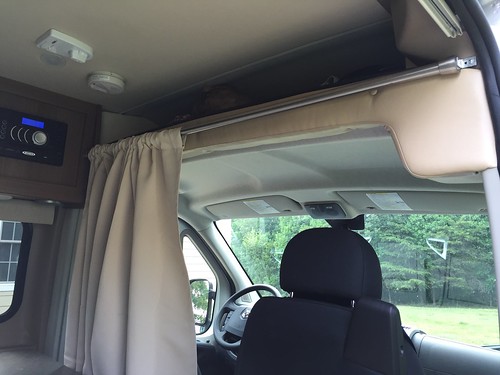
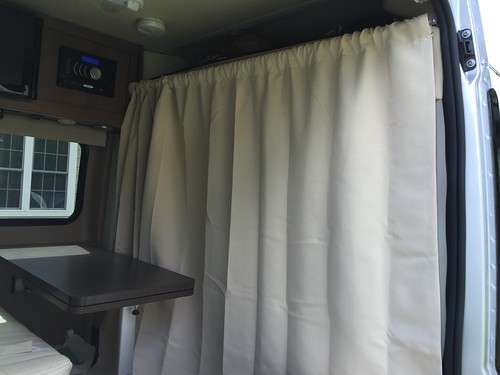
So I regrouped and ordered a beige black-out curtain, and a shower curtain tension rod (1" diameter) in a brushed metal finish.
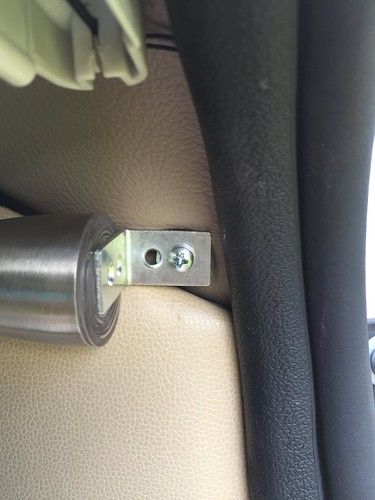
The only problem I encountered was that the rod would not stay in position on the street side. There was an existing screw available near the door, so I popped off the plastic cap and unscrewed the self-tapping type screw. From that point, I mounted an L bracket to hold the rod. I used an old nut as a spacer and re-used the existing screw. Saved the plastic cap so I could put it back to original if I change my mind again.
By using this bracket, there is room for the screen door to close unobstructed.
We also had to make the pocket alittle bigger (about 2 1/2"), so it's easier to open and close.
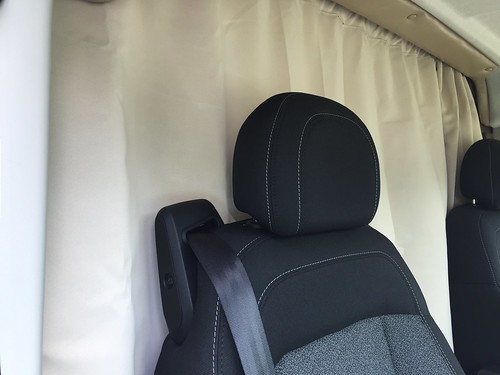
Plenty wide enough to cover the opening. I'll probably use the loops and hooks to get around the chairs if I want to use them like I did with the old curtain. I do have a tie-back to use to make the curtain more compact when traveling. I like how it looks and the van is alot brighter inside.
It does have a neat appearance from the front of the van. But I did like the black better on this side.
So I regrouped and ordered a beige black-out curtain, and a shower curtain tension rod (1" diameter) in a brushed metal finish.
The only problem I encountered was that the rod would not stay in position on the street side. There was an existing screw available near the door, so I popped off the plastic cap and unscrewed the self-tapping type screw. From that point, I mounted an L bracket to hold the rod. I used an old nut as a spacer and re-used the existing screw. Saved the plastic cap so I could put it back to original if I change my mind again.
By using this bracket, there is room for the screen door to close unobstructed.
We also had to make the pocket alittle bigger (about 2 1/2"), so it's easier to open and close.
It does have a neat appearance from the front of the van. But I did like the black better on this side.
Sunday, May 24, 2015
Rolling your own
Sometimes, when you can't get a hook-up, you just have to roll your own.
Fenders, that is. ;)
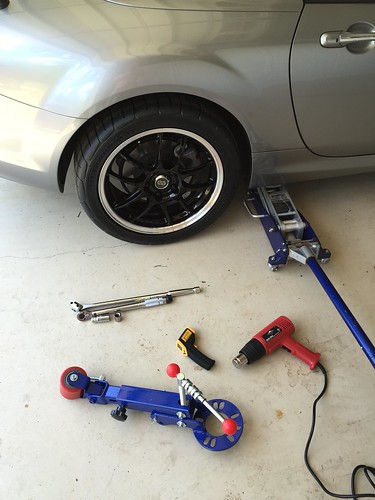
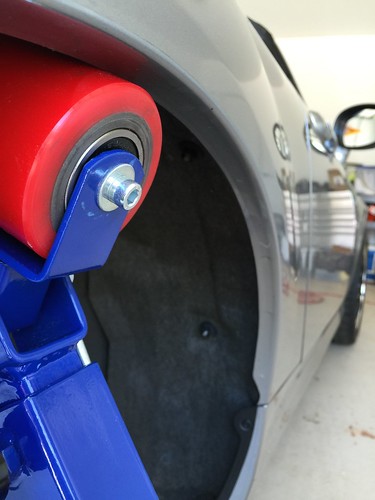
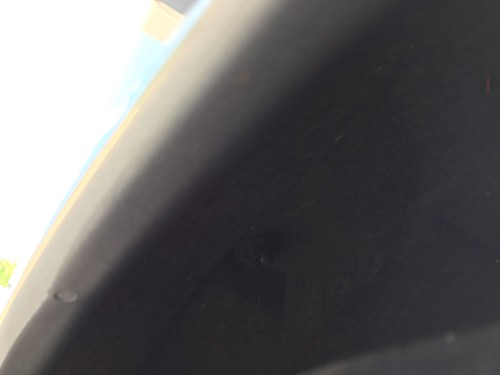
I bought this fender rolling tool to gently roll back the lip of my rear fenders so they don't rub my new, wider tires. I rolled them just a bit, not all the way back. Think it will be OK now.
It's not so tough to do. Just takes nerves of steel....and a heat gun.
If anyone wants to borrow this tool, just let me know.
Fenders, that is. ;)
I bought this fender rolling tool to gently roll back the lip of my rear fenders so they don't rub my new, wider tires. I rolled them just a bit, not all the way back. Think it will be OK now.
It's not so tough to do. Just takes nerves of steel....and a heat gun.
If anyone wants to borrow this tool, just let me know.
Saturday, May 23, 2015
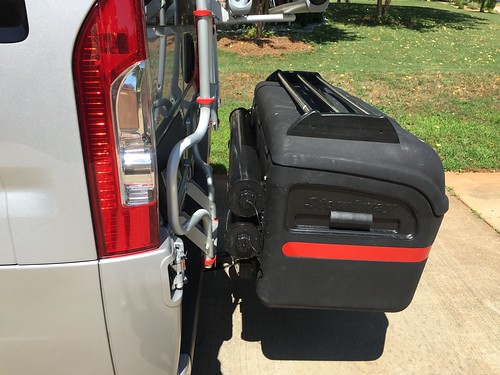
The Stowaway2 is back!
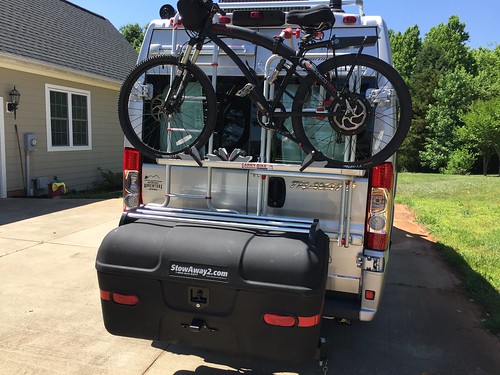
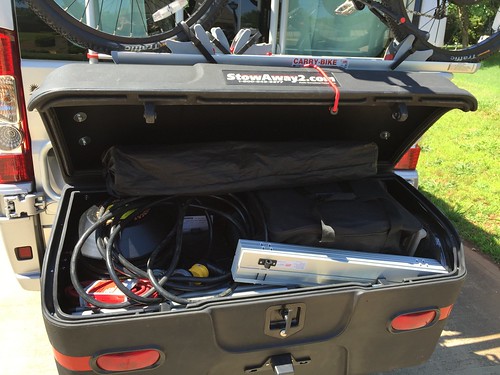
I decided to put the Stowaway 2 back on. It holds alot more than the Stanley, and is easier to load and unload.
As I expected, it clears the ladder and the bike rack just fine.
I like this box alot. If you have the bike rack deployed, you need to use a bungee to hold the lid open. With the rack folded up, it opens fully and stays up just fine.
You can load the bike either with the Stowaway in travel position or swung out. I think the extended position is alittle easier since my bike is so heavy. If it was lighter, or I was alittle taller, hoisting it up in place with the box in travel position would be no problem.
As I expected, it clears the ladder and the bike rack just fine.
I like this box alot. If you have the bike rack deployed, you need to use a bungee to hold the lid open. With the rack folded up, it opens fully and stays up just fine.
You can load the bike either with the Stowaway in travel position or swung out. I think the extended position is alittle easier since my bike is so heavy. If it was lighter, or I was alittle taller, hoisting it up in place with the box in travel position would be no problem.
Subscribe to:
Posts (Atom)